 Figpea
Repeat a Shape Along a Path, Around a Ring, or in a Grid — in Your Browser
Copy, paste, nudge. Copy, paste, nudge. Twelve leaves along a curve is a fiddly five minutes the first time, and another fiddly five minutes the moment you decide it should have been fourteen.
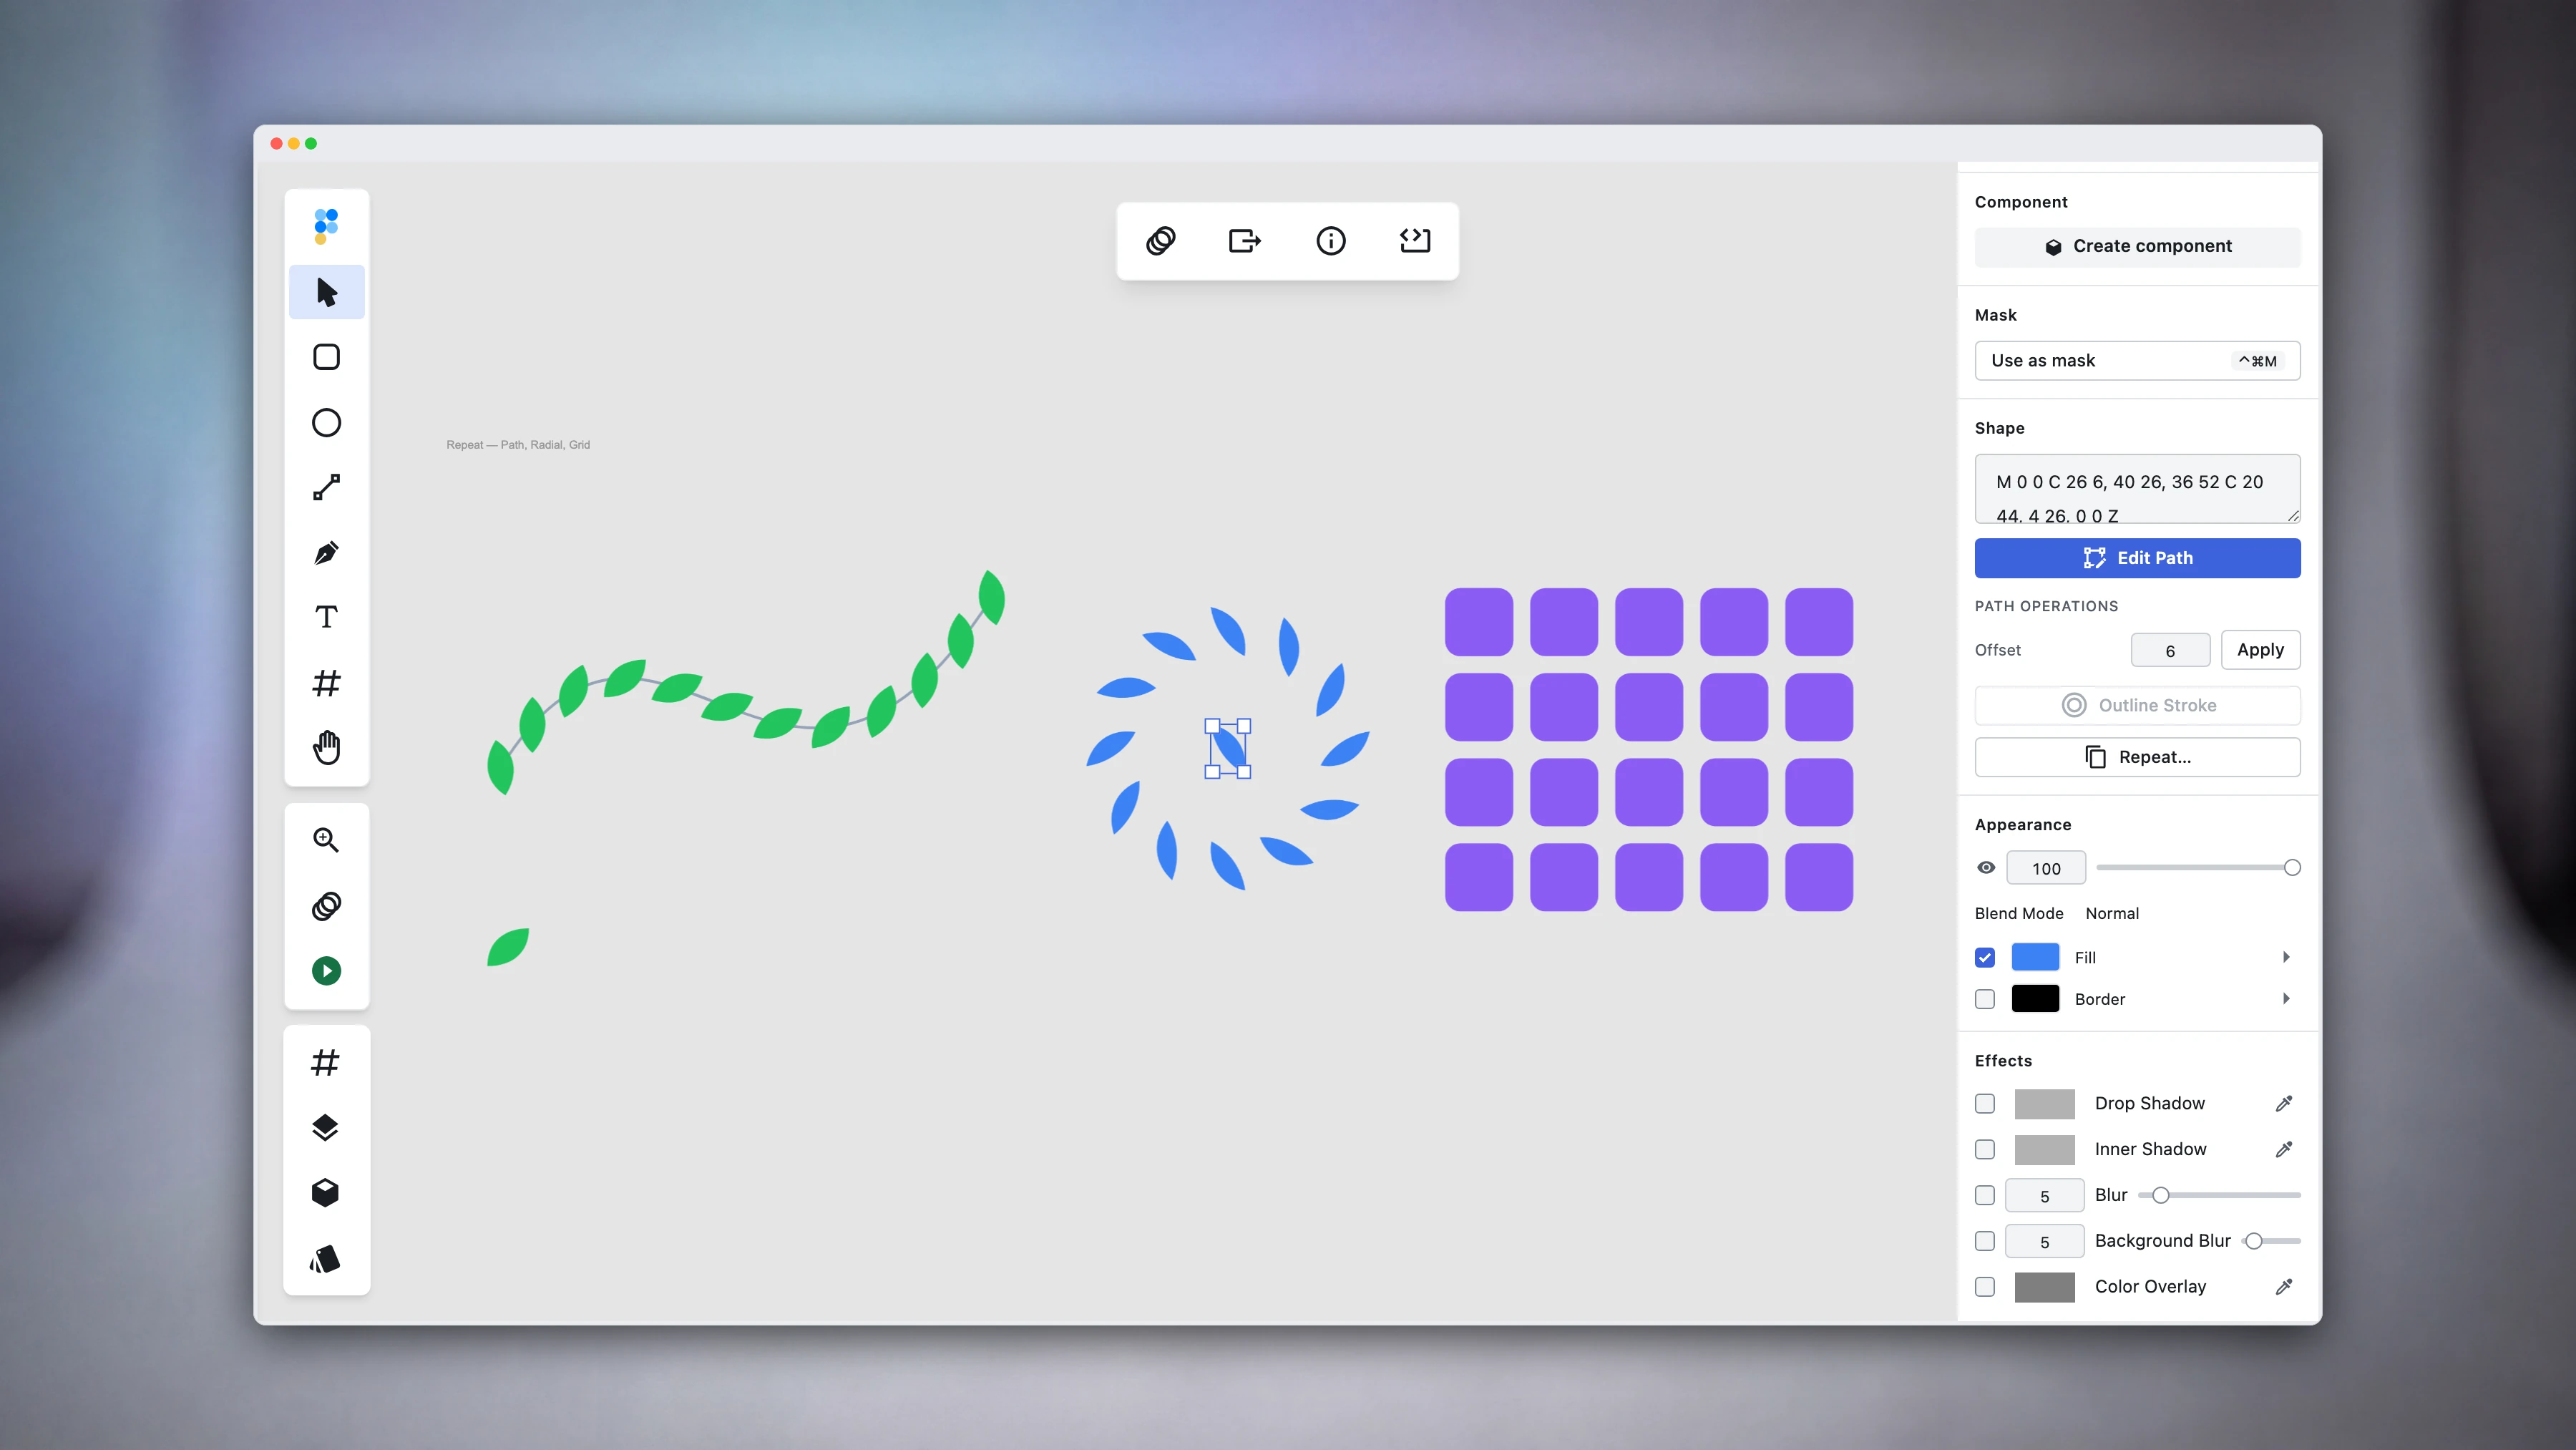
Figpea's Repeat tool does the placement in one panel: pick a shape, choose whether the copies should follow a path, ring around a centre, or fill a grid, watch a live preview on the canvas, and click Apply.
Repeat is not a rare feature — Figma, Illustrator and Sketch all ship their own versions, and theirs stay live after you place them. What's different here is where it runs. Figpea opens PSD and PSB, Adobe XD, Figma .fig, SVG and PDF files directly in a browser tab, and the file stays on your machine. So you can lay out a pattern on artwork that came out of a file you can't otherwise open, without an install, an account, or an upload.
Where it lives
Select a shape layer and open Shape → Repeat… in the inspector. The panel is a mode switch — Path, Radial, Grid — the fields that mode needs, a status line, and Apply.
While the panel is open, Figpea draws the copies straight onto the canvas as half-opacity ghosts and re-renders them as you type, so you are choosing a count by looking at the result rather than guessing at a number. The ghosts are pass-through — clicks and drags go straight through them to the layers underneath — and they disappear the moment you apply, collapse the panel, or select something else.
The status line underneath reads back what you are about to get, in words: 12 copies, evenly spaced along "spine". When something is off, the reason goes there too, rather than leaving you with a dead Apply button and no explanation.
Along a path
Path mode needs two things: the layer you want to repeat, and a second shape on the same page to follow. That guide can be anything Figpea can read as a path — a rectangle, an ellipse, a line, a polygon, or a curve you drew yourself.
Pick it from the Path dropdown, set Count, and apply.

Copies are spaced by arc length, not by straight-line distance, so they stay evenly spread where the curve tightens instead of bunching up through the bends. Each one is also turned to face along the curve at its own position, which is what makes a row of leaves read as a border rather than a queue of identical stickers.
One detail worth knowing: on an open guide the first and last copies land exactly on the two endpoints, and on a closed one — an ellipse, a rectangle — the spacing wraps around, so you never get two copies stacked on each other at the seam.
Around a ring
Radial mode needs no guide. It has four fields — Count, Radius, Start angle and Step angle — and most of the time you only touch the first.
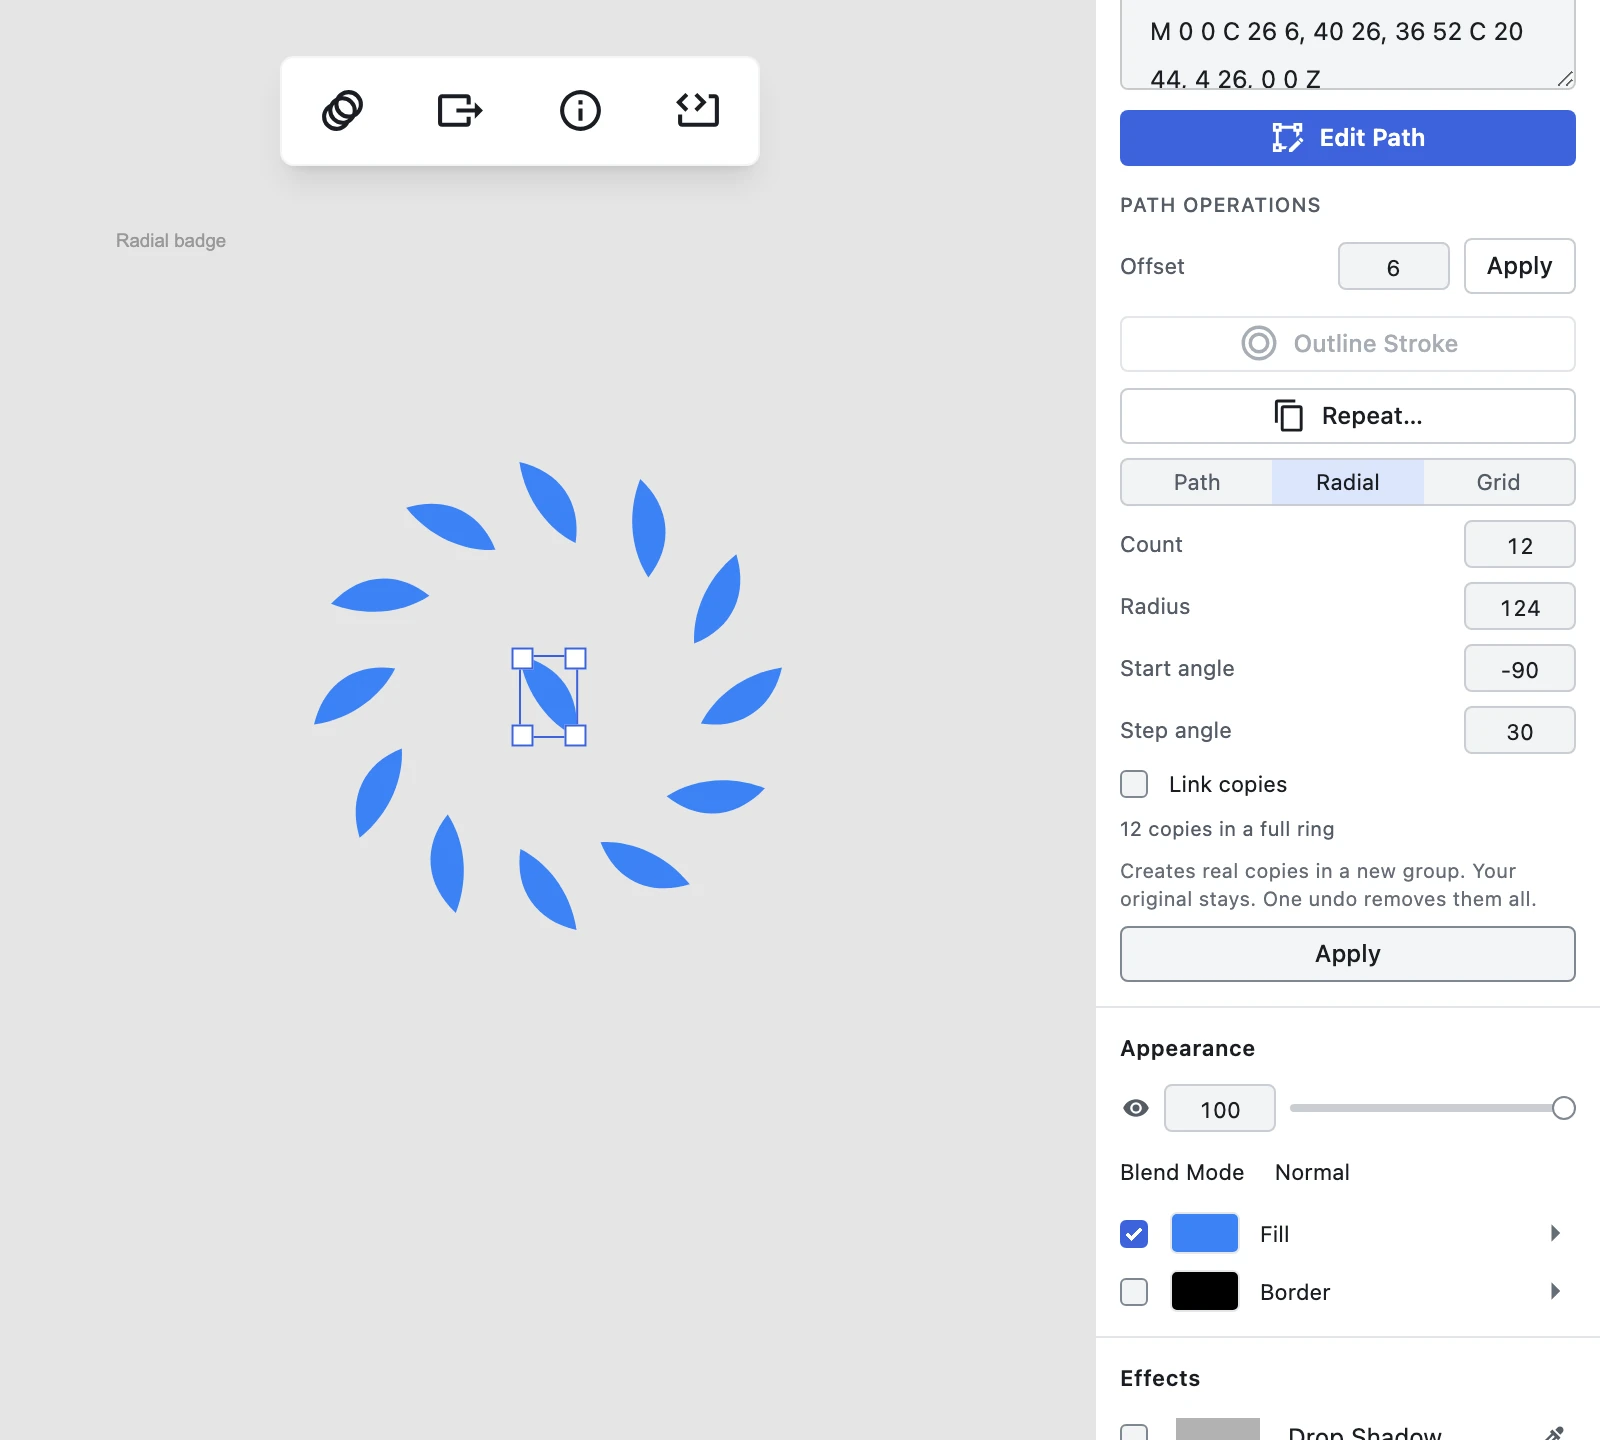
Step angle starts at 360 / Count, which closes the ring exactly. Radius grows with the count, so a bigger ring keeps roughly a quarter of a shape's width of clear air between neighbours. Start angle is −90°, which puts the first copy at the top. Radius and Step angle keep re-deriving from Count until you type your own value into one of them, at which point yours stays put while you carry on scrubbing.

Each copy is rotated by its own step as well as moved, so the result behaves like a pinwheel rather than a set of upright markers around a dial — the first copy keeps the original's orientation, the second is one step further round, and so on.
Set Step angle to anything other than 360 / Count and you get an arc instead of a closed ring. The status line follows along: 12 copies in a full ring becomes 12 copies over 300°.
In a grid
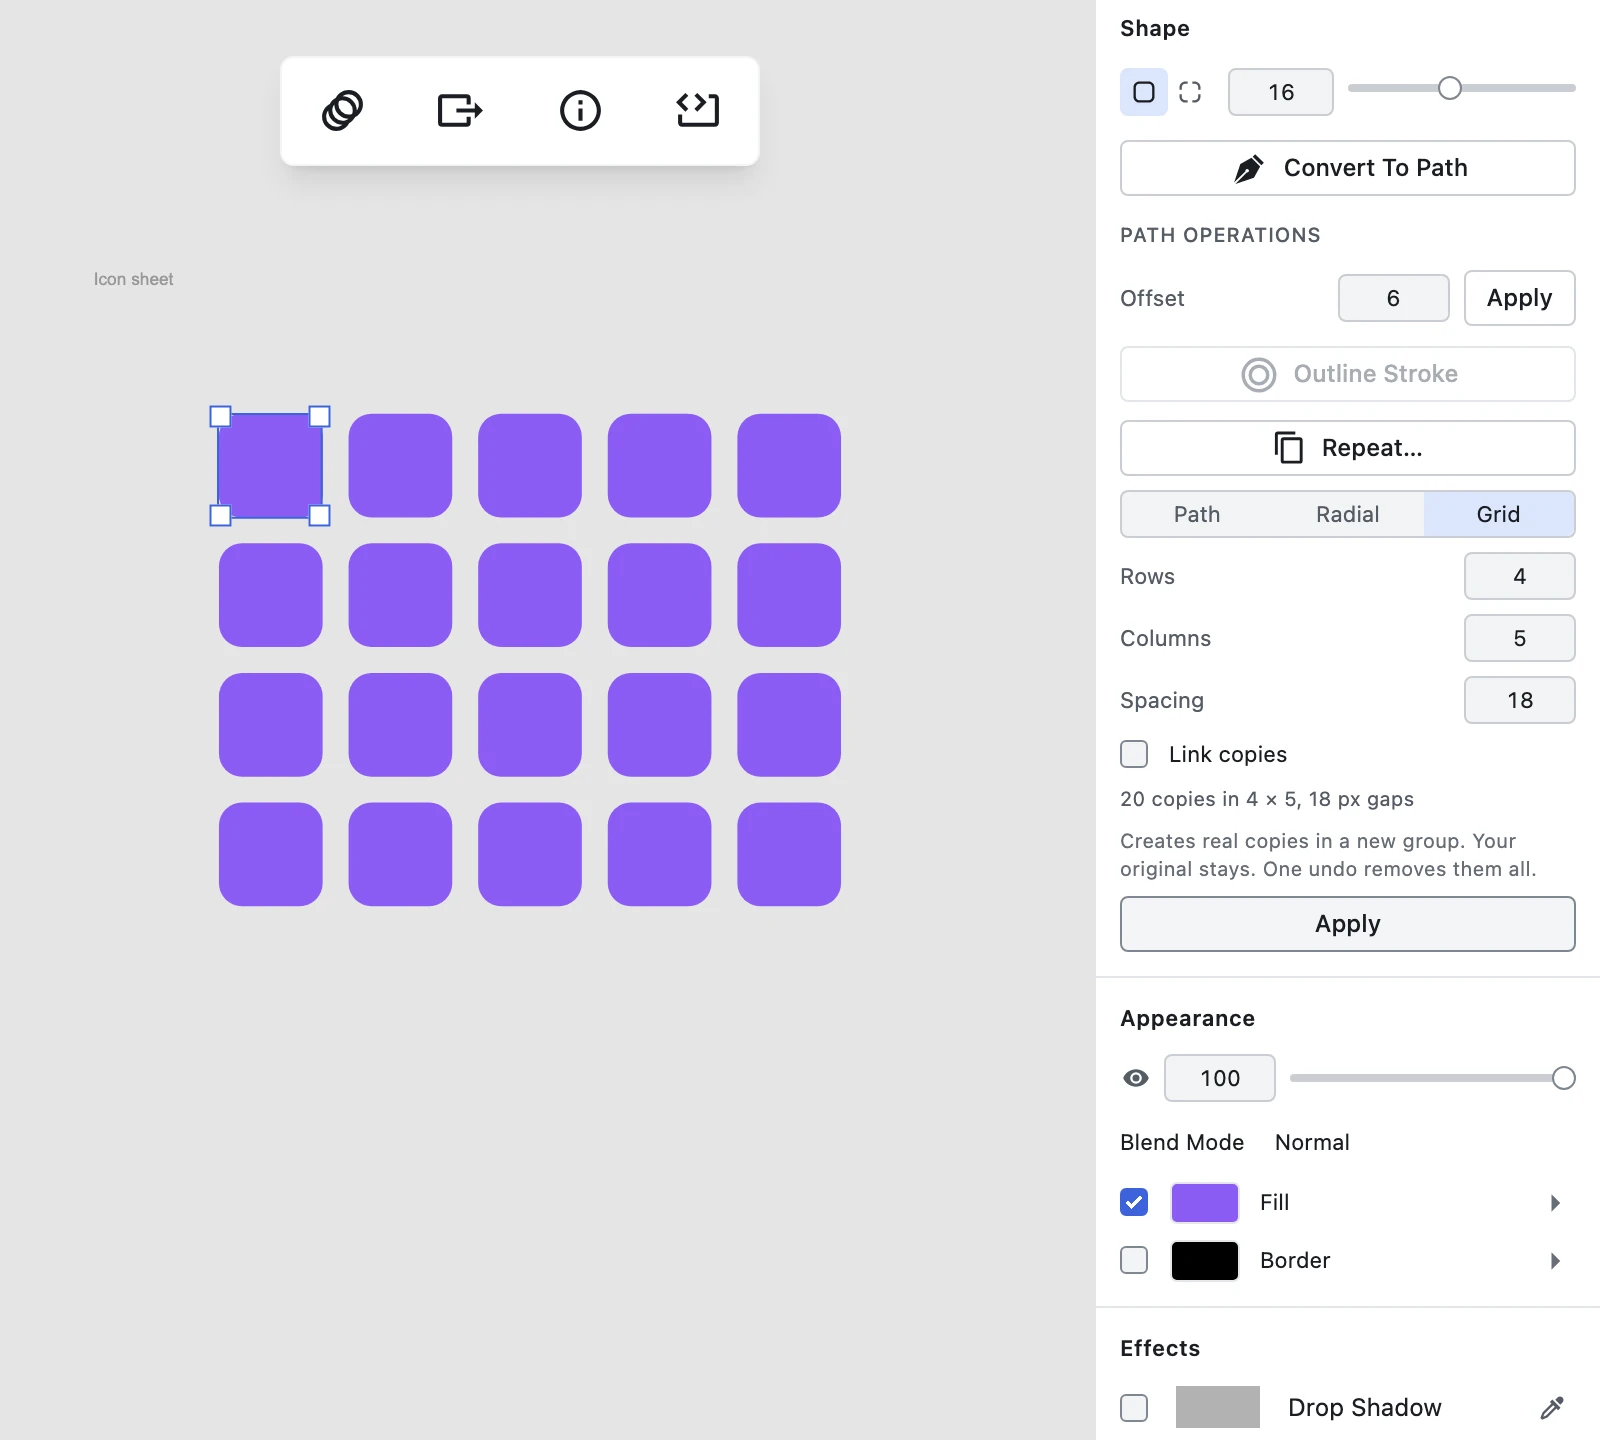
Grid mode has Rows, Columns and Spacing, and defaults to 3 × 3.
Spacing is the gap between copies, not the distance between their centres — 18 means 18 px of clear space, whatever size the shape is, which is the number you actually have in your head when you are spacing icons. Figpea's default gap is a quarter of the layer's longest side, with a 4 px floor.

The grid is anchored on the layer you started from: the top-left cell sits exactly where your shape already is, and the rest fill out to the right and down. Nothing rotates.
What you get back
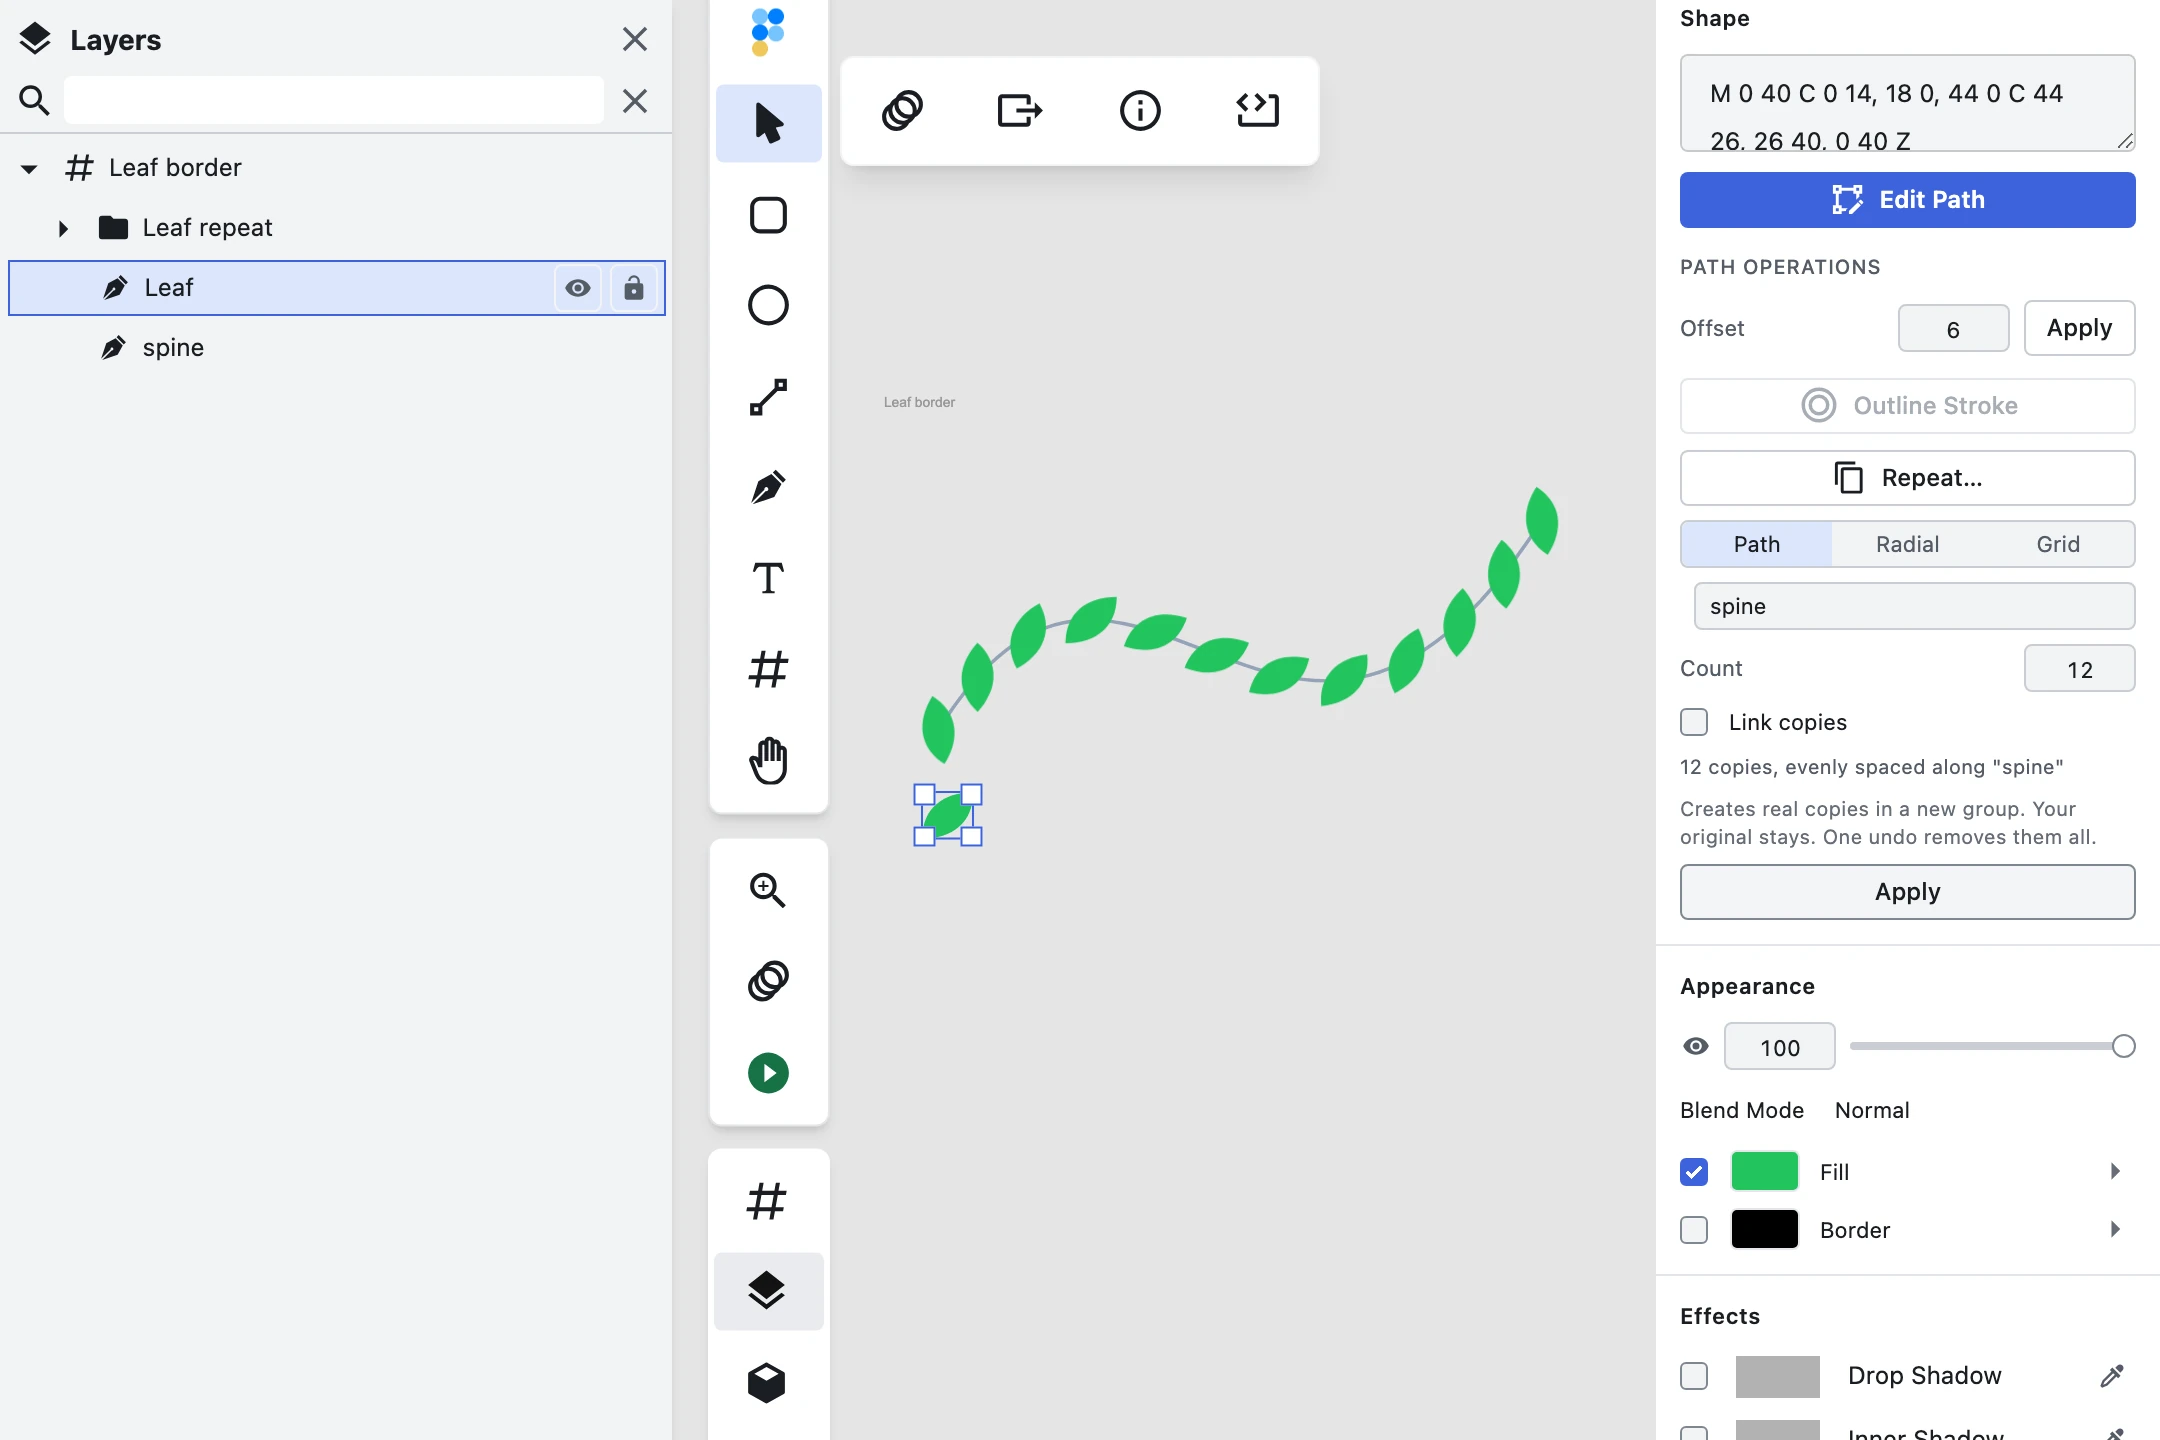
Apply creates one new group, named after your layer — a layer called Leaf gives you Leaf repeat — and drops it immediately above the original in the same folder. The original stays exactly where it was; Repeat never moves it or consumes it.
Inside that group are real layers. Not a live pattern, not a flattened image, not a symbol you have to detach before you can touch it — the same kind of layer you would have got by duplicating by hand, one at a time. Select one, change its fill, drag it two pixels left, delete it. It's yours.
And it's one undo. Cmd/Ctrl + Z once removes the whole group, however many copies are in it.
If you want the copies linked
There's a Link copies toggle in the panel, off by default. Turn it on and Figpea converts your original into a component and places linked instances instead of independent clones. Edit the component afterwards — its fill, its vector path, whatever is inside it — and every copy in the group takes the change at once. The undo is still a single step, and it puts the component conversion back too.
Leave it off when you want twenty things you will then make different from each other. Turn it on when you want twenty things that must stay the same.
The limits, plainly
The layout is placed once, and it is not live. Repeat works out the positions at the moment you press Apply, and then it is done. Move the original afterwards, or reshape the guide path, and the copies stay exactly where they were put. If the arrangement came out wrong, undo and apply it again rather than waiting for it to catch up. Link copies changes what a copy looks like when you edit the component — it does not make the copies follow anything around the canvas.
500 copies per apply. In Path and Radial, the Count field itself stops at 500. In Grid, Rows and Columns each stop at 500, but their product is not clamped for you: ask for 30 × 30 and the status line reads Too many copies (max 500) with Apply disabled until you bring the numbers down. There is a floor as well — below two copies, it isn't a repeat.
Shape layers only. Repeat lives in the inspector's Shape section, so it is offered for shapes: rectangles, ellipses, lines, polygons, drawn paths, and the image-filled shapes that come out of an imported file. A text layer or a group doesn't get it.
Path mode needs a second shape. If the page has nothing else Figpea can read as a path, the panel says so — No other shape layers on this page to repeat along — instead of silently offering an empty dropdown. Draw the curve first, then repeat along it.
It stays in Figpea. Figpea never writes back to .psd, .xd or .fig. Keep the work as a Figpea project (.fp), or export images out of it.
FAQ
How do I repeat a shape along a custom curve or path online? Open your file in Figpea and draw or import the curve as its own shape layer. Select the layer you want to repeat, open Shape → Repeat…, choose Path, pick your curve from the Path dropdown, set a Count, and apply. The copies are spaced evenly by arc length and each one turns to follow the curve's direction.
Are the repeated shapes grouped as editable layers? Yes. Every copy lands inside one new group named after your layer, and each copy is a real layer you can select, restyle, move or delete on its own. Your original stays where it was, and a single undo removes the whole group.
Can I edit the path later to update the repeated shapes automatically? No. Repeat places the copies once, when you press Apply. Reshaping the guide or moving the original leaves the copies where they were — undo and apply again instead. Link copies makes them linked component instances, so editing the component updates how every copy looks, but their positions still don't move.
The full reference — including the live preview, the linked-instance behaviour, and where the generated group lands — is in the Repeat tool documentation.