 Figpea
How to Create an Auto Layout Stack in Figpea
Auto layout is the difference between a group that sits still and a group that behaves — re-pack its children into a stack, keep a consistent gap and padding, and stay tidy as you add, remove, or reorder them. This is a short, practical guide to building one in Figpea, using a simple button bar as the example.
Everything here happens in the editor, in your browser, with nothing uploaded. When you save, the auto layout is stored in your Figpea project — it is never written back into the original .psd, .xd, or .fig you opened.
1. Group your layers
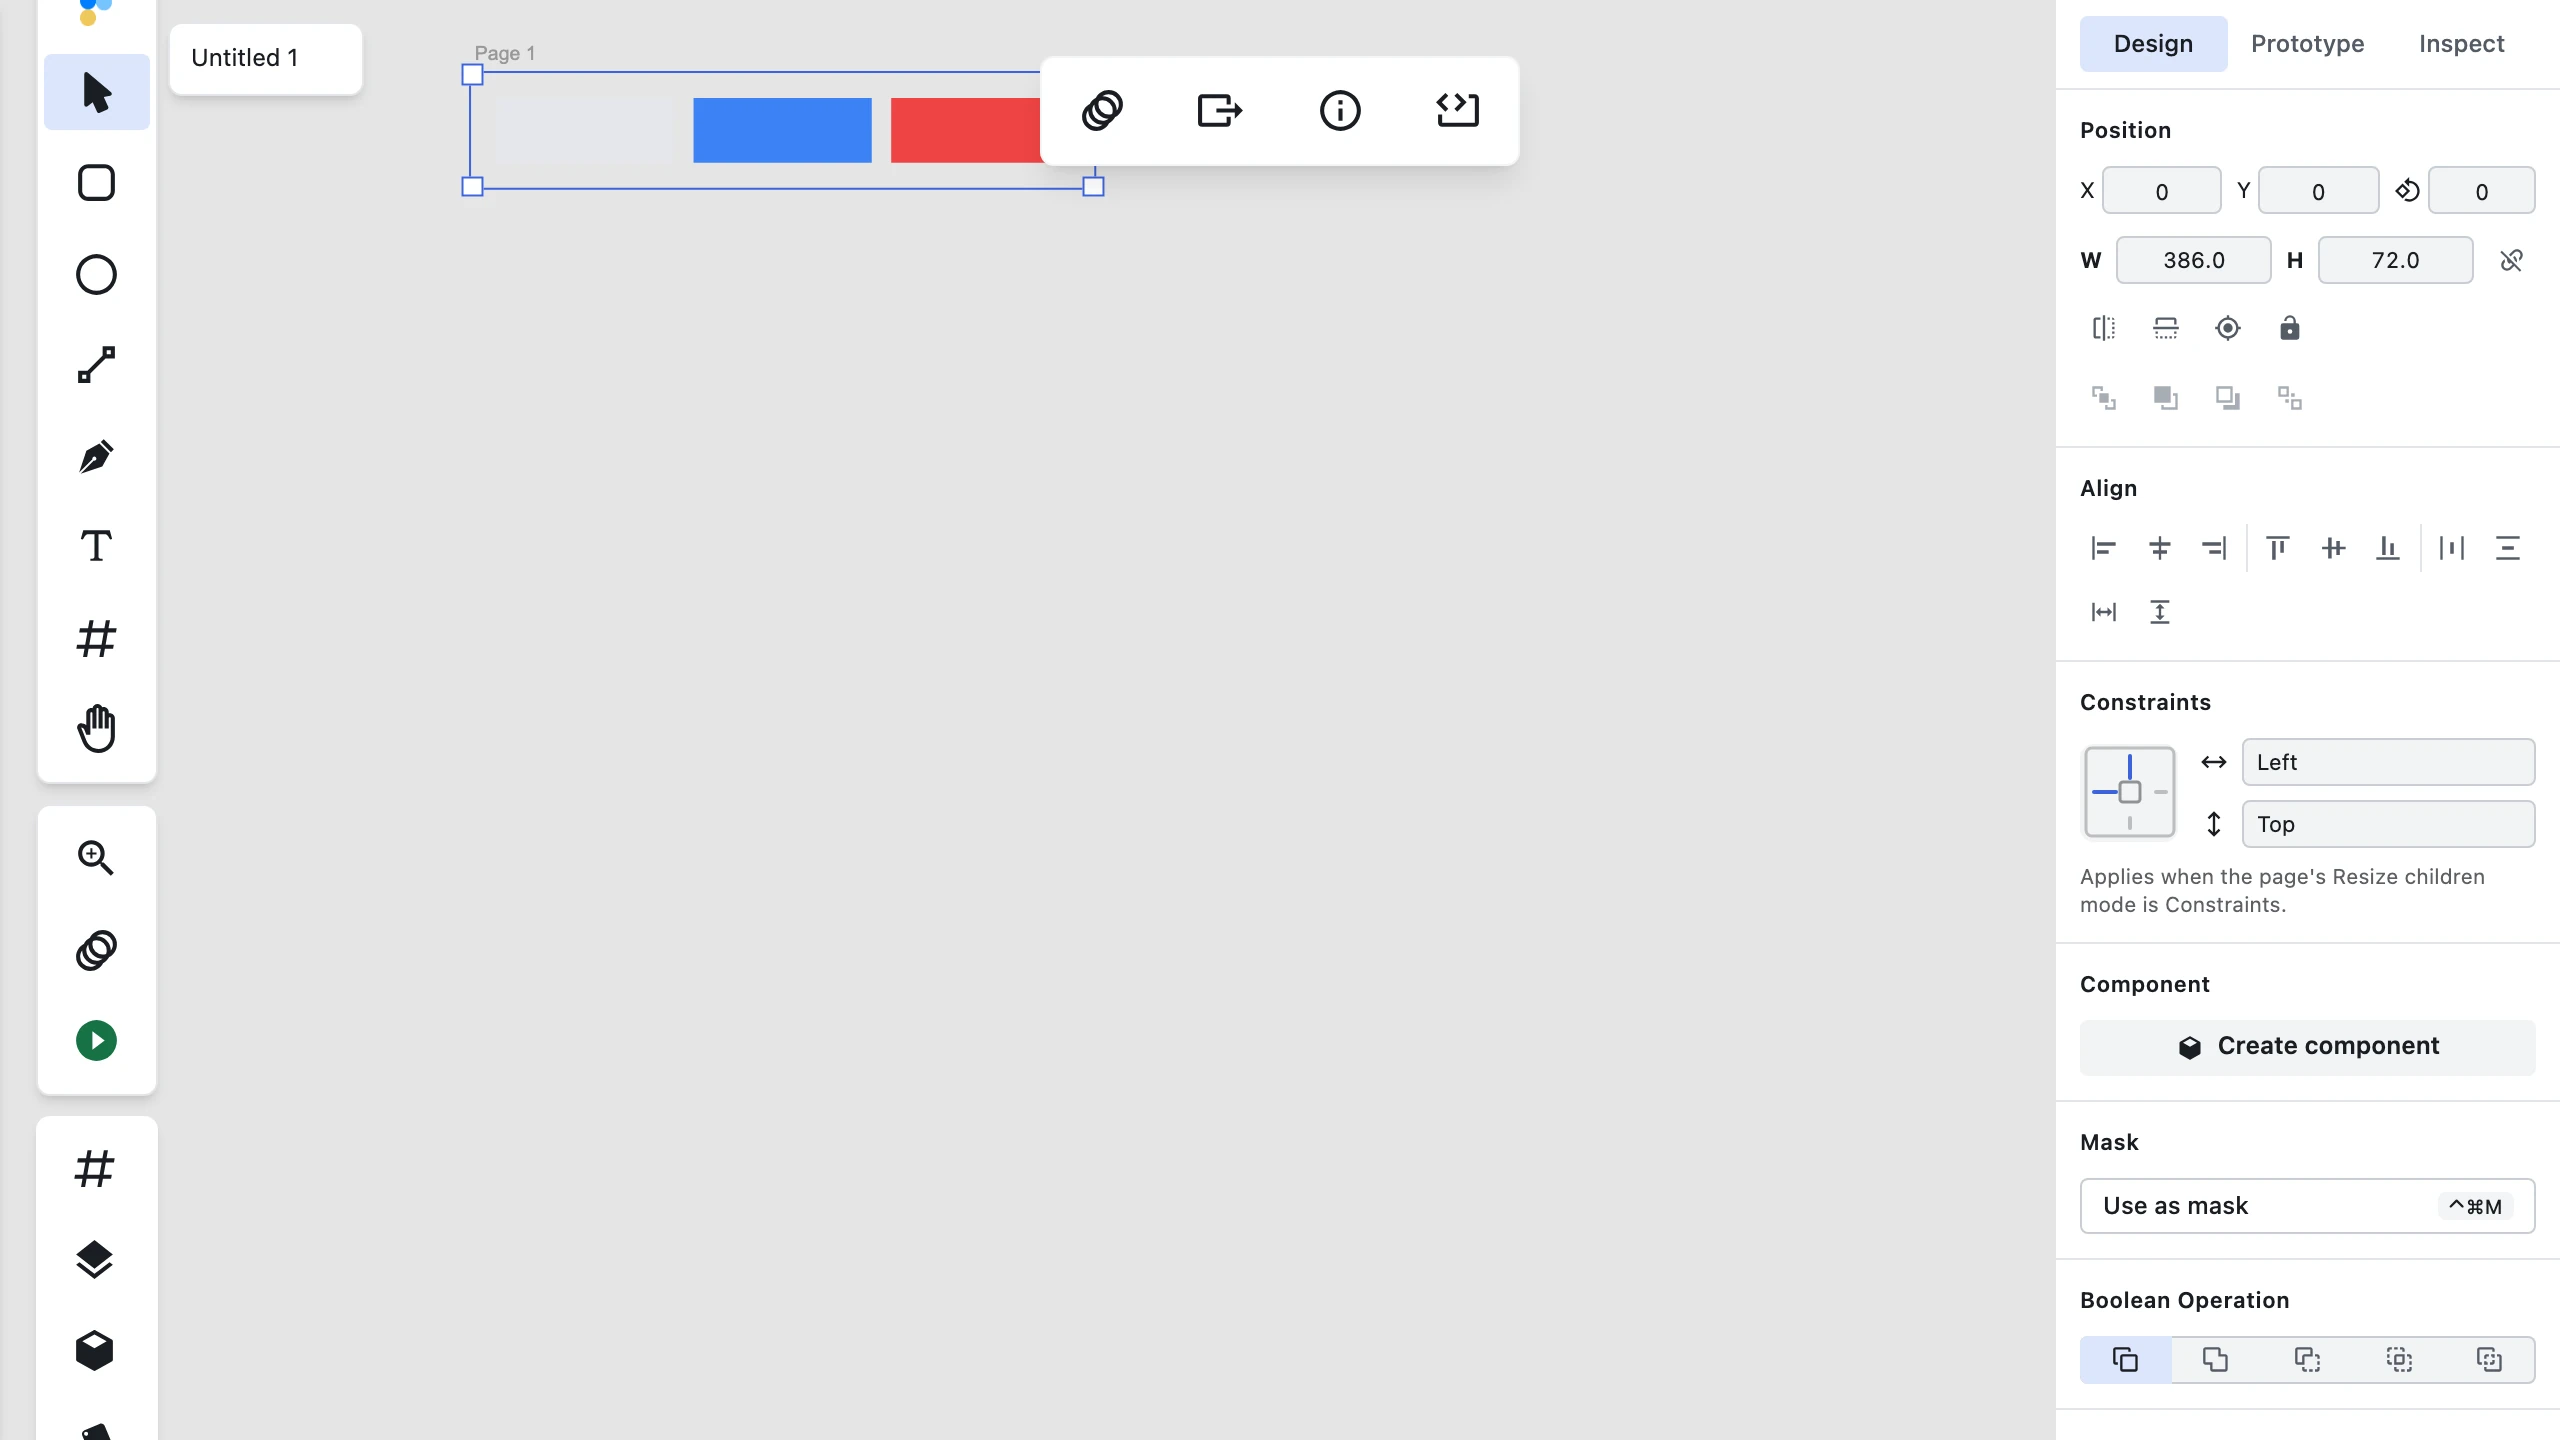

Start with the layers you want to stack — here, three buttons. Select them and group them (the same grouping you already use for organising a design). Auto layout only applies to a single group, so pick one group to make into a stack.
Open the right-hand design panel and, with the group selected, the Auto layout section appears. (It shows up only for a single group — select a shape, several layers, or nothing and it stays hidden.)
2. Set a direction
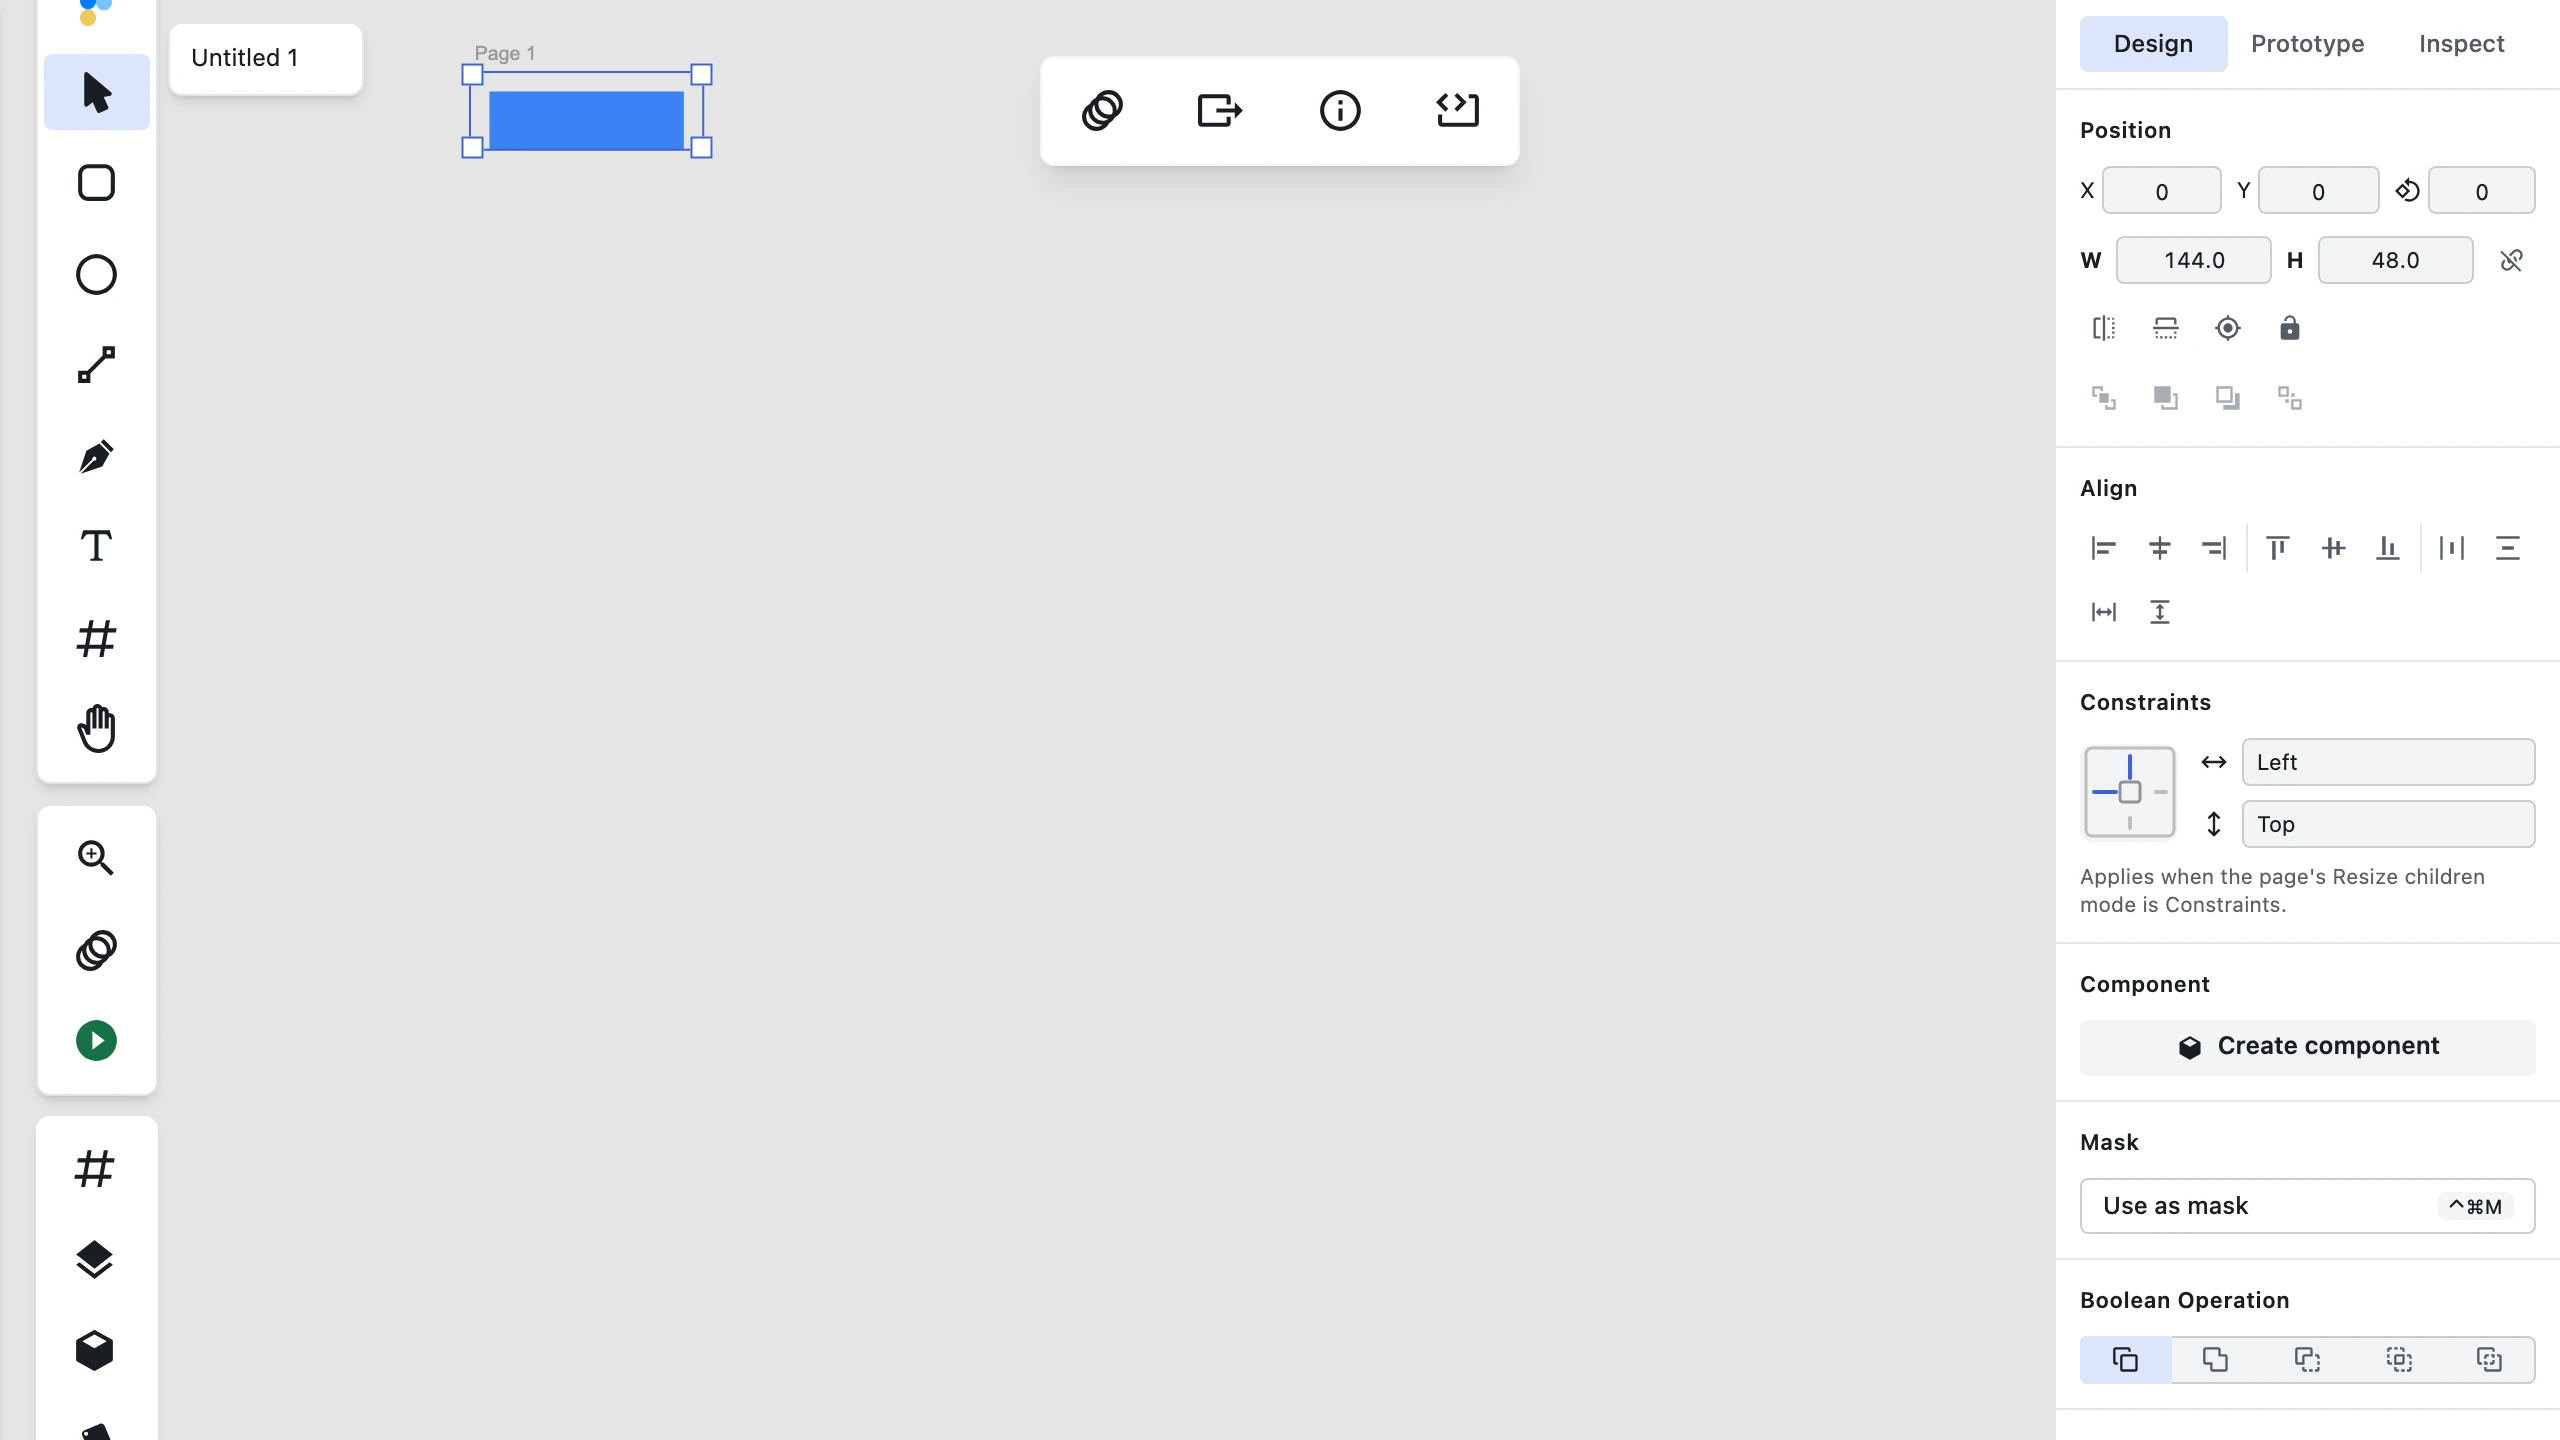

In the Auto layout section, choose a direction: None, Horizontal, or Vertical. Setting it to Horizontal takes the children in their current visual order and packs them left-to-right; Vertical stacks them top-to-bottom. The re-pack happens immediately, and a single undo reverts it.
3. Add a gap and padding

Gap is the space between children — one number, one undoable entry, and every adjacent gap updates at once. Padding insets the content from the group's frame on four sides; a linked toggle lets you set all four sides from a single edit, or unlink them to drive each side independently.
4. Align and size
Alignment controls how children distribute along each axis — Primary (the stack direction) offers Start, Center, End, Space between, and Space evenly; Counter aligns across the stack. Sizing lets a group either stay a fixed size or Hug contents (resize to fit its children plus padding). Switching to Hug snaps the frame to the contents; switching back keeps the hugged size as the new fixed size.
5. Reorder by dragging
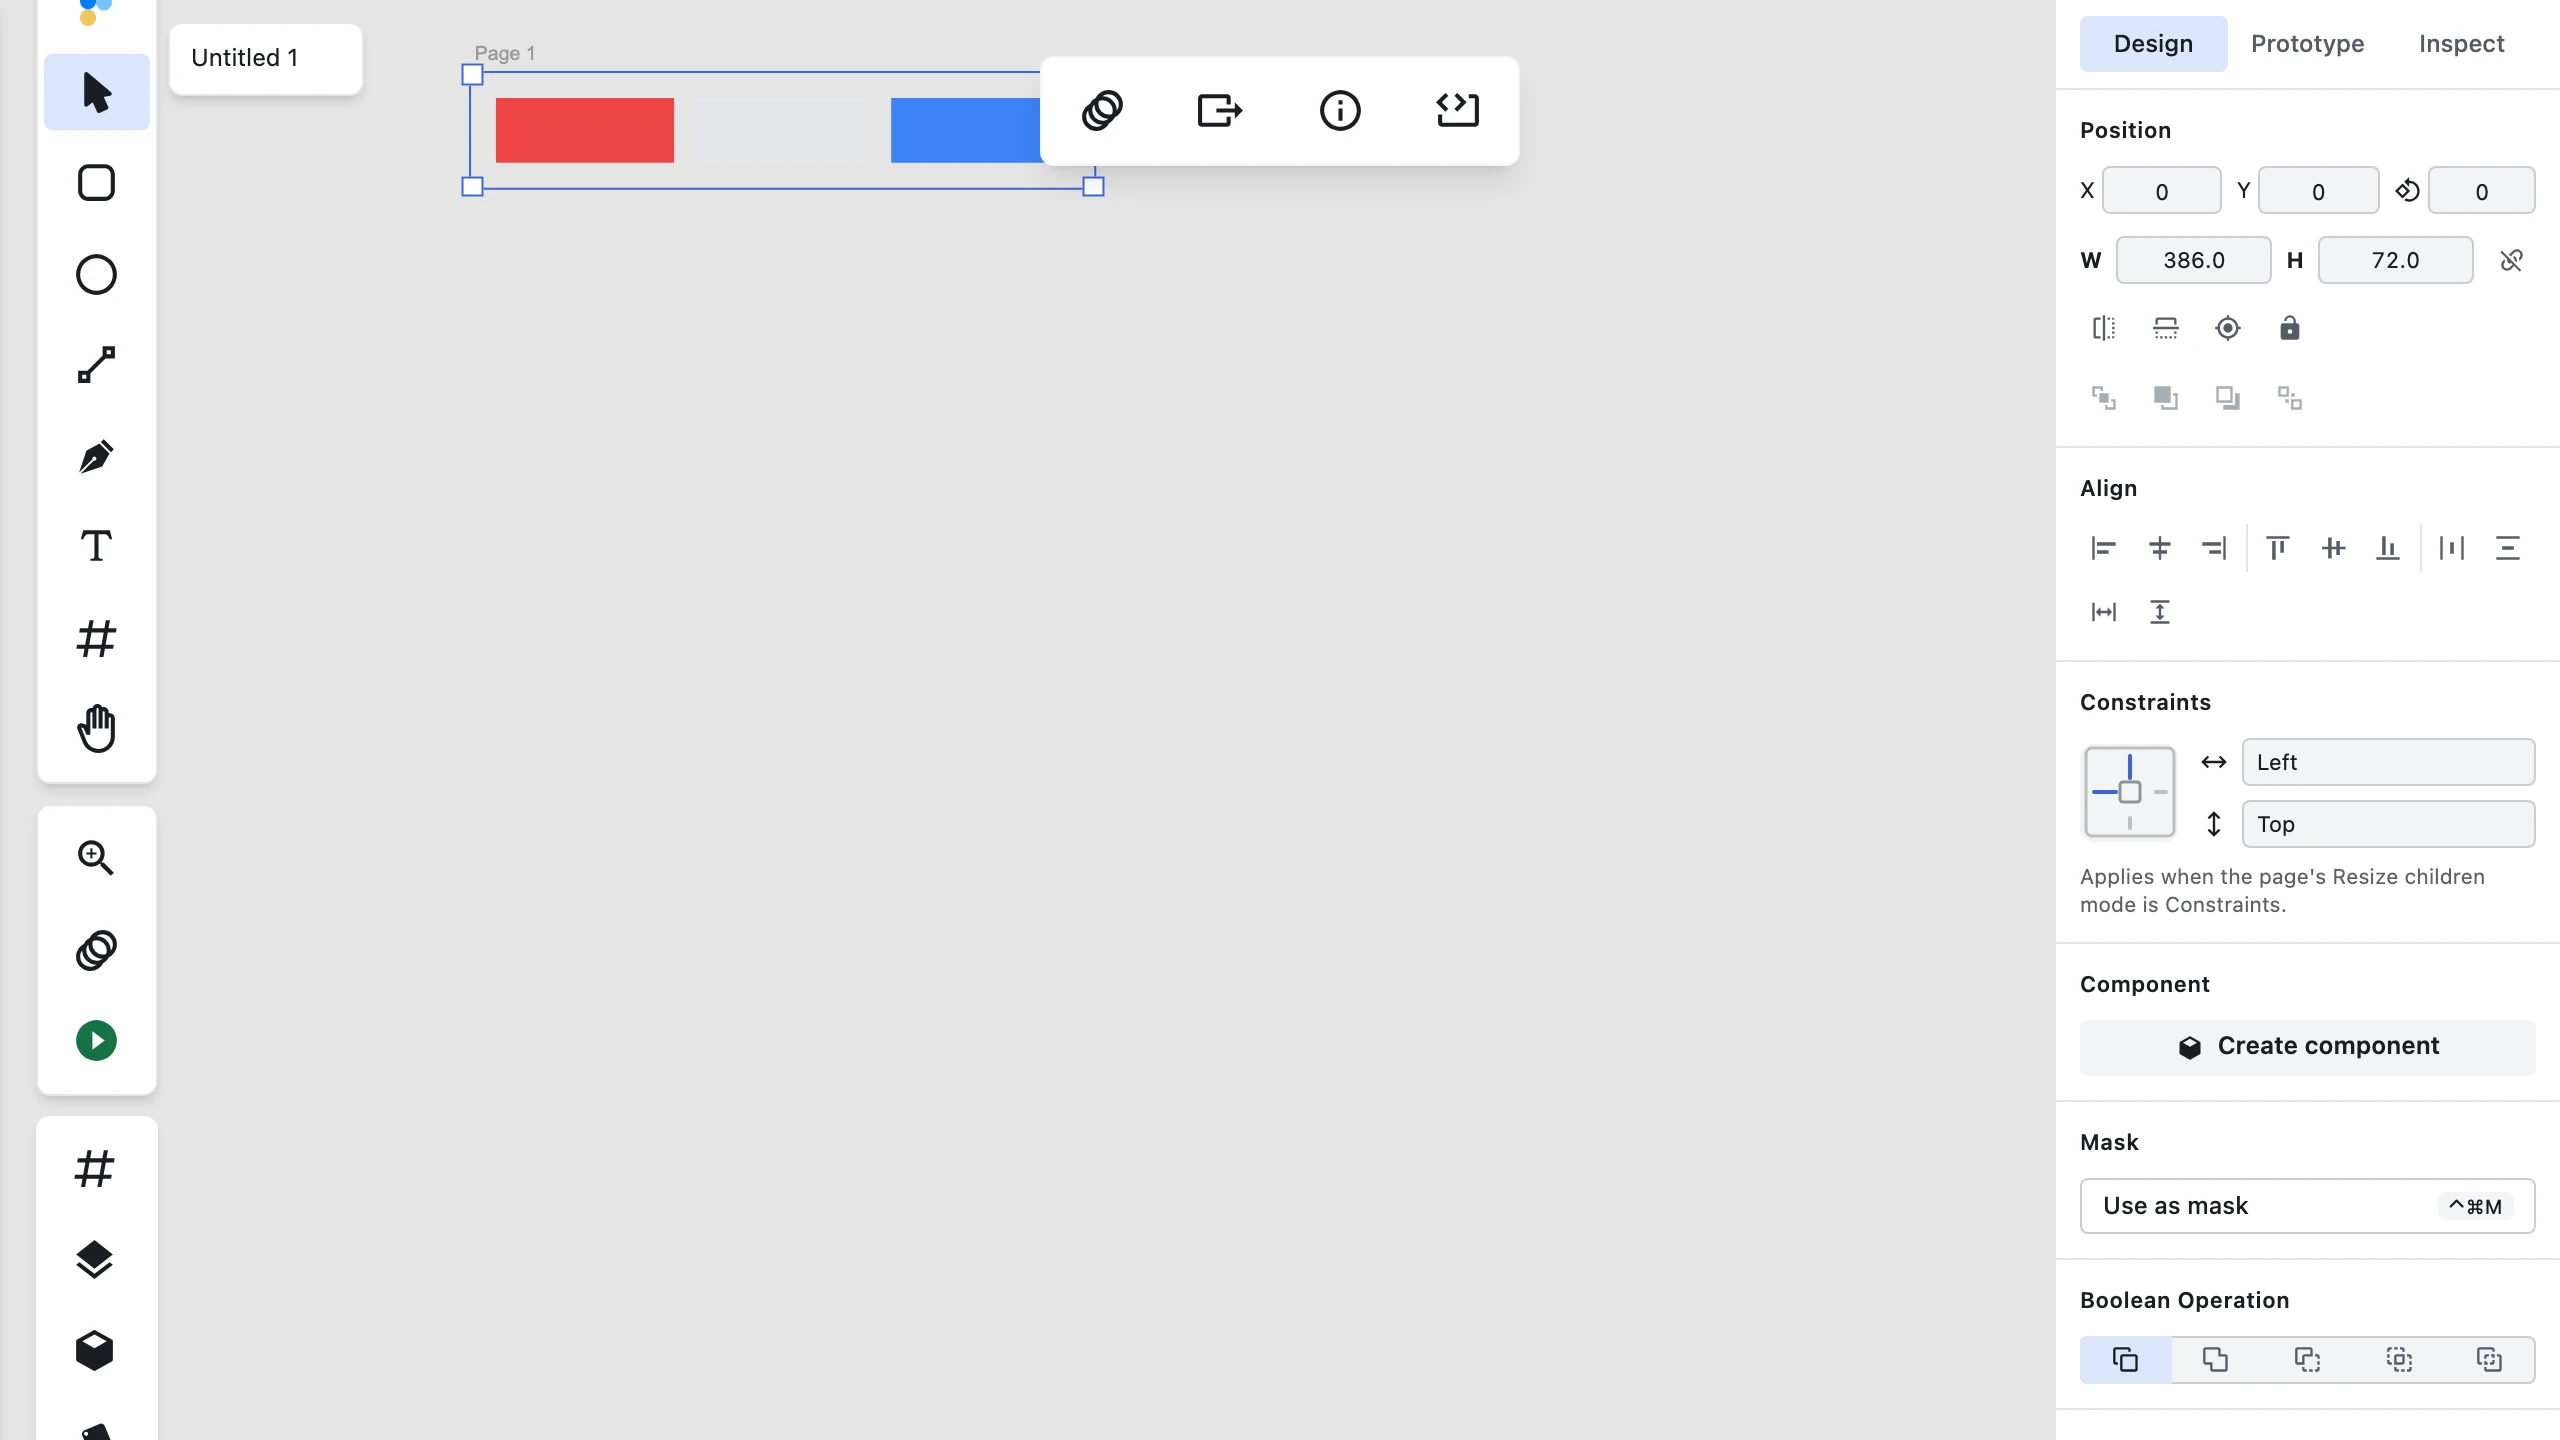
You don't have to reach for the layer list to move things around. Drag a child on the canvas and the stack re-solves into the new order as you drop it — one undoable step.
6. The finished stack
With a direction, a gap, padding, and an order you like, the group behaves like a proper stack: add a button and it slots in; drag one and the rest re-solve. The finished button bar below keeps its spacing and padding after the drag that moved its first button to the front.
Where to go next
- Full reference: Auto Layout in Figpea — every control, the deferred fields that stay untouched, and the import story.
- Brought a stack in from Figma? Figma Import (Alpha) explains where imported auto layout comes from and how to edit it.
- Auto layout lives alongside Constraints & Resizing — the other reflow feature in Figpea.