 Figpea
Constraints & Resizing
A constraint is a per-layer setting that decides what happens to that layer when its container is resized: hold one edge, stretch between two edges, hold its distance from the centre, or scale along with the container. Pin an action button to the bottom-right corner, stretch a divider so it always spans the full width, keep a logo centred — and stop nudging all three back into place by hand after every resize.
Where the controls live
There are two controls, and you need both. They are described here in the order you have to use them.
Per layer — the Constraints section. Select a layer whose parent is a page or a group and the inspector shows a Constraints section directly below Position: a 56×56 pin square, plus a Horizontal and a Vertical dropdown. Click a zone on the pin square to pin that edge, or pick a value from the dropdowns — both write the same setting. The pin square's tooltip reads "Pin to edges — Shift-click sets both", and that shortcut is documented nowhere else in the product: Shift-click the left or right zone to set Left and right in a single click, and Shift-click the top or bottom zone for Top and bottom. A top-level layer — one whose parent is the project root rather than a page or a group — has no Constraints section at all.
Per container — the Resize mode. A layer's constraint stays inert until the container holding it is switched into Constraints mode. Until you do that the Constraints section is still visible and still editable, with a hint underneath naming exactly which switch is missing: "Applies when the page's Resize children mode is Constraints." for a layer sitting directly in a page, and "Applies when the group's Resize mode is Constraints." for a layer inside a group.
Two containers, two option sets
Which kind of container a layer sits in changes both what you switch and what the options are called:
| Container | Inspector row | Options | Default |
|---|---|---|---|
| Page / artboard | Resize children | Fixed · Constraints | Fixed |
| Group / folder | Resize | Content · Viewport · Constraints | Content |
A page's Resize children control has only two states, because a page's frame is always exactly its declared width and height — there is no content-derived frame to reason about. A group or folder gets a third state, Content, because a group's frame is normally derived from whatever is inside it rather than fixed. The inspector prints a one-line hint under the group's dropdown, and those three lines are the crispest description of the modes there is:
- Content (the default): "No fixed frame — resizing scales children uniformly."
- Viewport: "Fixed frame clips content — children keep their size."
- Constraints: "Fixed frame clips content — children reflow by their Constraints."
Read the last two literally: switching a group to Viewport or Constraints gives it a fixed frame, and that frame clips anything hanging outside it. That is deliberate rather than a side effect — a constraint is a gap measured to the container's edges, so the container needs edges that stay where you put them. Switch the group back to Content if you would rather it hug its contents.
One ownership note: while a group has Auto Layout applied, the Layout → Resize control is unavailable — primary/counter sizing owns the group's box for as long as Auto Layout is active. Switch Auto Layout back to None to use Content, Viewport, or Constraints again.
A page's clipping is a separate, independent control: every page carries its own Clip Content checkbox (on by default), and moving a page's Resize children between Fixed and Constraints does not touch it either way.
The five horizontal options, worked
Take a frame 400 → 600 px wide (Δ = +200) holding a single child at x = 40, width = 120 — so the child starts 240 px clear of the frame's right edge. Set that child's Horizontal to each option in turn, resize the frame, and here is exactly where it lands:
| Horizontal | After the resize | In words |
|---|---|---|
| Left (default) | x = 40, w = 120 | Holds its distance from the left edge. Nothing moves. |
| Right | x = 240, w = 120 | Holds its 240 px gap to the right edge, so it slides right by the full 200 px. |
| Left and right | x = 40, w = 320 | Both gaps are held, so the layer stretches by the full 200 px. |
| Center | x = 140, w = 120 | Its centre stays 100 px left of the frame's centre. Size unchanged. |
| Scale | x = 60, w = 180 | Position and size both scale by ×1.5 (600 ÷ 400). |
The five vertical options
The vertical axis is the exact analogue, option for option: Top, Bottom, Top and bottom, Center, and Scale, measured against the container's top and bottom edges instead of its left and right.
The two axes are independent, so a layer set Right + Bottom tracks the bottom-right corner. The defaults are Left + Top, which is why a container switched to Constraints mode with untouched children behaves exactly like a Fixed one: you opt in twice — once for the container, and once for each layer you actually want to move.
Worked example A: a page
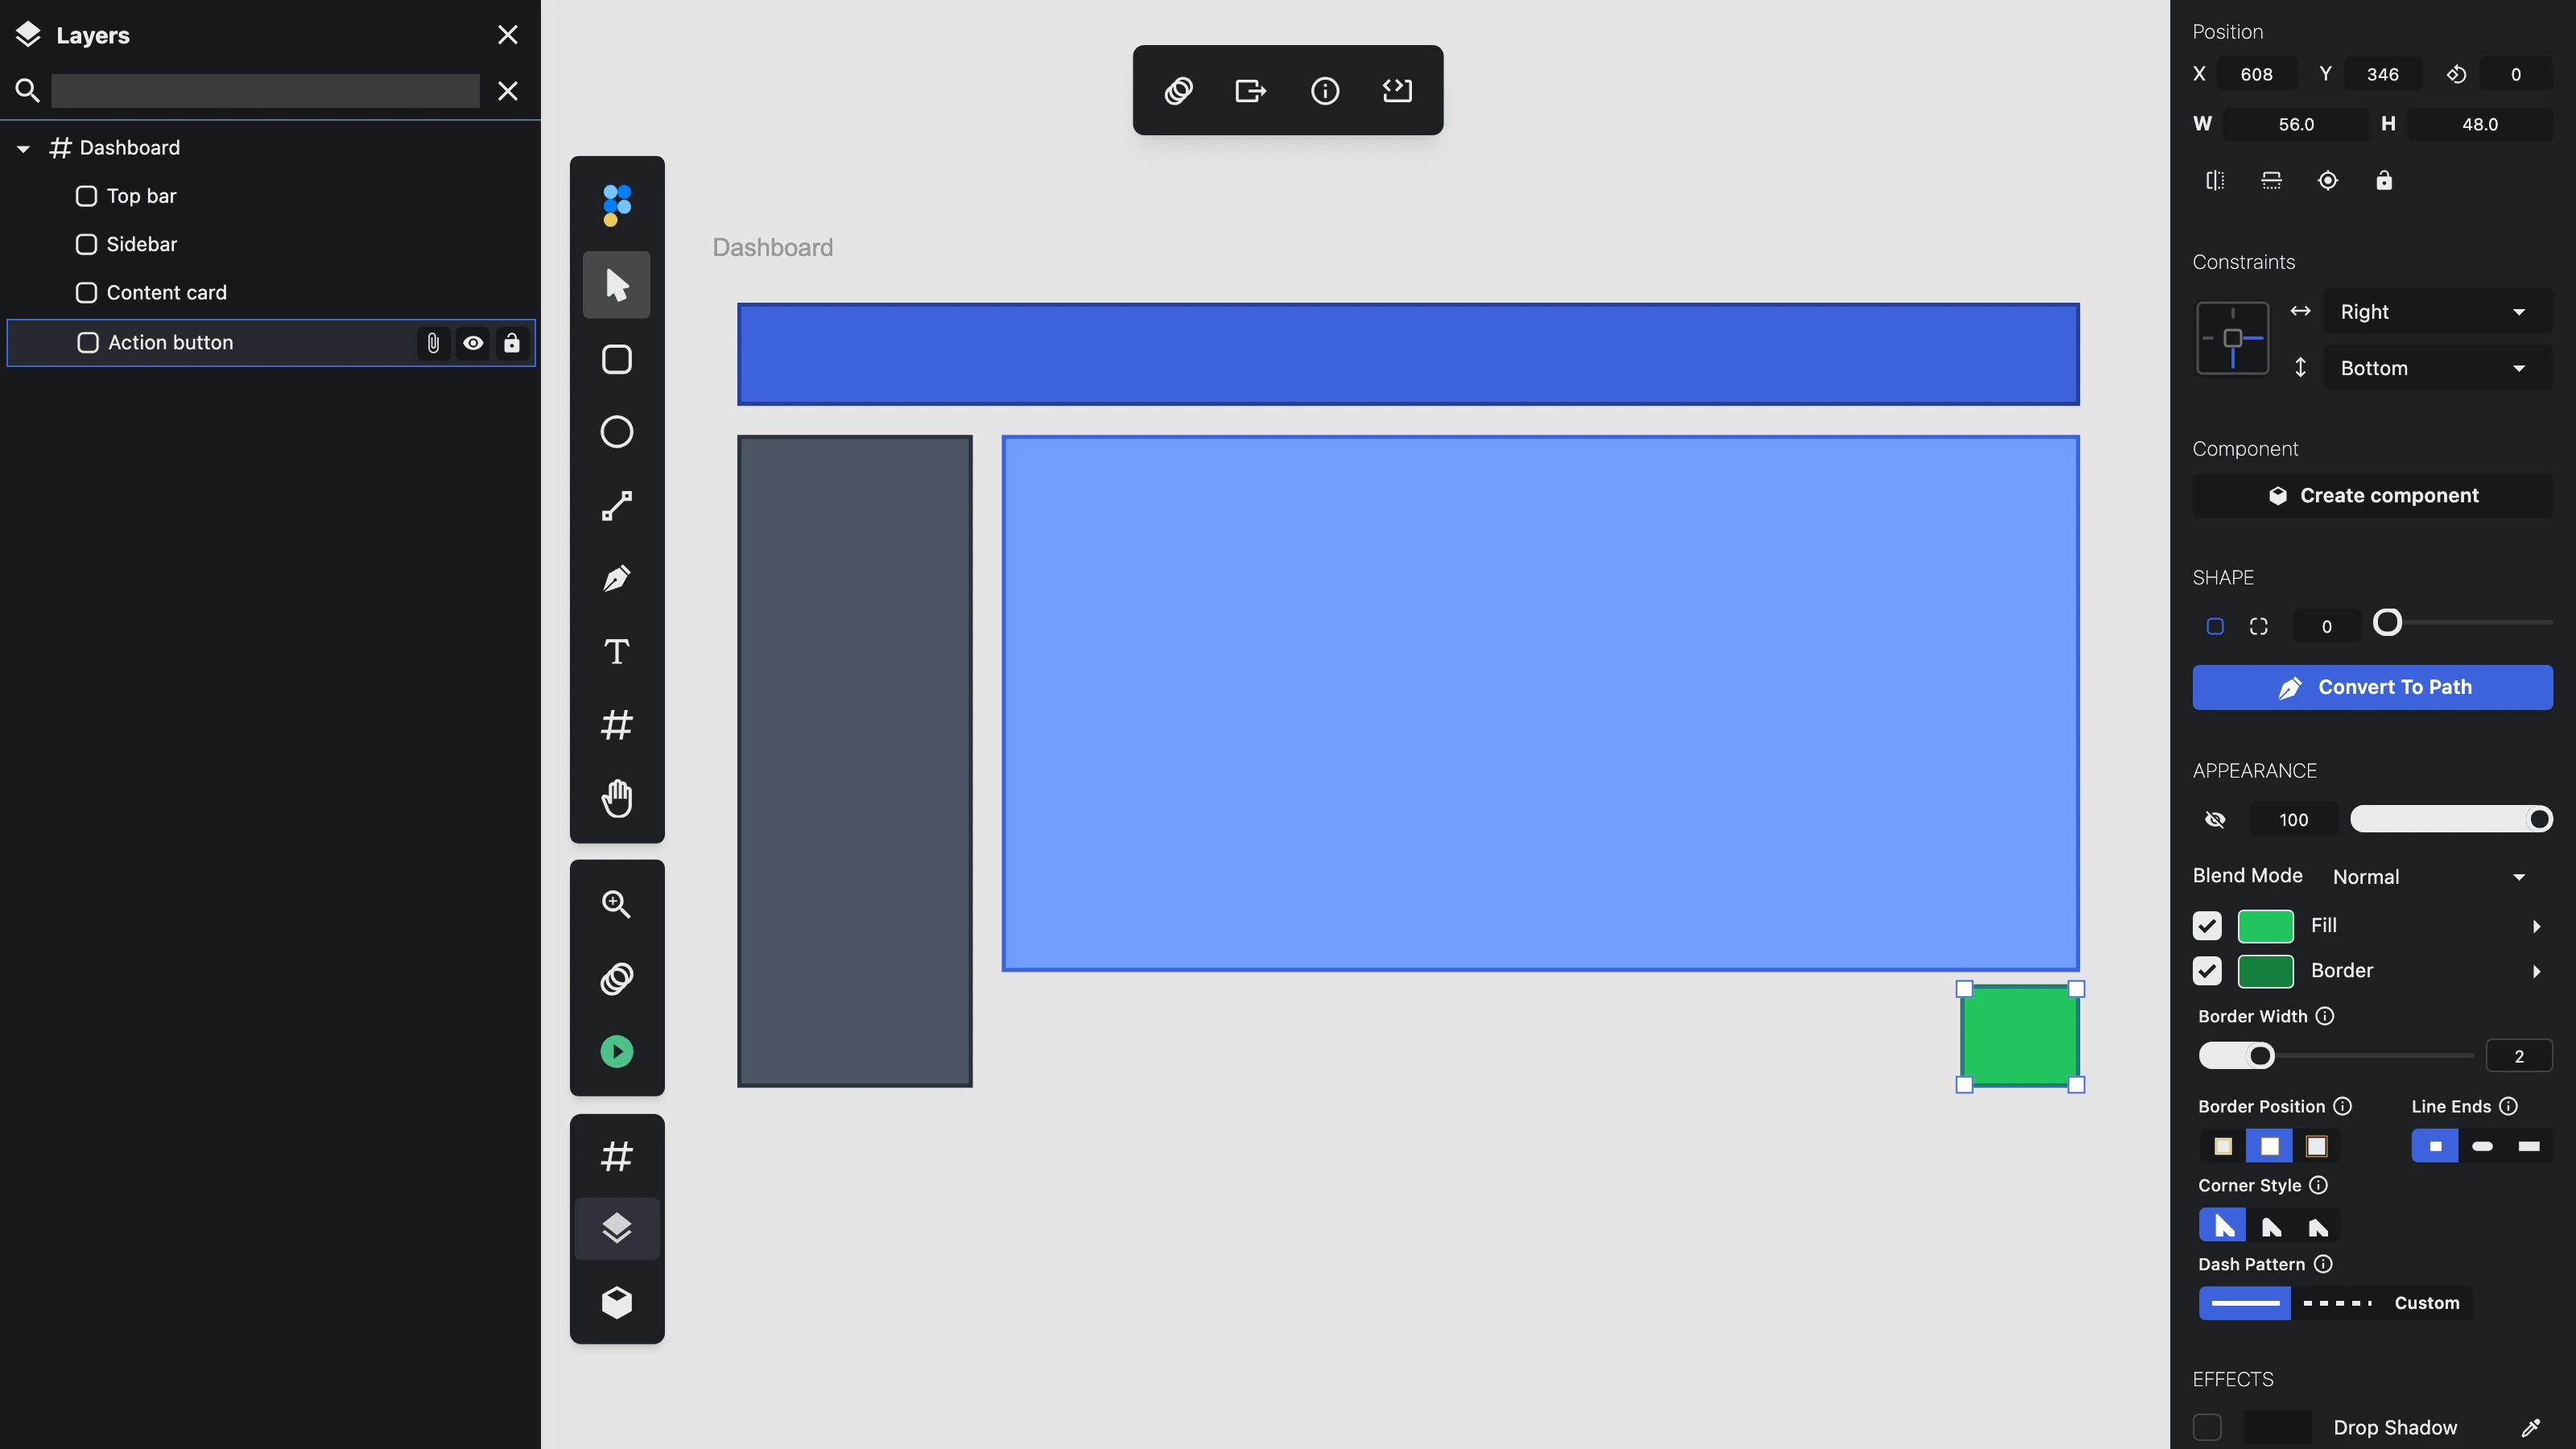
Set the page's Resize children to Constraints, then give its children the intent you want them to keep: a top bar Left and right + Top so it spans the full width, a sidebar Left + Top and bottom so it runs the full height, an action button Right + Bottom so it tracks the corner. Drag the page's resize handle wider and taller and all three hold their intent in one gesture.
Worked example B: a group
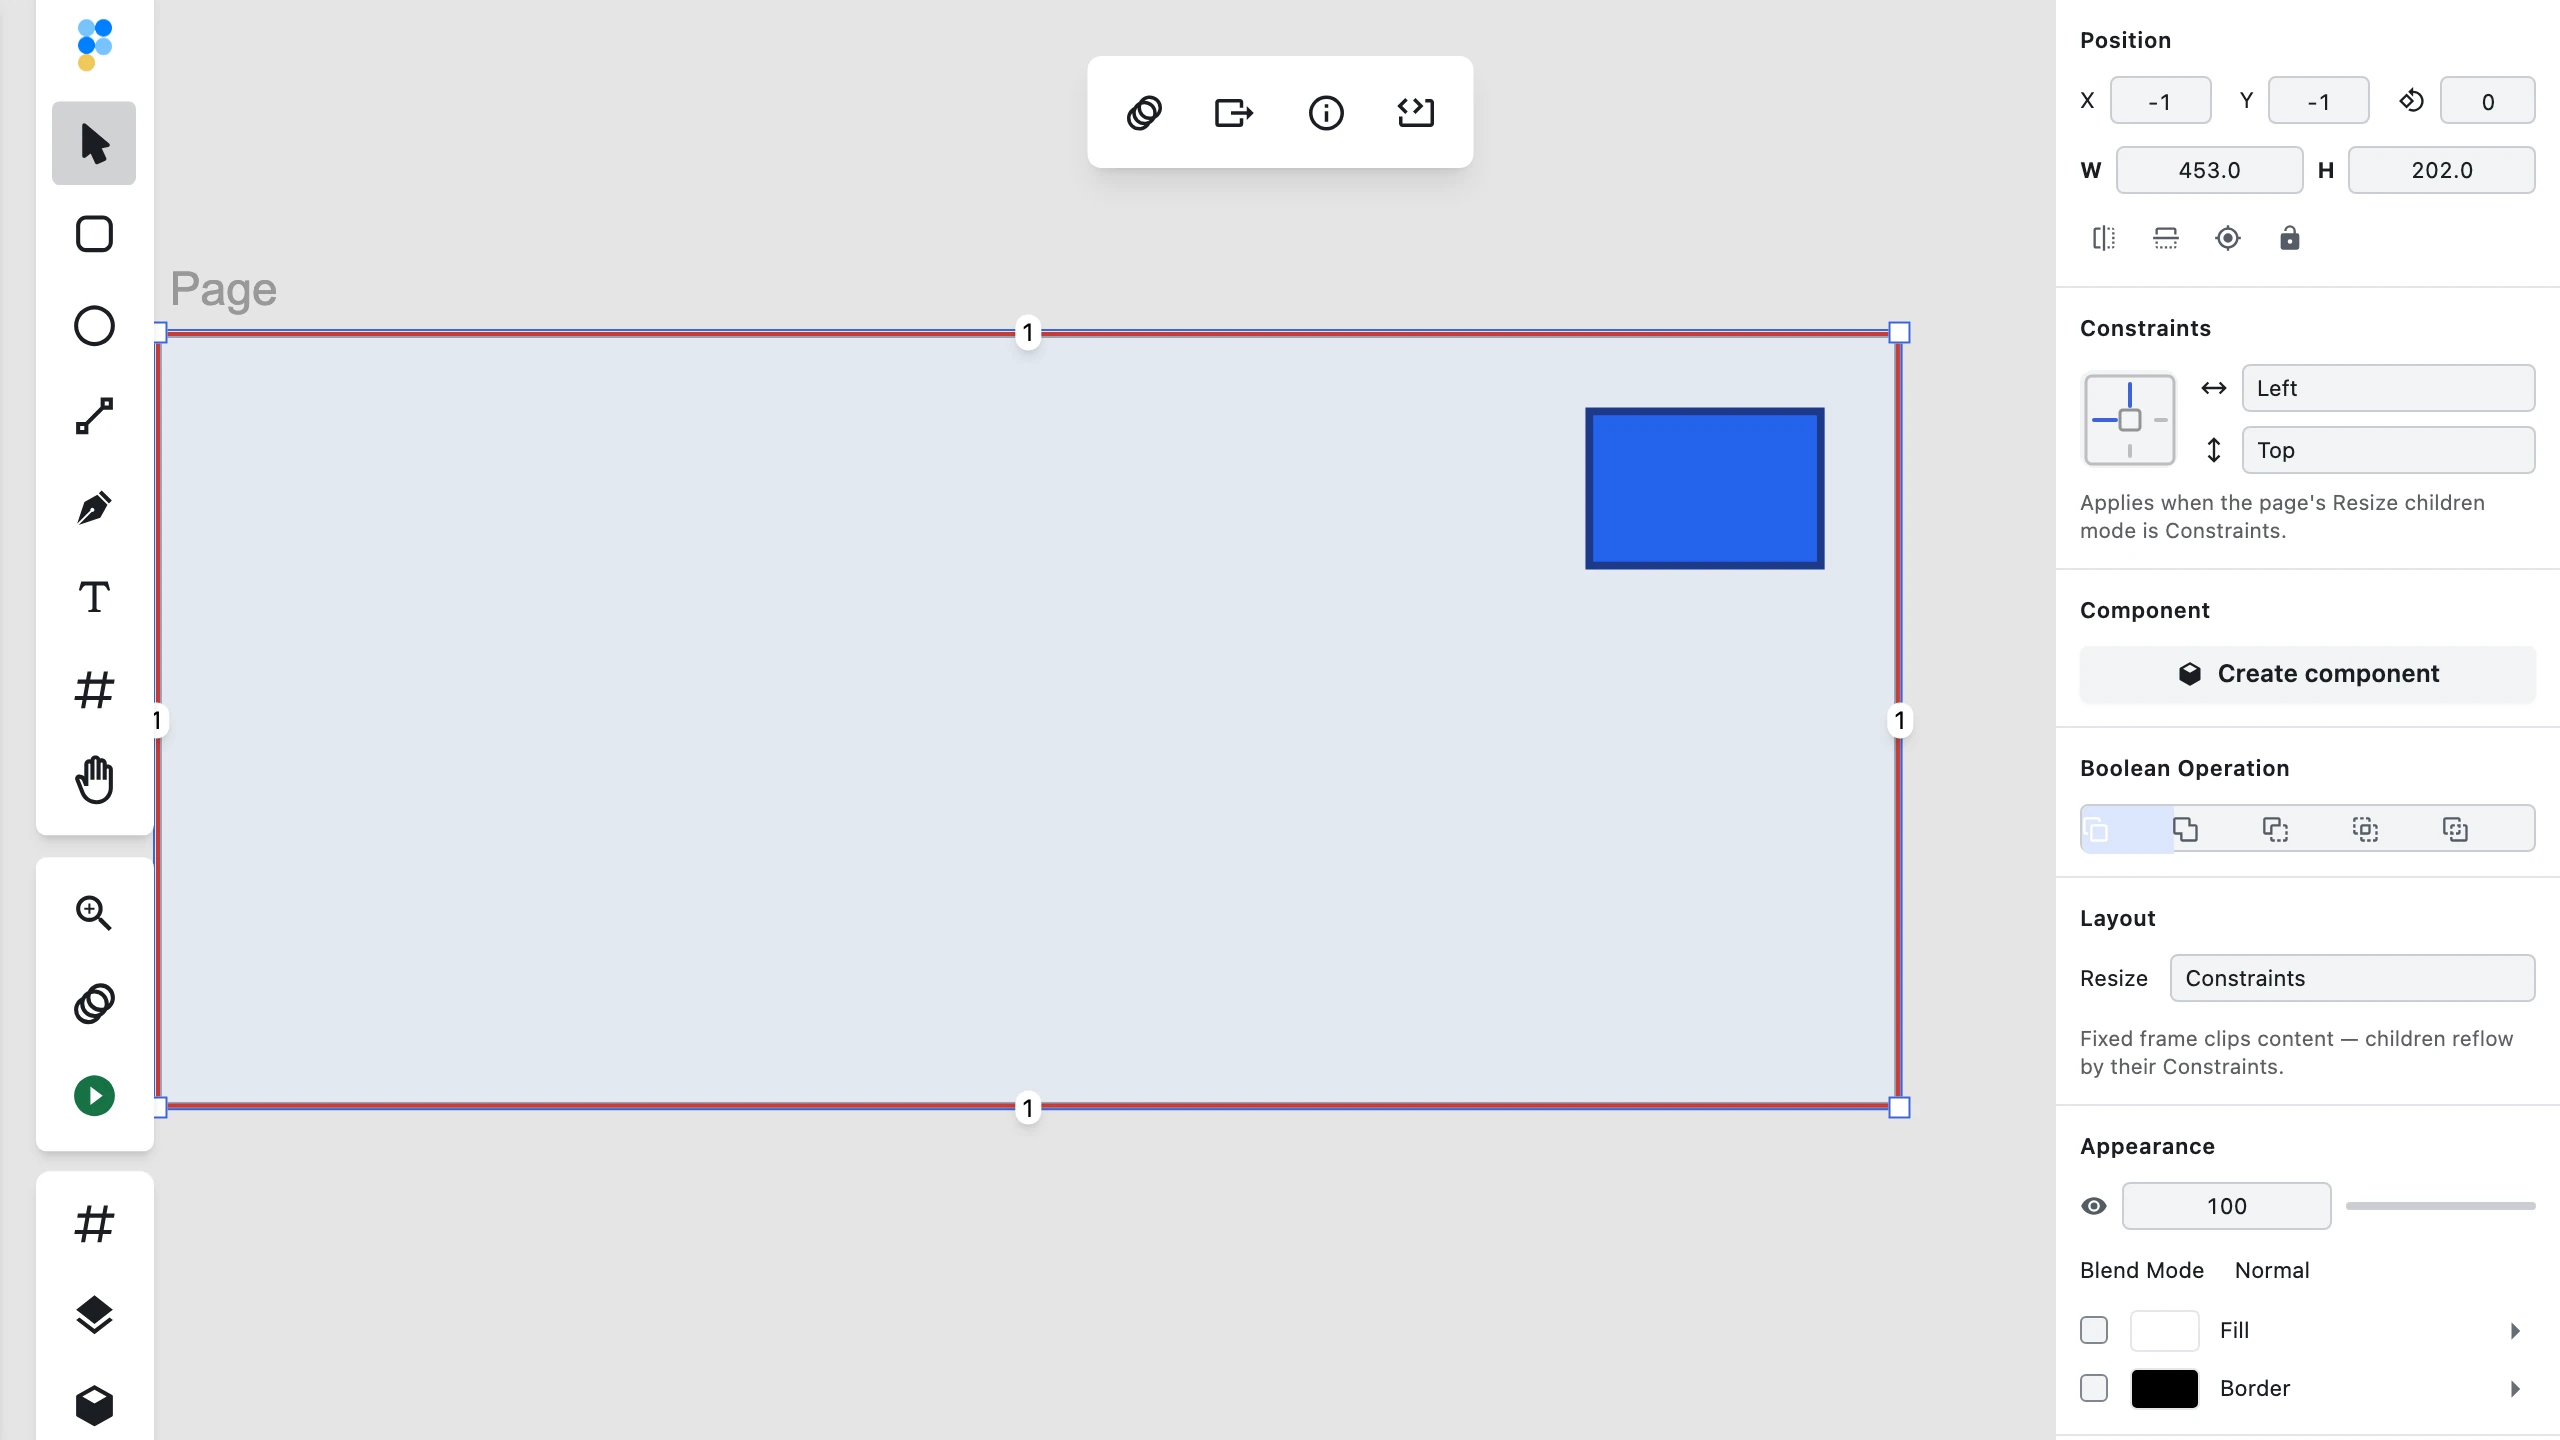
Groups and folders reflow their own children too, completely independently of whatever mode the page around them is in. Switch the group's Resize to Constraints — it gains a fixed frame and starts clipping, as described above — put a Right-pinned child inside it, and widen the group by its own handles. The child stays welded to the group's moving right edge instead of scaling with it, which is the same behaviour as the page example one level down.
Nesting: a group inside a page
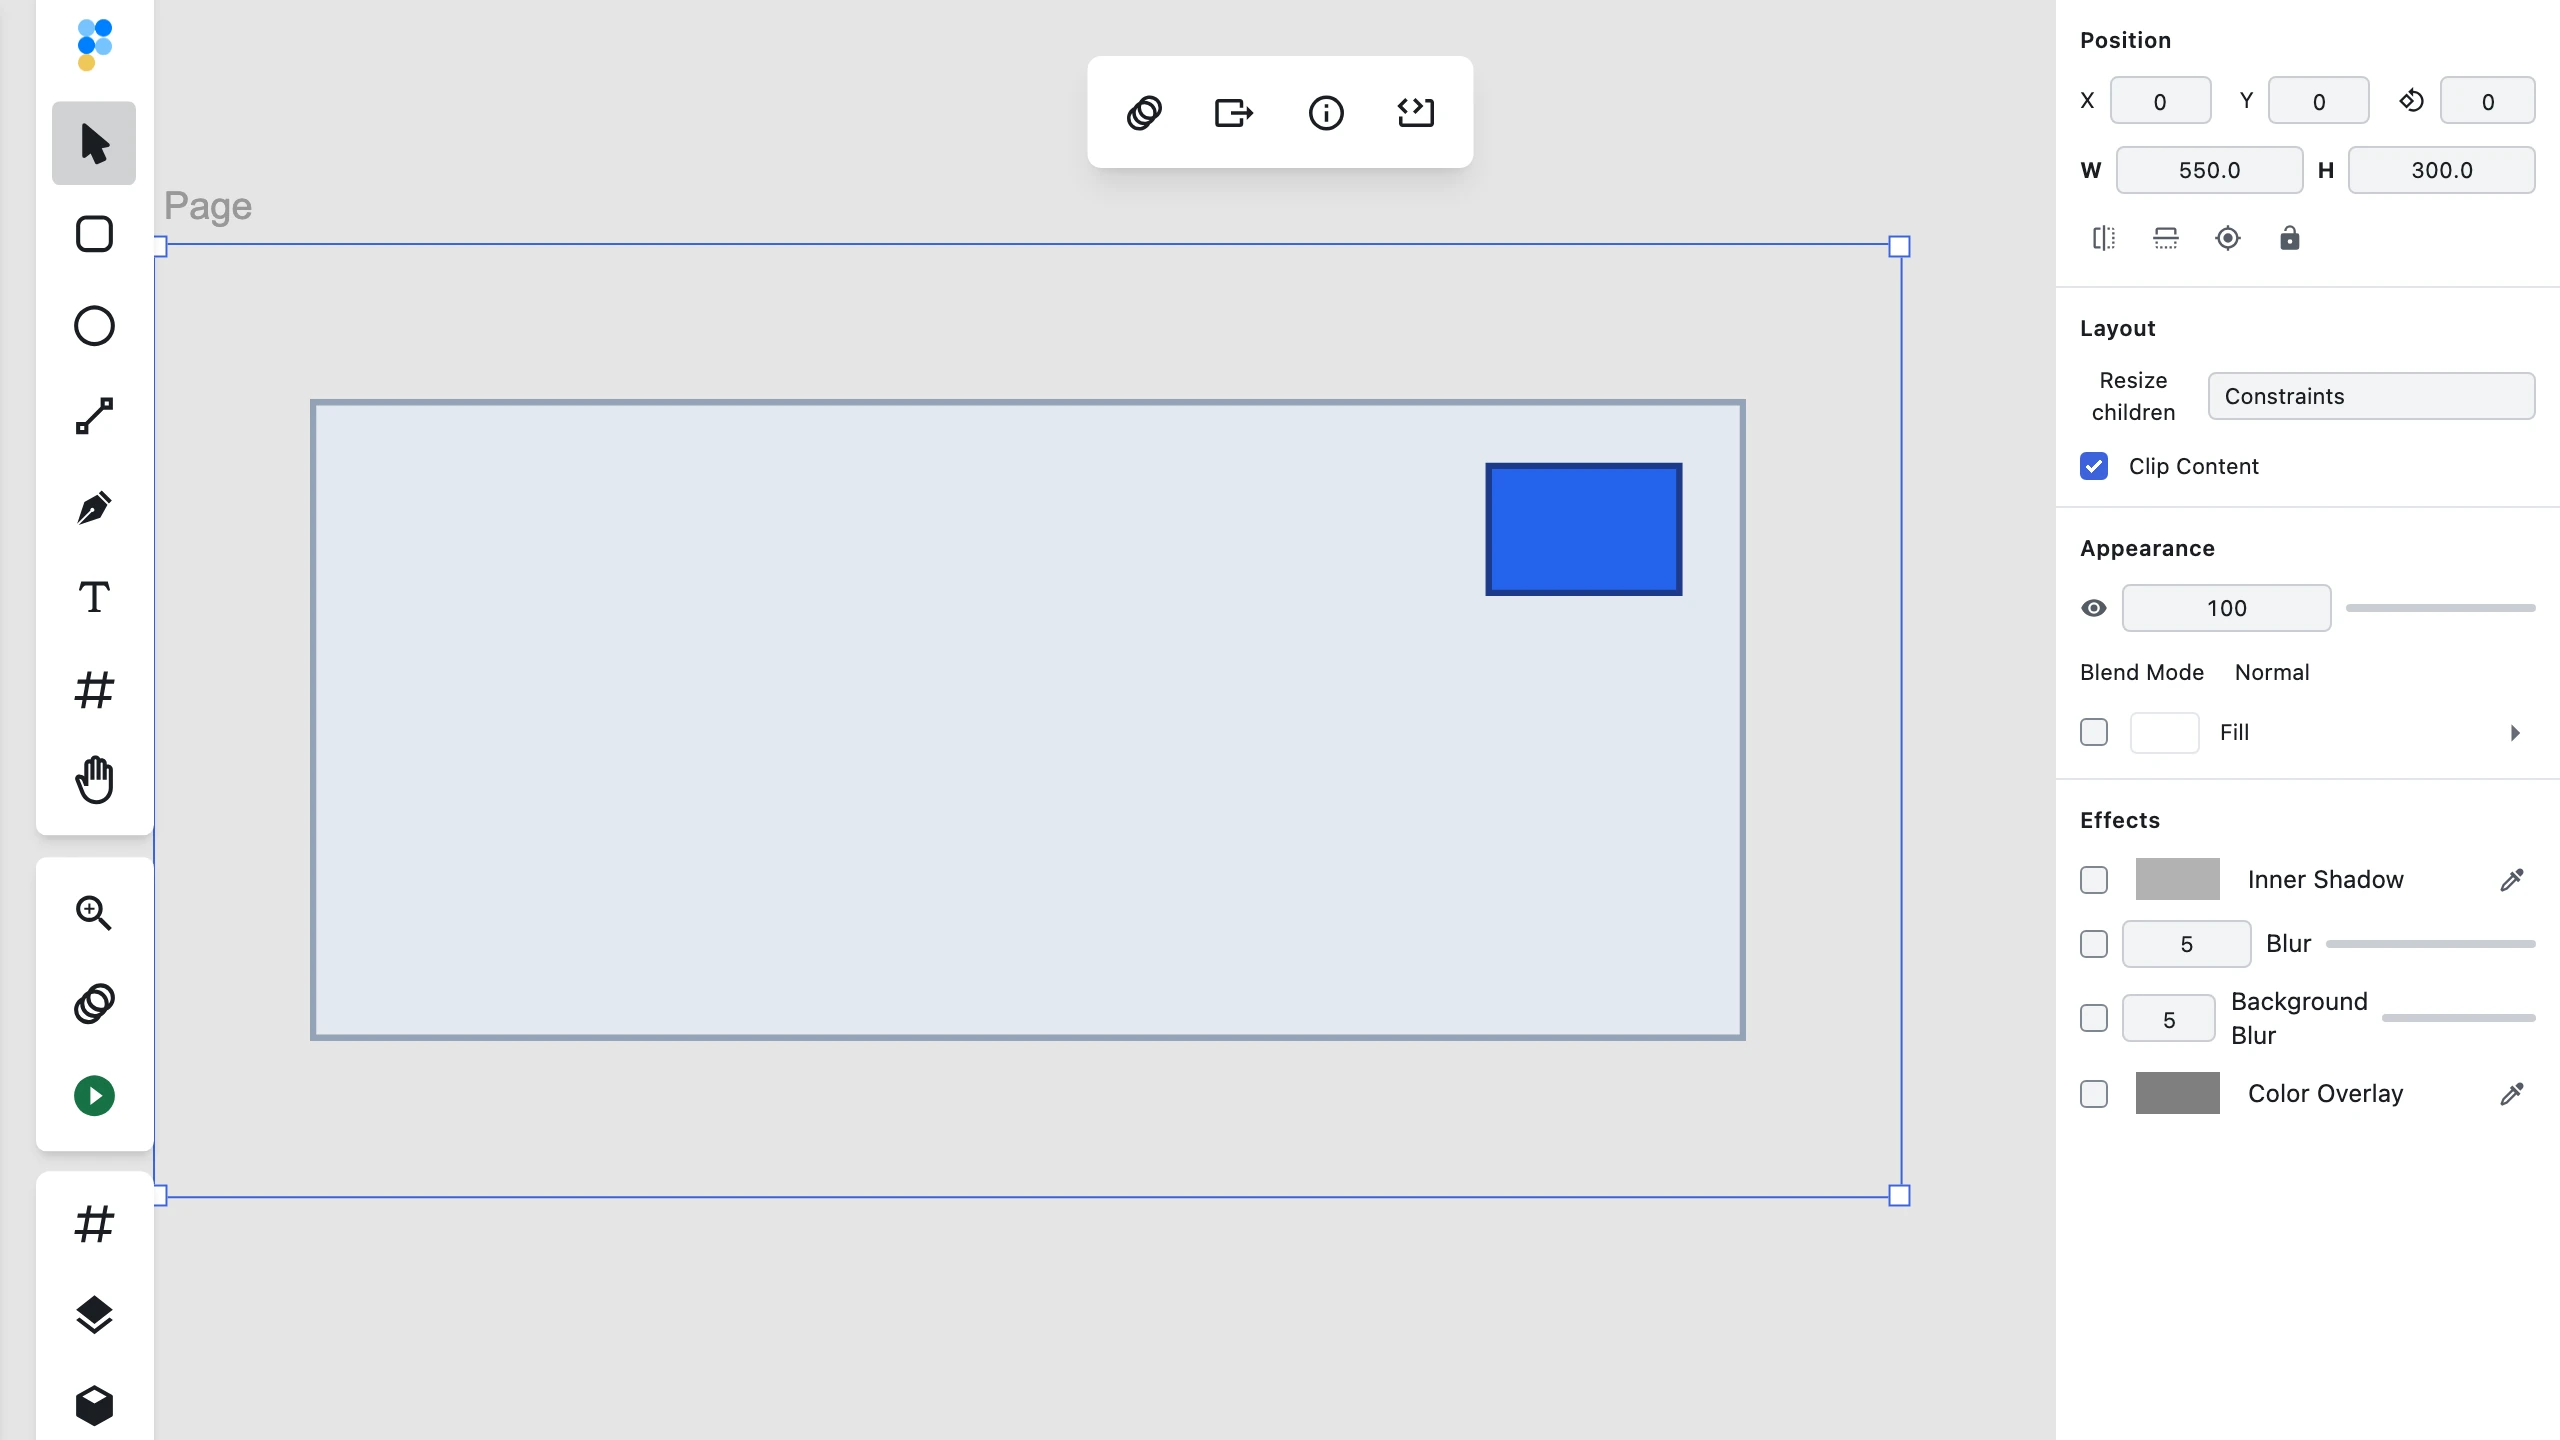
Each level resolves against its own immediate container, one hop at a time. Put a group set Left and right inside a page that is in Constraints mode, and a Right-pinned child inside that group: widening the page stretches the group by the full delta, and the group's own reflow then keeps its child anchored to the group's new right edge — all in the same drag.
Both levels have to opt in for that to happen. Turning on a page's Constraints mode does not switch the modes of the groups inside it; each container is set on its own.
Undo
The whole reflow is a single undo step. Drag a page or a group wider, release, press undo once, and the container's size and every child that moved or resized along with it revert together — including after a slow, realistically paced drag.
Persistence
A container's Resize mode and every layer's horizontal and vertical setting are saved with the Figpea project, and still drive reflow the next time you open it.
They are not written back into the file you started from. Constraints live in the Figpea project — saving never rewrites the original .psd, .xd, or .fig.
What constraints do not do
- They are not imported. Nothing carries constraints in from an imported .xd, .fig, or .psd file — XD stores no per-layer pin data, and Figma bakes its geometry before reflow, so there is nothing to bring across. You set them yourself, in Figpea.
- They are not written back. A constraint is part of your Figpea project, not part of the original file you opened; saving does not rewrite that file.
- Nothing happens in a group's default Content mode. Children scale uniformly no matter what each one's constraint says. Watch for the near-miss here: a child set to Scale looks like it is working in Content mode, because Content scales everything anyway. That is a coincidence, not an active constraint.
- Nothing happens in Viewport mode either, or in a page's Fixed mode — in both, children keep their size and position and never move.
- Rotated or sheared layers reflow by their bounding box. The reflow measures a child's axis-aligned bounding box in its parent's frame and applies the constraint to that box, not to the visible rotated outline.
- This is not auto layout. Constraints run when you resize a container. There are no stacks, no breakpoints, no automatic wrapping and no content-driven sizing — each layer only follows the edges its own constraint names. For stacks and content-driven sizing, see Auto Layout.
FAQ
I set a constraint on a layer inside a group and nothing happened. Why?
The group is almost certainly still in Content mode, which is the default for groups and folders. Switch its Resize to Constraints and the child's setting takes effect on the next resize. The layer's own Constraints section tells you the same thing inline, with the hint "Applies when the group's Resize mode is Constraints."
Why didn't my layers move when I resized the artboard?
The page's Resize children is still Fixed, which is the default for pages. Switch it to Constraints and drag the page's handle again. If it is already on Constraints, check the layers themselves: the default is Left + Top, which deliberately holds position exactly the way Fixed does.
Are constraints imported from my Figma or XD file?
No. Nothing in a .xd, .fig, or .psd file describes per-layer constraints — XD stores no per-layer pin data and Figma bakes its geometry before reflow — so there is nothing to bring across. Set them once the layers are open in Figpea.
Do constraints save with my file?
Yes, with your Figpea project: each container's Resize mode and each layer's horizontal and vertical setting are stored there and still drive reflow when you reopen it. They are not written back into the original .psd, .xd, or .fig.
Why did my group start clipping when I switched it to Constraints?
Constraints mode gives the group a fixed frame so that every edge gap is well defined, and a fixed frame clips whatever overflows it. The inspector says so under the dropdown: "Fixed frame clips content — children reflow by their Constraints." Switch the group back to Content if you want it to hug its contents again.
What happens to a rotated layer?
It reflows by its bounding box. The layer's axis-aligned bounding box in its parent's frame is what gets measured and repositioned; the rotated outline follows along, but it is the box whose edges are pinned.
Related docs
- Page Sizes & Presets — set a page to a standard size before deciding how its children reflow
- Basic Layer Operations — creating, selecting, moving, and resizing layers
- Advanced Layer Operations — group transformations and layer effects
- What's New in Figpea v4.2.2 — where page-level constraints first shipped