 Figpea
Vector Path Operations in Your Browser: Outline Stroke, Offset Path, and Round Corners
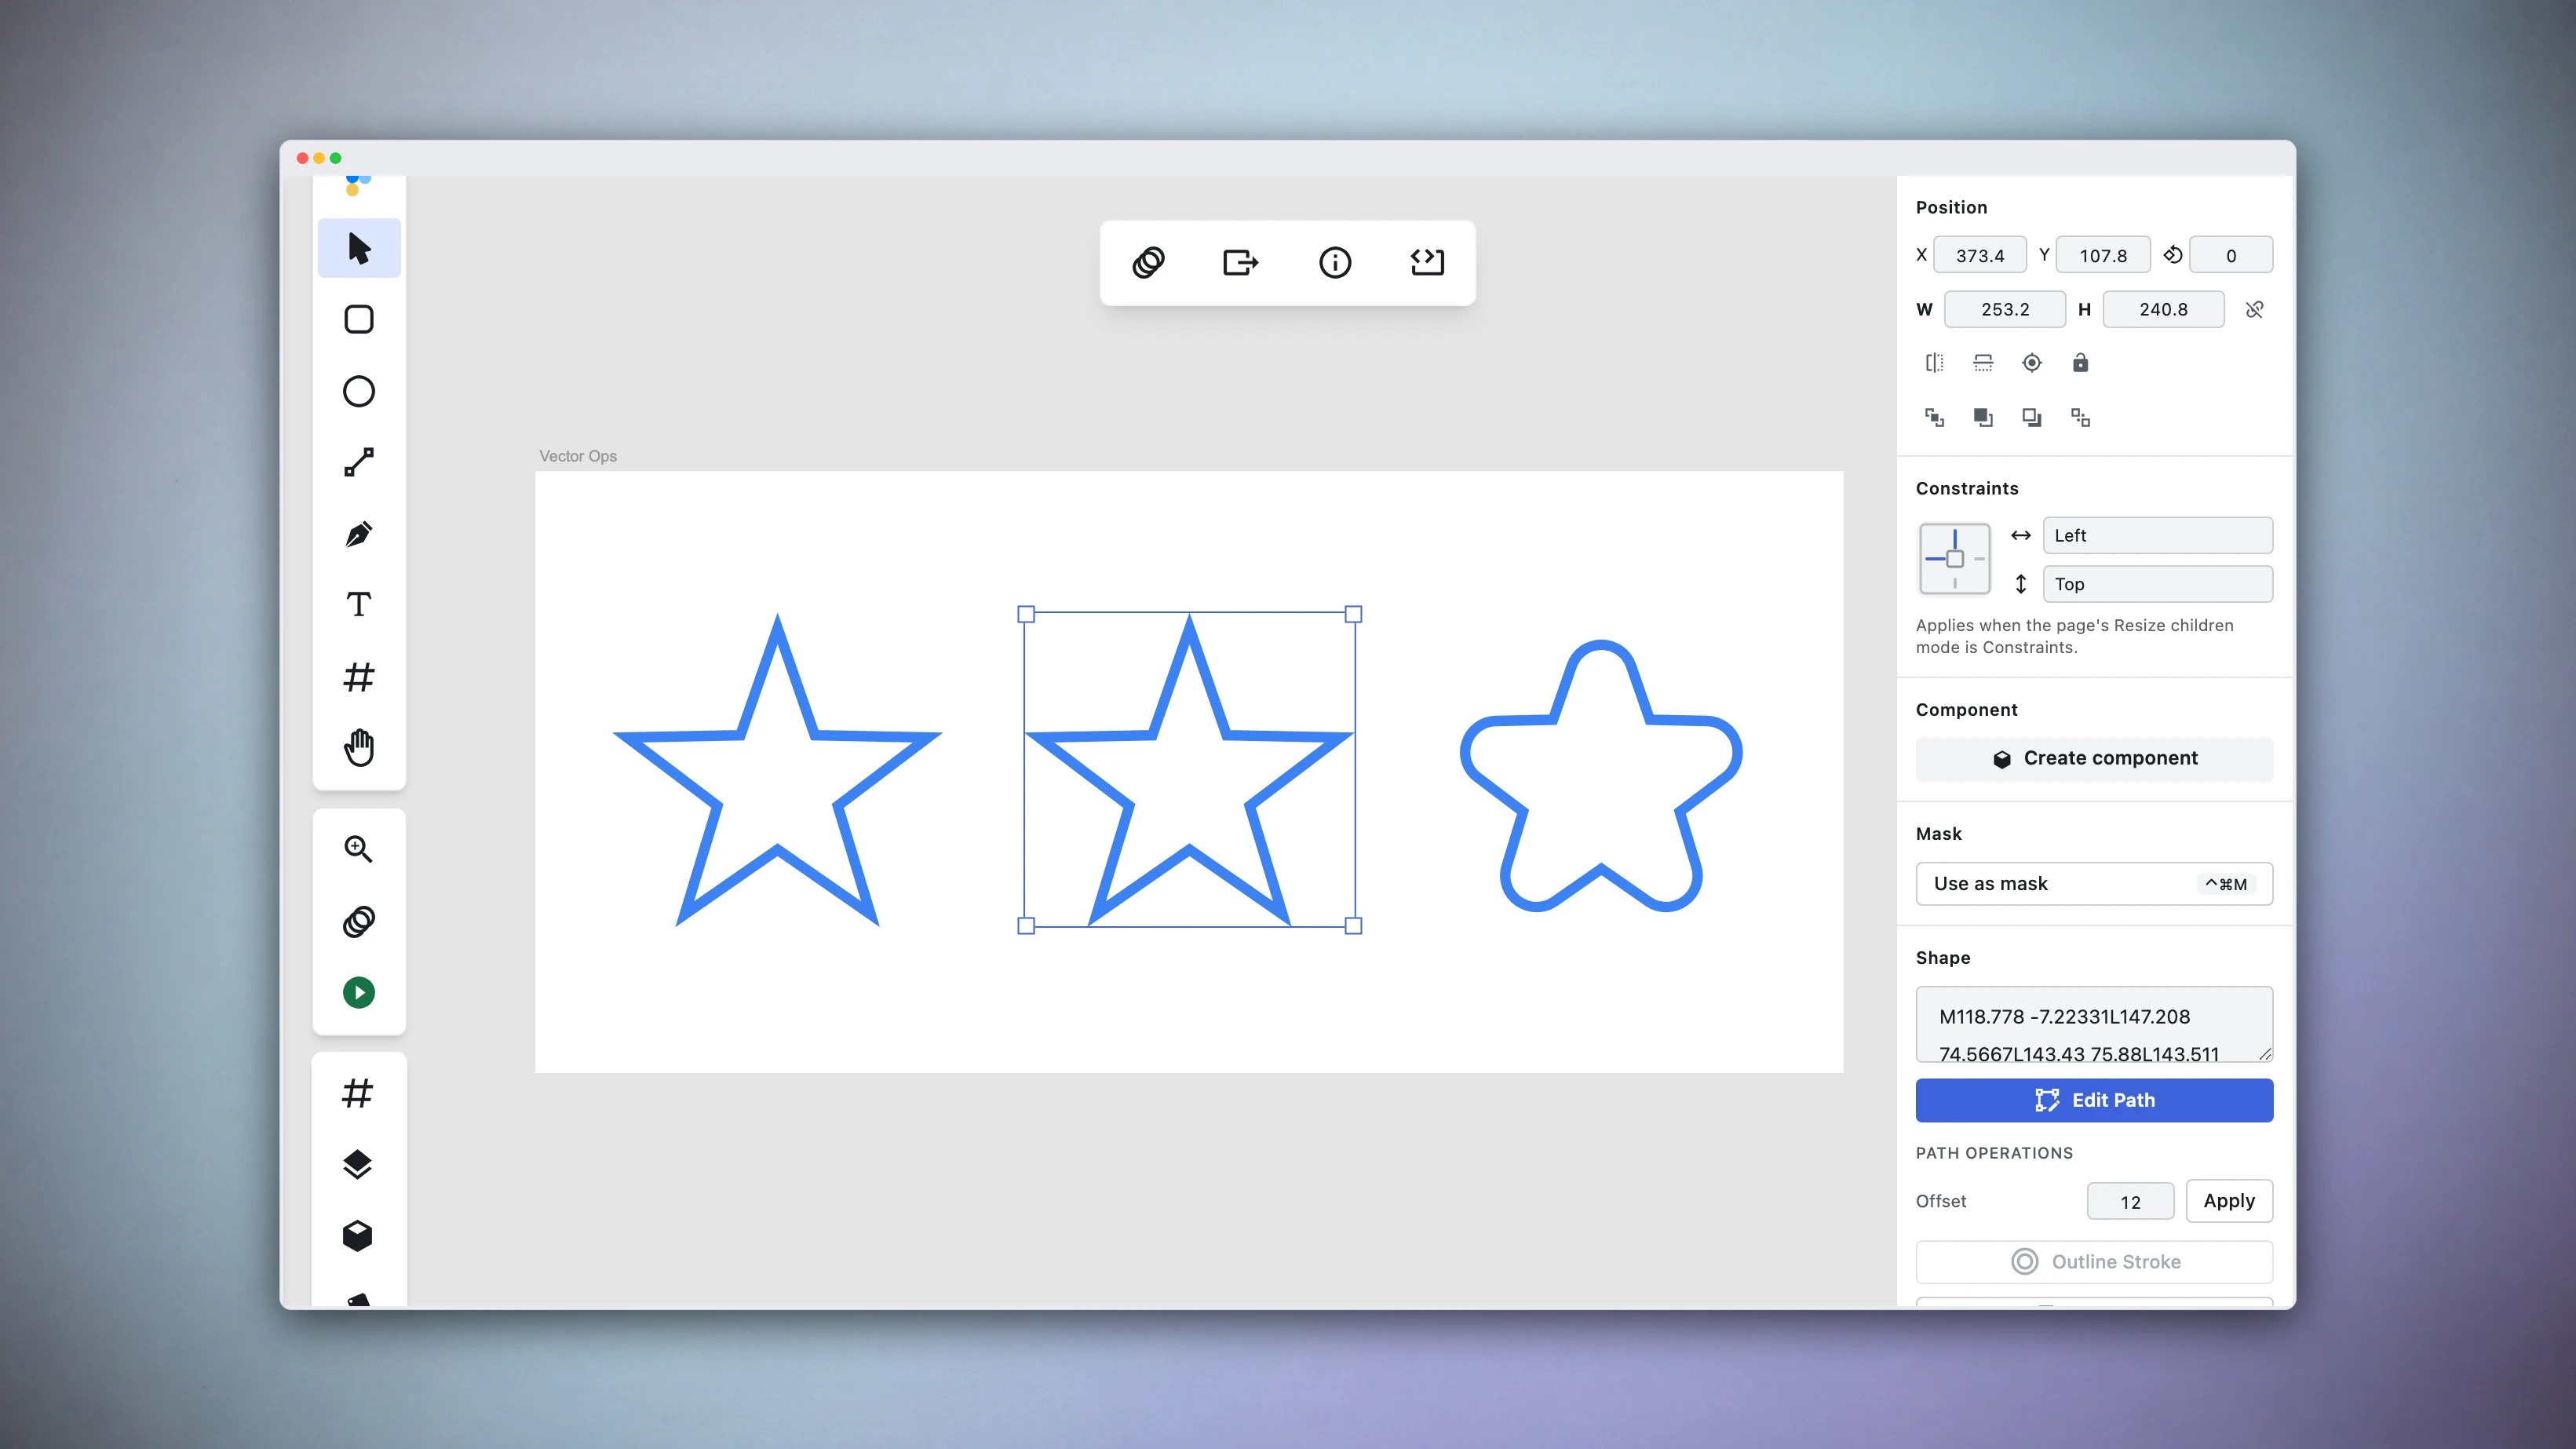
A file opens, the artwork is all there, and then the job turns out to be geometry. A hairline border needs to become a shape you can put a gradient across. An icon outline needs to sit four pixels further out for a sticker cut line. A star somebody drew in 2016 needs its points taken off.
Three operations in Figpea do that work: Outline Stroke, Offset Path and Round Corners. All three run in a browser tab, on artwork that came out of a PSD, an Adobe XD file, a Figma .fig, an SVG or a PDF — and the file stays on your machine the whole time.
One thing to know first
These three rewrite the path itself. Some of this work has a live, re-editable equivalent elsewhere — Illustrator's Round Corners effect, live corner radius in Figma and Sketch — and Figpea's three are not that. They are one-shot: the new geometry replaces the old, and the way back is Cmd/Ctrl + Z. One undo, however much the operation touched.
Worth knowing before you build a workflow on it. It also means you can be casual about experimenting: apply, look, undo, change the number, apply again.
(One exception, which trips people up often enough that it gets its own section below: a rectangle's corner radius is a live property. It is not the same feature as Round Corners.)
Turn a border into a shape: Outline Stroke
Select a shape layer, open the Inspector's Shape section, and find the Path Operations group. The Outline Stroke button is at the bottom of it.
What you get back is a filled shape whose edges are the two sides of the border you started with, following its width, its caps and its joins. A 6 px border becomes a 6 px-wide filled ribbon sitting exactly where the border was.

On screen, almost nothing happens — and that is the point. The ribbon lands where the border was, so the picture doesn't change; what changed is what the geometry is. You can read it in the Inspector instead: the path string is rewritten, the selection bounds grow out to the border's outer edge, and the Outline Stroke button greys out, because the layer now has a fill.
Which is the reason to want it. A border is not geometry you can operate on. Once it is a filled shape, you can union it with something else or subtract it away, run a gradient across the width of the ribbon, and export it as solid vector geometry for an icon set.
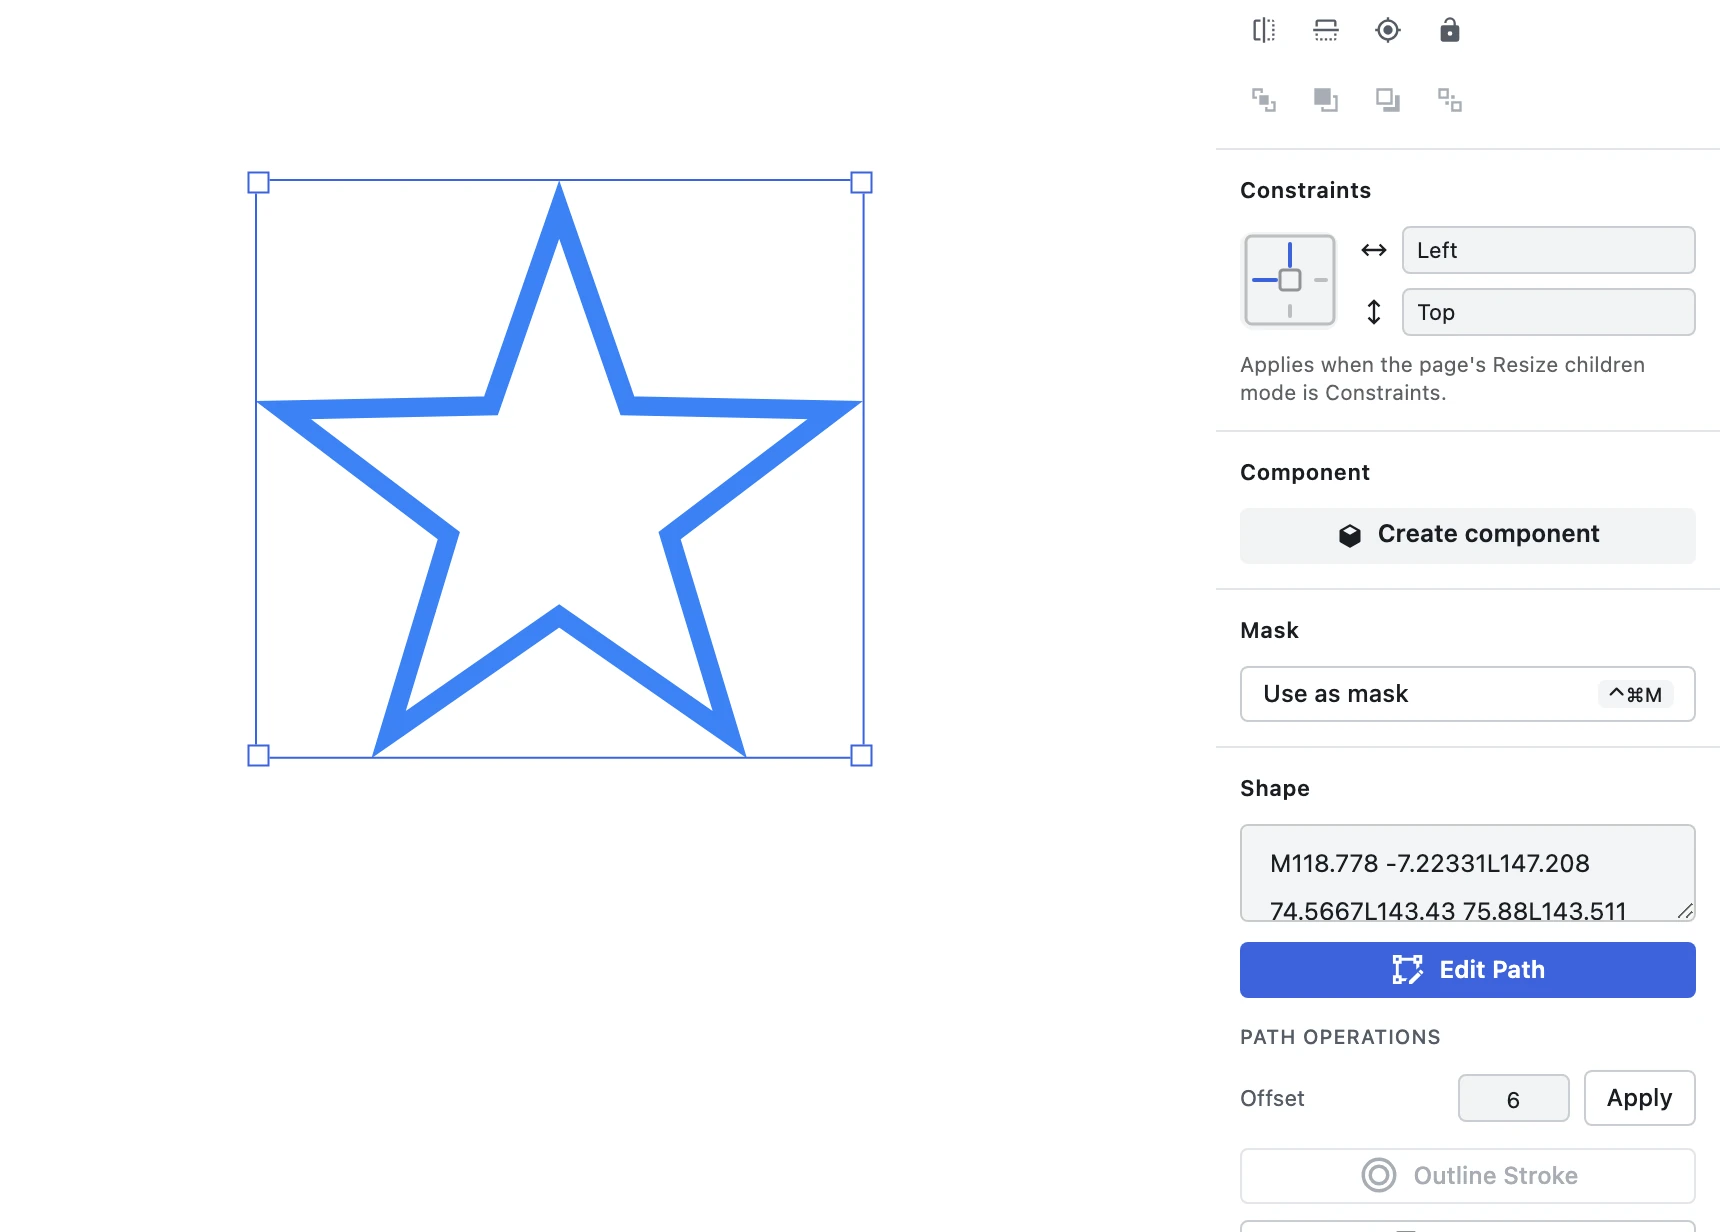
It works on open and closed paths alike. It needs a border to work with, though, and it declines in three cases — hover the button and it tells you which one you are in:
- The shape already has a fill. Remove the fill first. Outlining a stroke onto a shape that is already filled would quietly throw away one of the two, so it refuses instead.
- The border is dashed. Dashed borders can't be outlined yet.
- The border width is 0. Set a width above 0 and the button comes back.
Don't confuse it with Convert To Path, which turns a rectangle or an ellipse into an editable path and leaves the outline exactly where it was. Convert To Path changes what kind of layer you have; Outline Stroke changes the border into a shape.
Grow or shrink an outline: Offset Path
Same group, one row up. Type a number into Offset and click Apply: positive pushes the whole outline outward, negative pulls it inward, by that many pixels all the way round. It starts at 6.

New material meets at round joins, which is what stops an outward offset from firing long miter spikes off every sharp point — a star's tips come back softened rather than extended by an inch. Arcs you already had stay arcs.
If you offset a rectangle or an ellipse, it becomes an editable path as part of the same step. That is still one undo, not two.
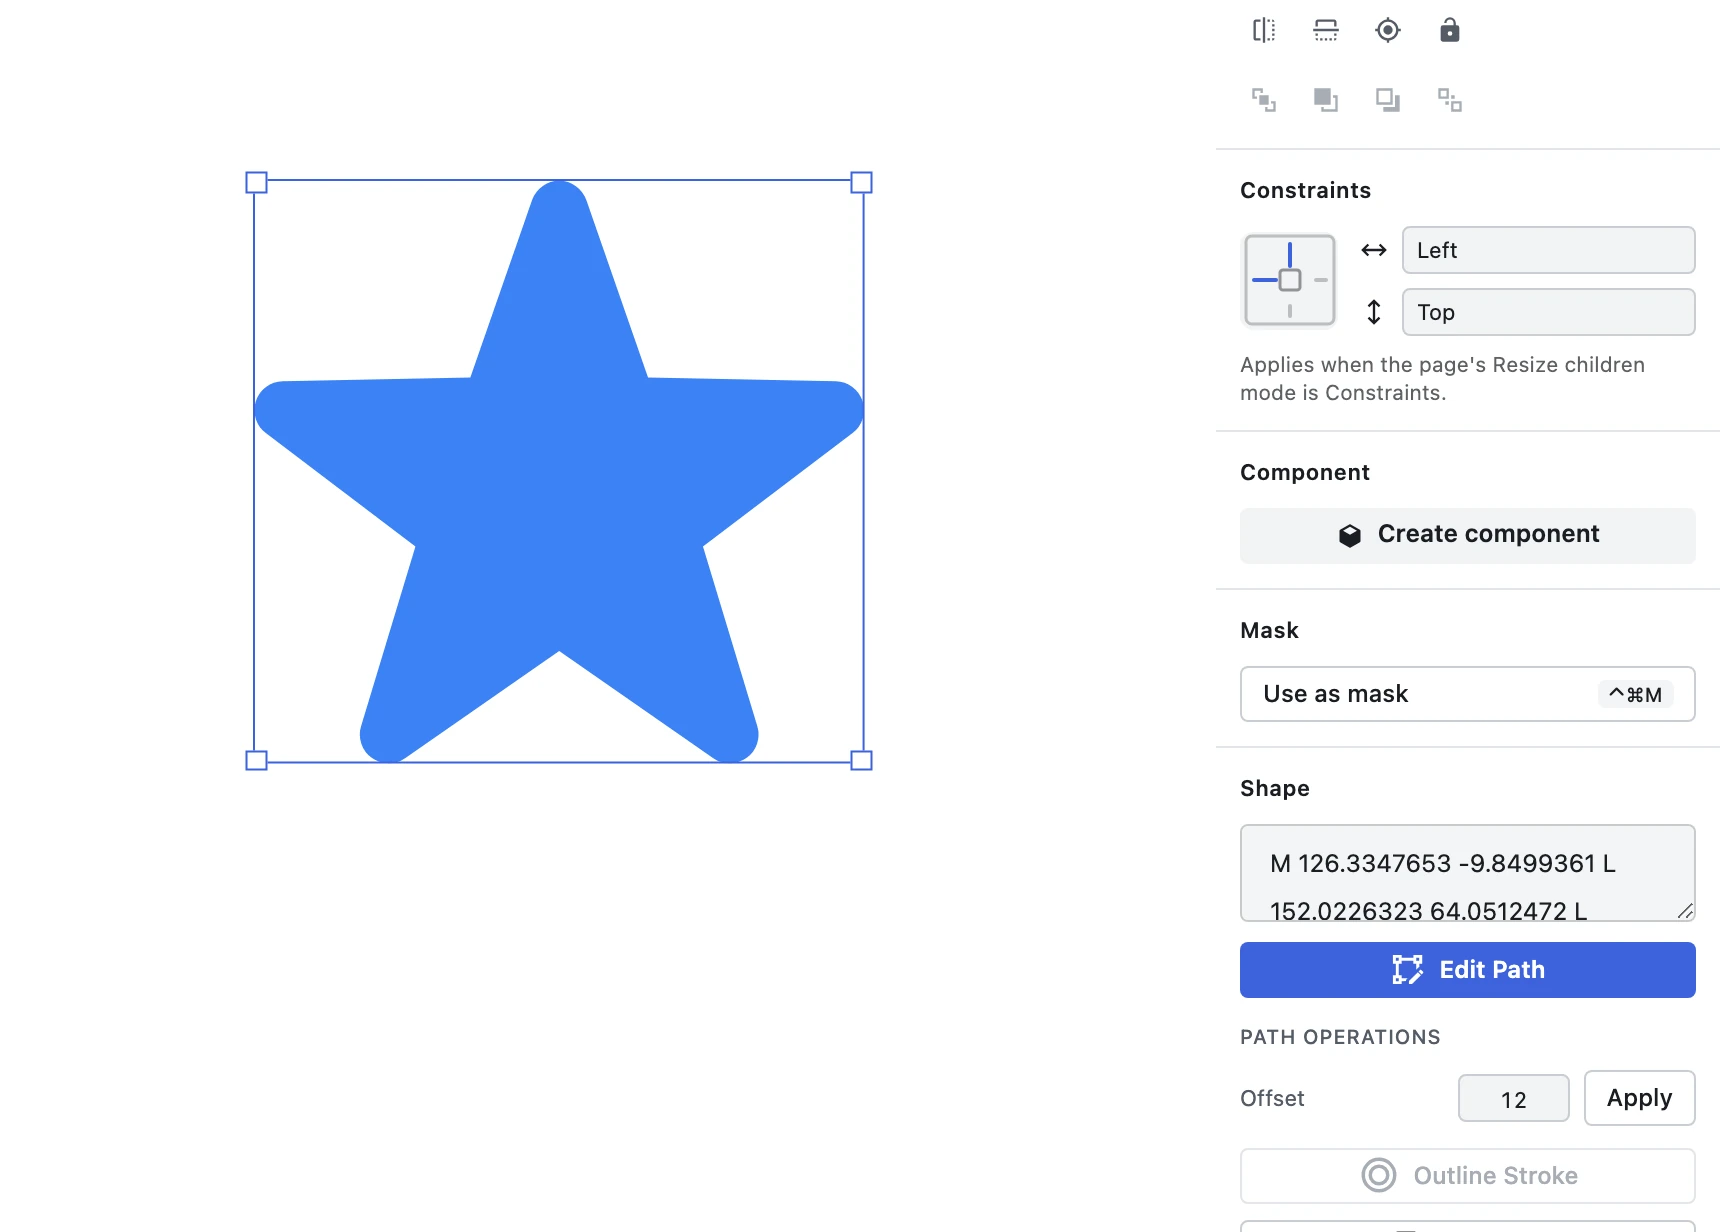
Four limits, plainly:
An inset deeper than the shape can give leaves the shape alone. Pull the outline of a thin arm or a sharp point inward far enough and there is no honest result — the boundary would cross itself and come out inside-out. Figpea checks that the offset outline still sits inside the original before it writes anything, and when it doesn't, it declines: nothing is applied, nothing to undo, your shape is exactly as it was. A collapsed path is never baked in.
Over 200 segments is declined as too complex. Detailed traced artwork gets there quickly. The tooltip says so rather than freezing the editor on you.
A group combined with boolean operations must be flattened to a path first. Offsetting the group would mean discarding its children, so it asks you to make that call deliberately.
Zero is refused — Apply stays disabled until the distance is something other than zero.
Round the corners you pick: Round Corners
This one lives in the path editor rather than the Inspector, because it works on anchor points instead of on a whole layer.
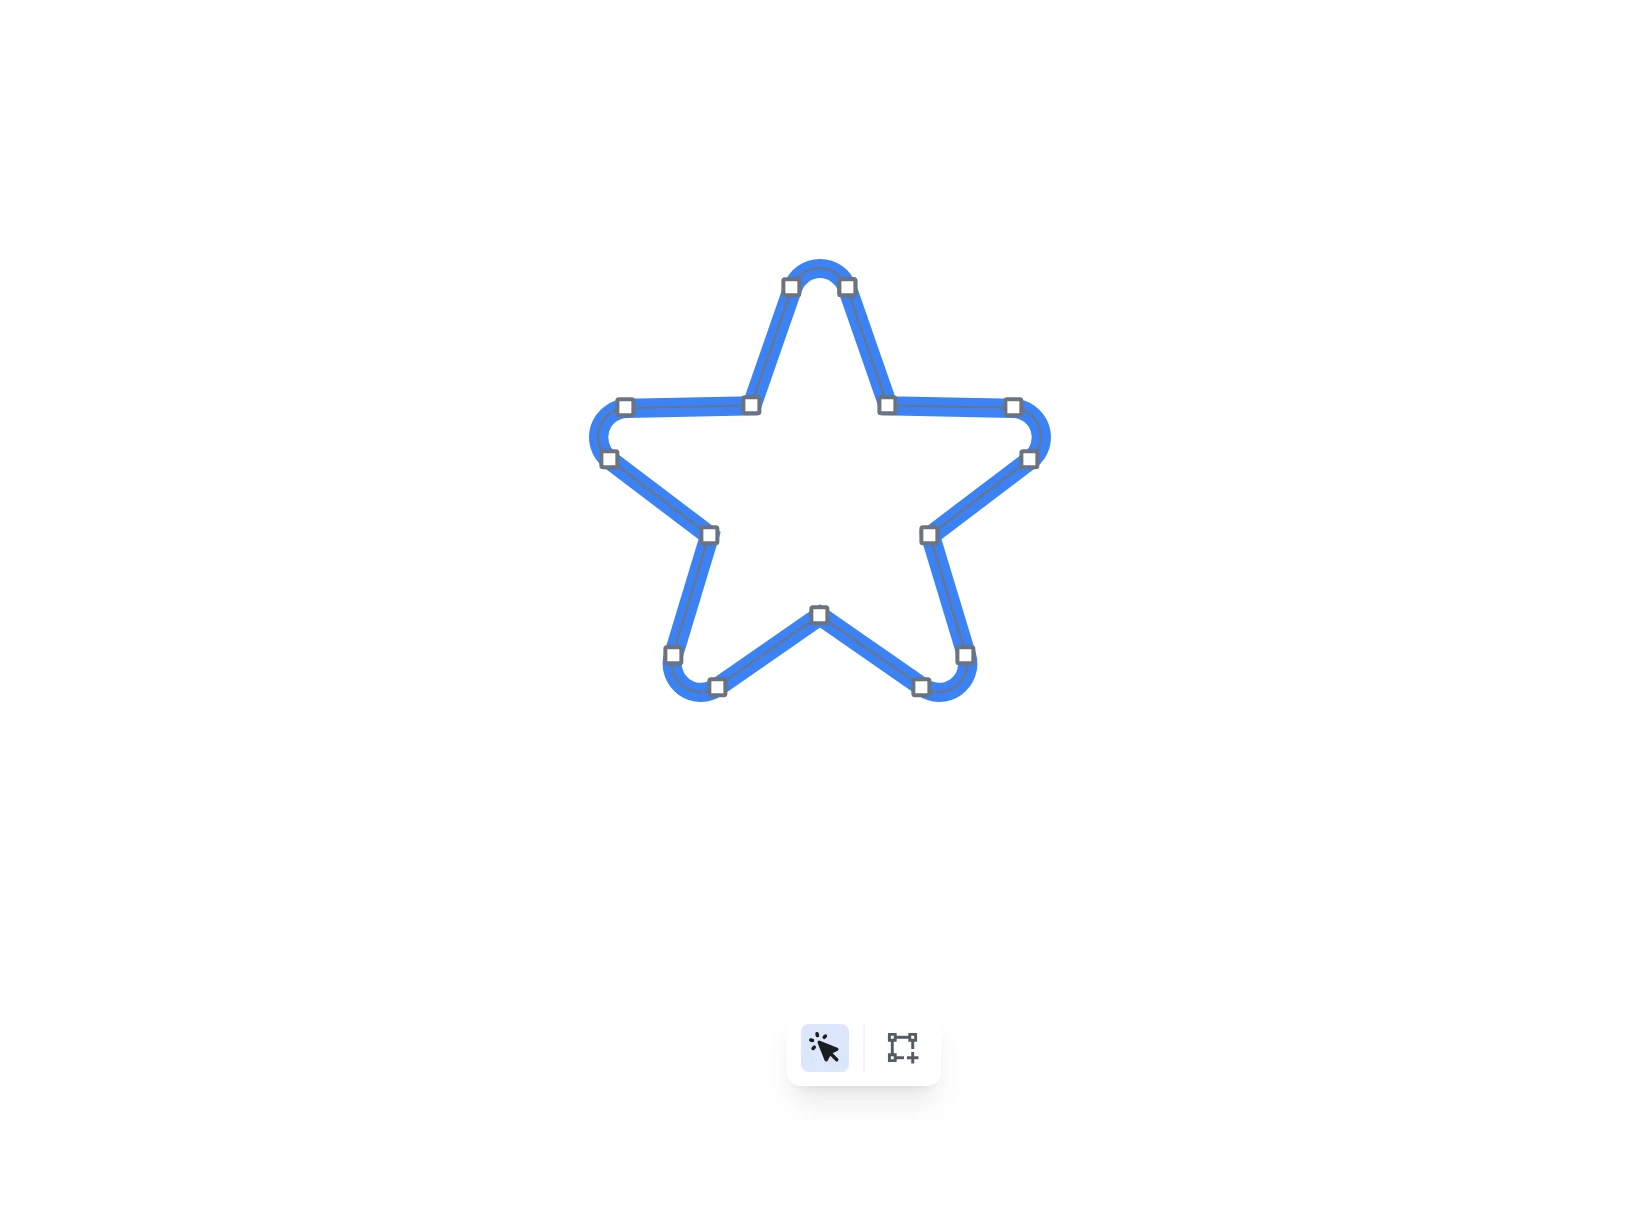
Select a path layer and click Edit Path. Select the corner points you want — Shift-click to add to the selection, or drag a rectangle around a cluster of them. A Round Corners button appears in the path toolbar; click it, type a Radius, and Apply.

Each corner you selected is replaced by a circular arc that runs tangent to both of its segments. The corner point itself is gone afterwards, which is why your selection empties out the moment you apply.
Four things worth knowing before you press it:
- One radius for the whole selection. Per-corner values aren't supported — select the corners that want 8 px, apply, then select the ones that want 24 px.
- Straight segments only. A corner with a curve on either side of it is skipped, and the rest of your selection still rounds. The status line counts it out for you first: Rounds 4 of 6 corners — curved corners are skipped.
- Too large is reduced, not ignored. A radius that won't fit between a corner and its neighbours is trimmed, corner by corner, to the largest arc that does fit. Two adjacent corners rounding at once each get half the segment they share.
- Rounding twice does nothing. Those points sit on a curve now, and curves are skipped.
"Round Corners" is not a rectangle's corner radius
Two different features, and the names are close enough to cause real confusion.
Round Corners is the path operation above. It works on any vector path, only on the anchors you selected, once, and the way back is undo. What comes out is path geometry.
A rectangle's corner radius is a live property in the Inspector's Rect section — a field and a slider, either one value for all four corners or four separate ones. Change it as often as you like; it stays editable, and it comes out as CSS border-radius in a handoff. It exists only on rectangle layers.
So: if you want a rounded rectangle you can keep adjusting, use the property. If you want to round three corners of a traced logo, use the operation.
There is also a middle path that didn't exist when this article was first written: inside the path editor, selecting straight corner points shows a live Corner radius property in the right sidebar — per-point radii on any vector path, not just rectangles, and re-editable at any time without undoing anything. It sits alongside Round Corners rather than replacing it; the sidebar property and how it differs from the one-shot operation are covered in the path editor docs.
Where boolean operations fit
Union, Subtract, Intersect and Exclude are the other half of this toolbox, and they pair well with what's above — outlining a stroke first is what makes a border available to subtract from something. The difference is what they act on: boolean operations combine separate shapes, while these three reshape one. They're a subject of their own; the reference for them is Vector Operations.
It stays in Figpea
Figpea reads .psd and .psb, .xd, .fig, .svg and .pdf. It doesn't write any of them — there is no route back into the original file. Your modified paths live in the Figpea project (.fp), and what comes out of it is SVG or PNG.
None of it involves an upload: the parsing, the geometry and the export all happen in the browser tab in front of you. Which is what makes it a reasonable thing to do to a file you were only trying to open in the first place — Open PSD Files Without Photoshop covers that side of it.
FAQ
When should I use Outline Stroke versus keeping a stroked line? Keep the stroke while you are still adjusting its width — it stays a single editable property. Outline it when you need the border as geometry: to run boolean operations against it, to put a gradient across the width of the stroke, or to hand off filled shape geometry in SVG.
What happens if I enter a negative value in Offset Path? A negative value insets the outline, pulling it inward by that many pixels. If the inset is deeper than the shape can give, Figpea declines the operation and leaves your shape untouched rather than baking in a collapsed path.
What is the difference between Round Corners and a rectangle's corner radius?
Round Corners is the one-shot path operation: it rewrites the geometry of the anchor points you selected, on any vector path, in the path editor. A rectangle's corner radius is a live, re-editable property in the Inspector, only on rectangle layers, and it exports as CSS border-radius. There is also a per-point Corner radius property in the path editor's right sidebar — live and re-editable on any vector path, like the rectangle property rather than the operation.
The full references live in the docs: Round Corners and the rest of the path editor, and Outline Stroke, Offset Path and boolean operations.