 Figpea
Components and Instances: Reusable UI Elements
Figpea uses a Component Master and Linked Instance model to keep reusable UI elements—such as buttons, cards, headers, and icons—consistent across your design pages. Opening an Adobe XD or Figma file with components surfaces them as component masters and linked instances automatically; if you know Photoshop's Smart Objects, Figpea's masters and instances are the equivalent concept, though you build them yourself in the editor rather than PSD import creating them for you.
Understanding Component Masters vs. Linked Instances
- Component Master: The central single source of truth for a reusable design element. Editing the master updates every linked instance across your project simultaneously.
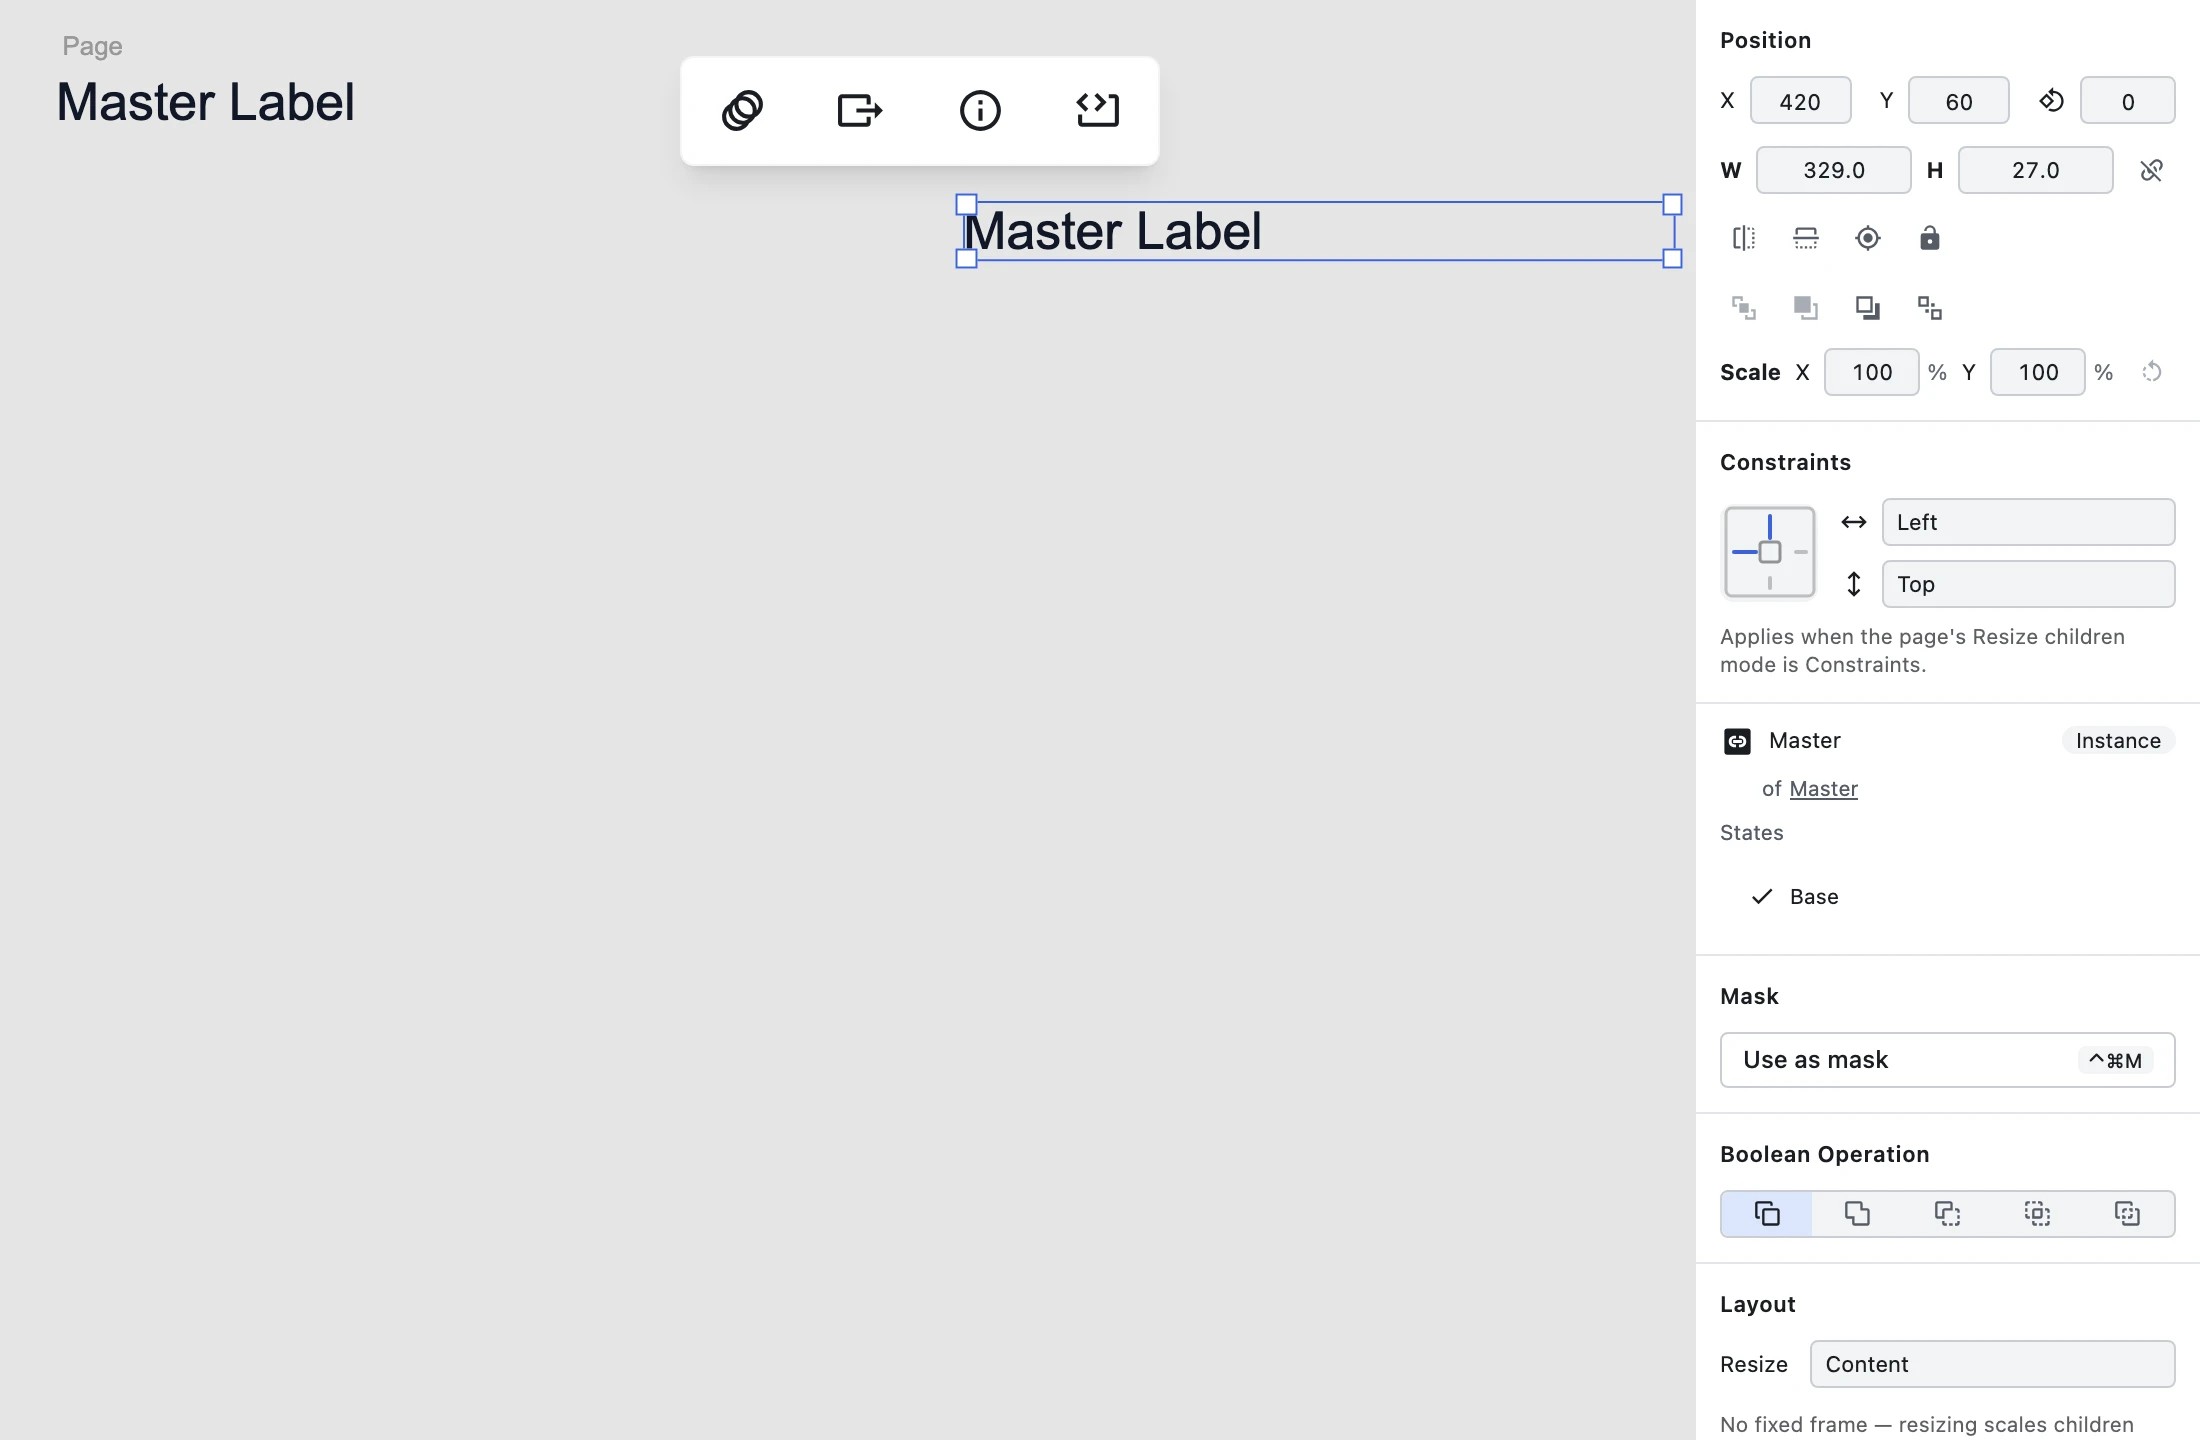
- Linked Instance: A live, synchronized copy of a master component placed on artboards or pages. Instances inherit visual styling, structural layers, and geometry from their master.
Creating Masters and Placing Instances
How to Create a Component Master
- Select any layer or group on your canvas.

- In the right Inspector panel under the Component section, click the Create component button.
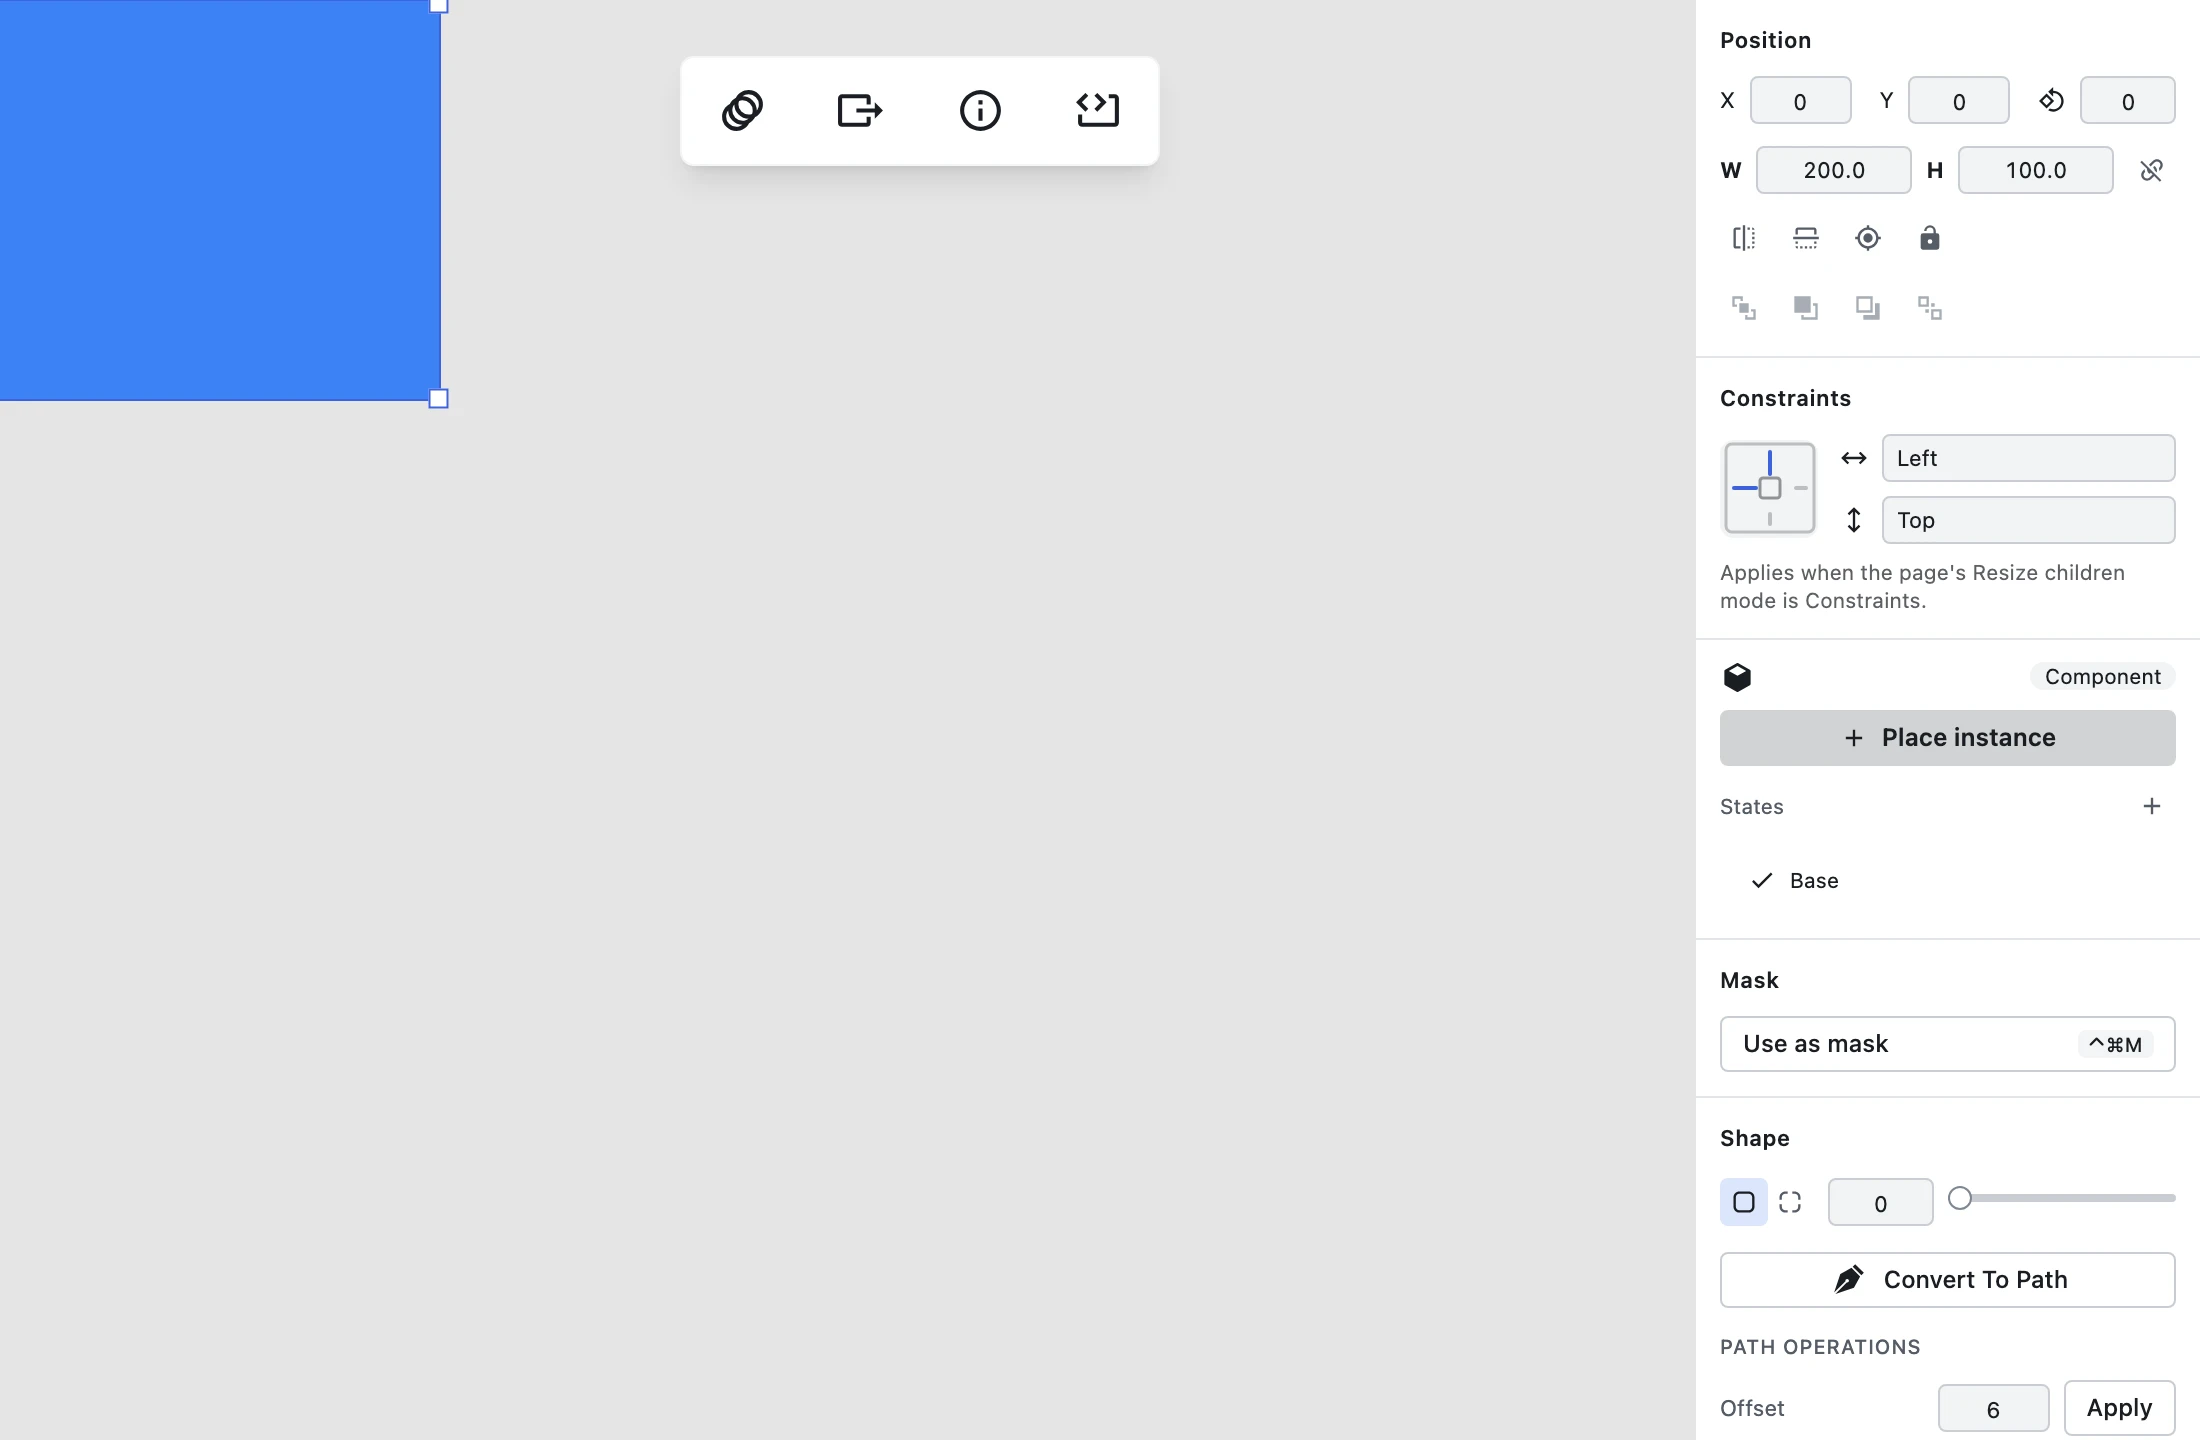

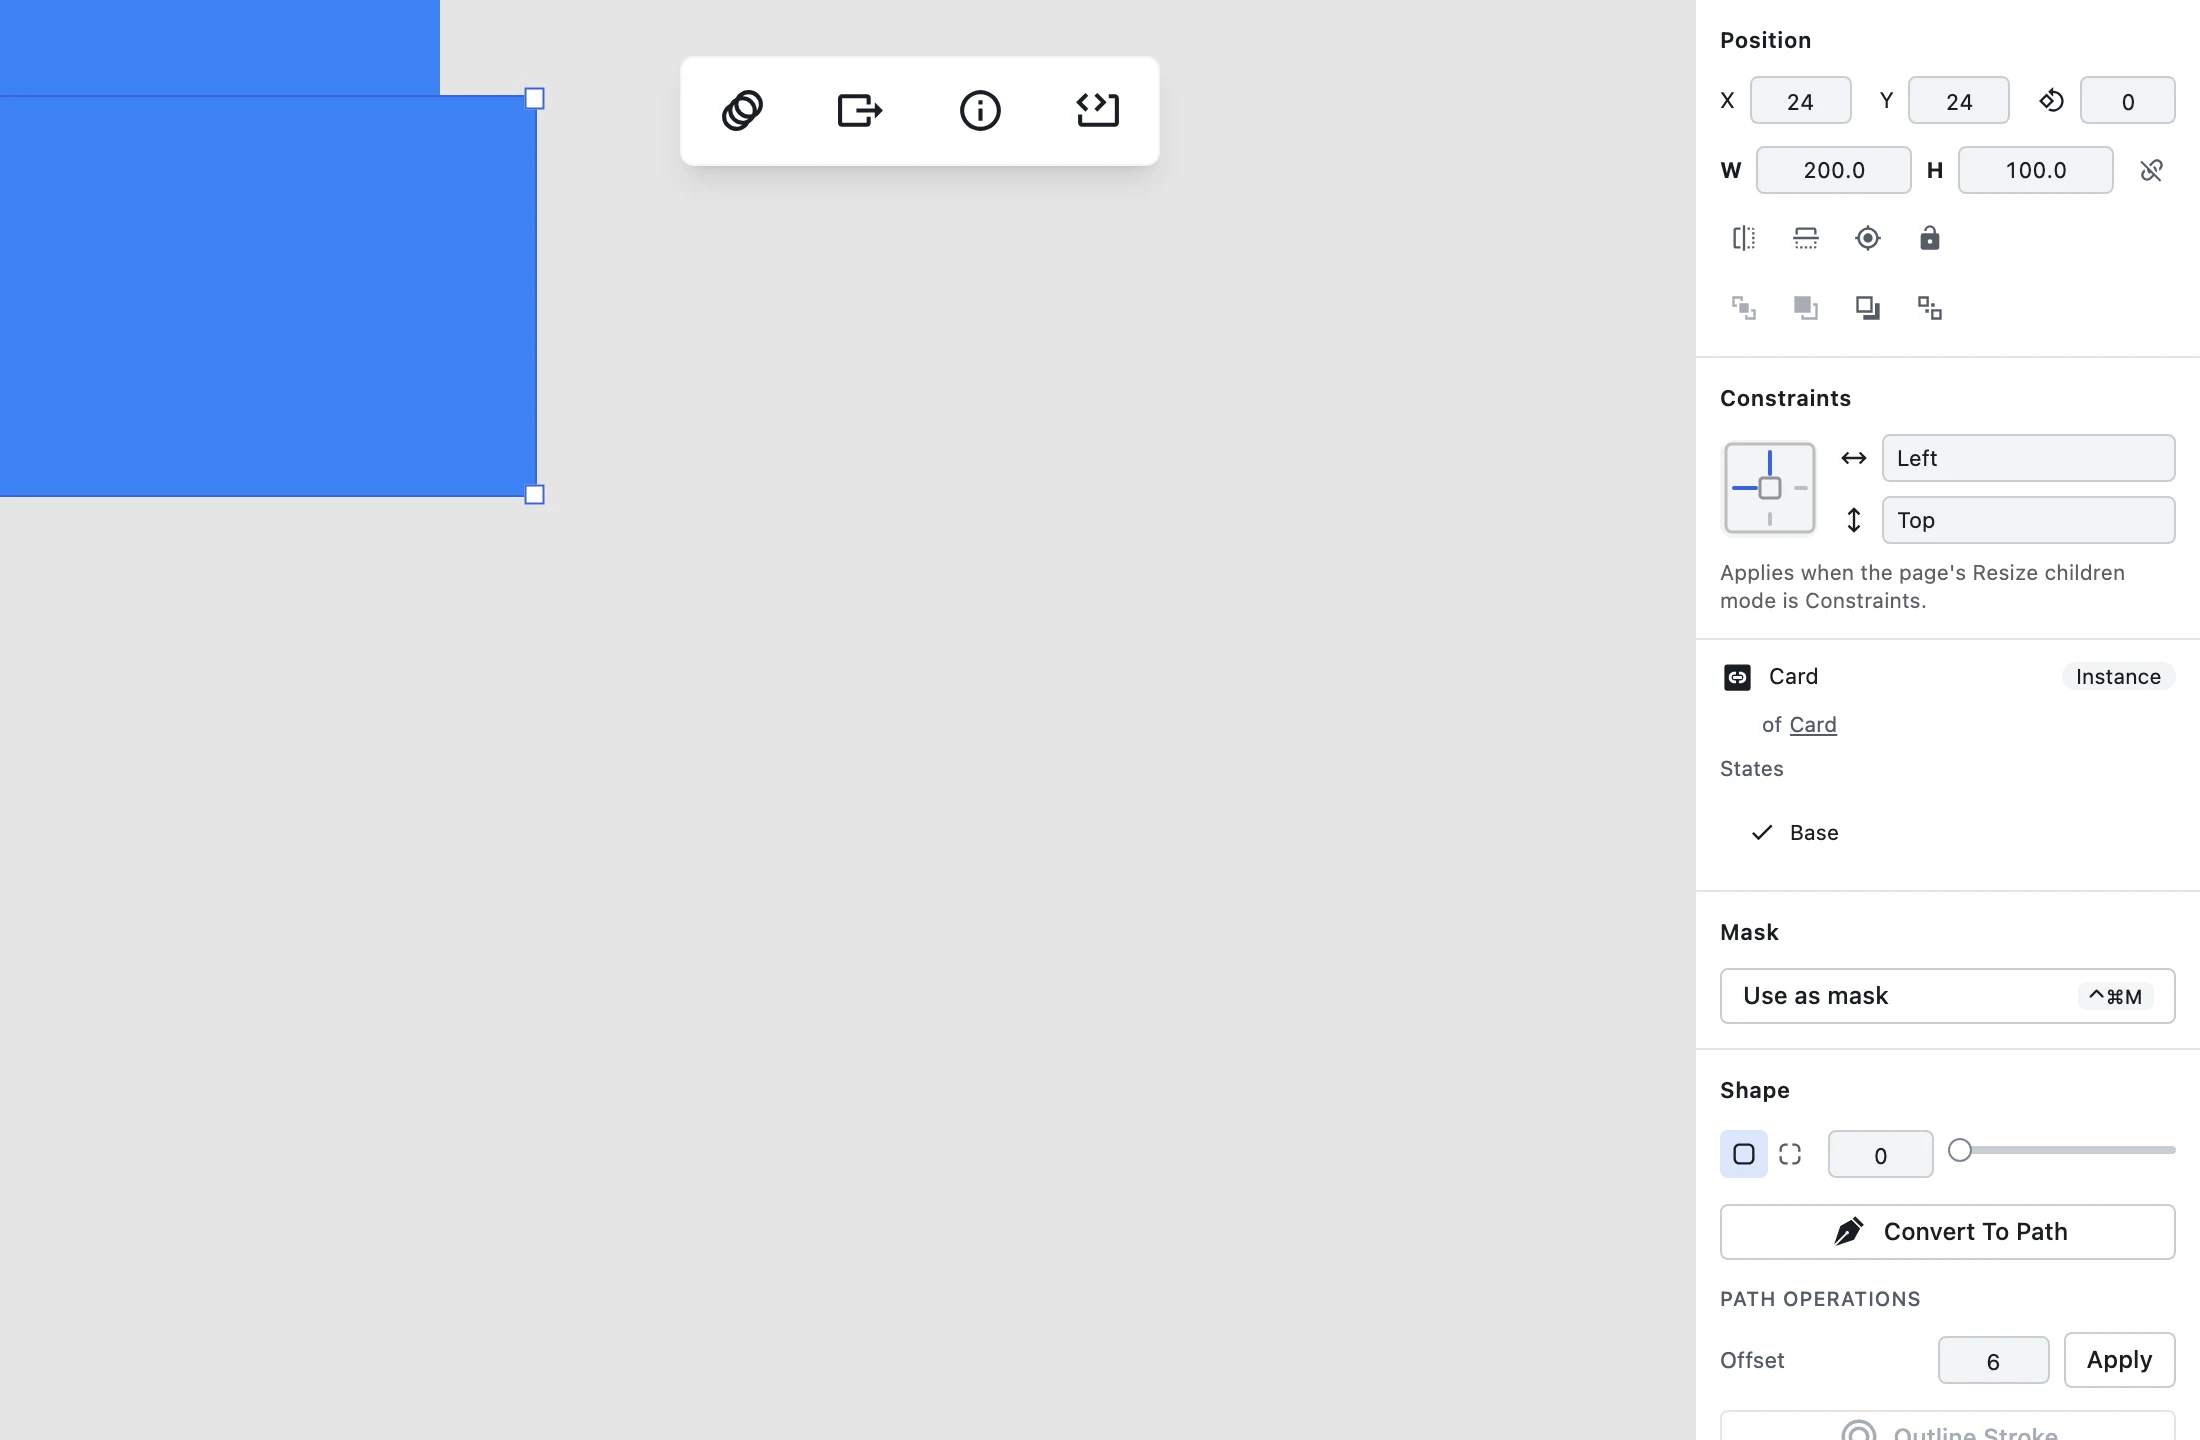
- Your selection becomes a master component: its row in the Layers panel now shows the component icon, the right Inspector shows a matching component badge and a Place instance button, and the master appears as a tile with a live thumbnail in the left-rail Components tab.
How to Place a Linked Instance
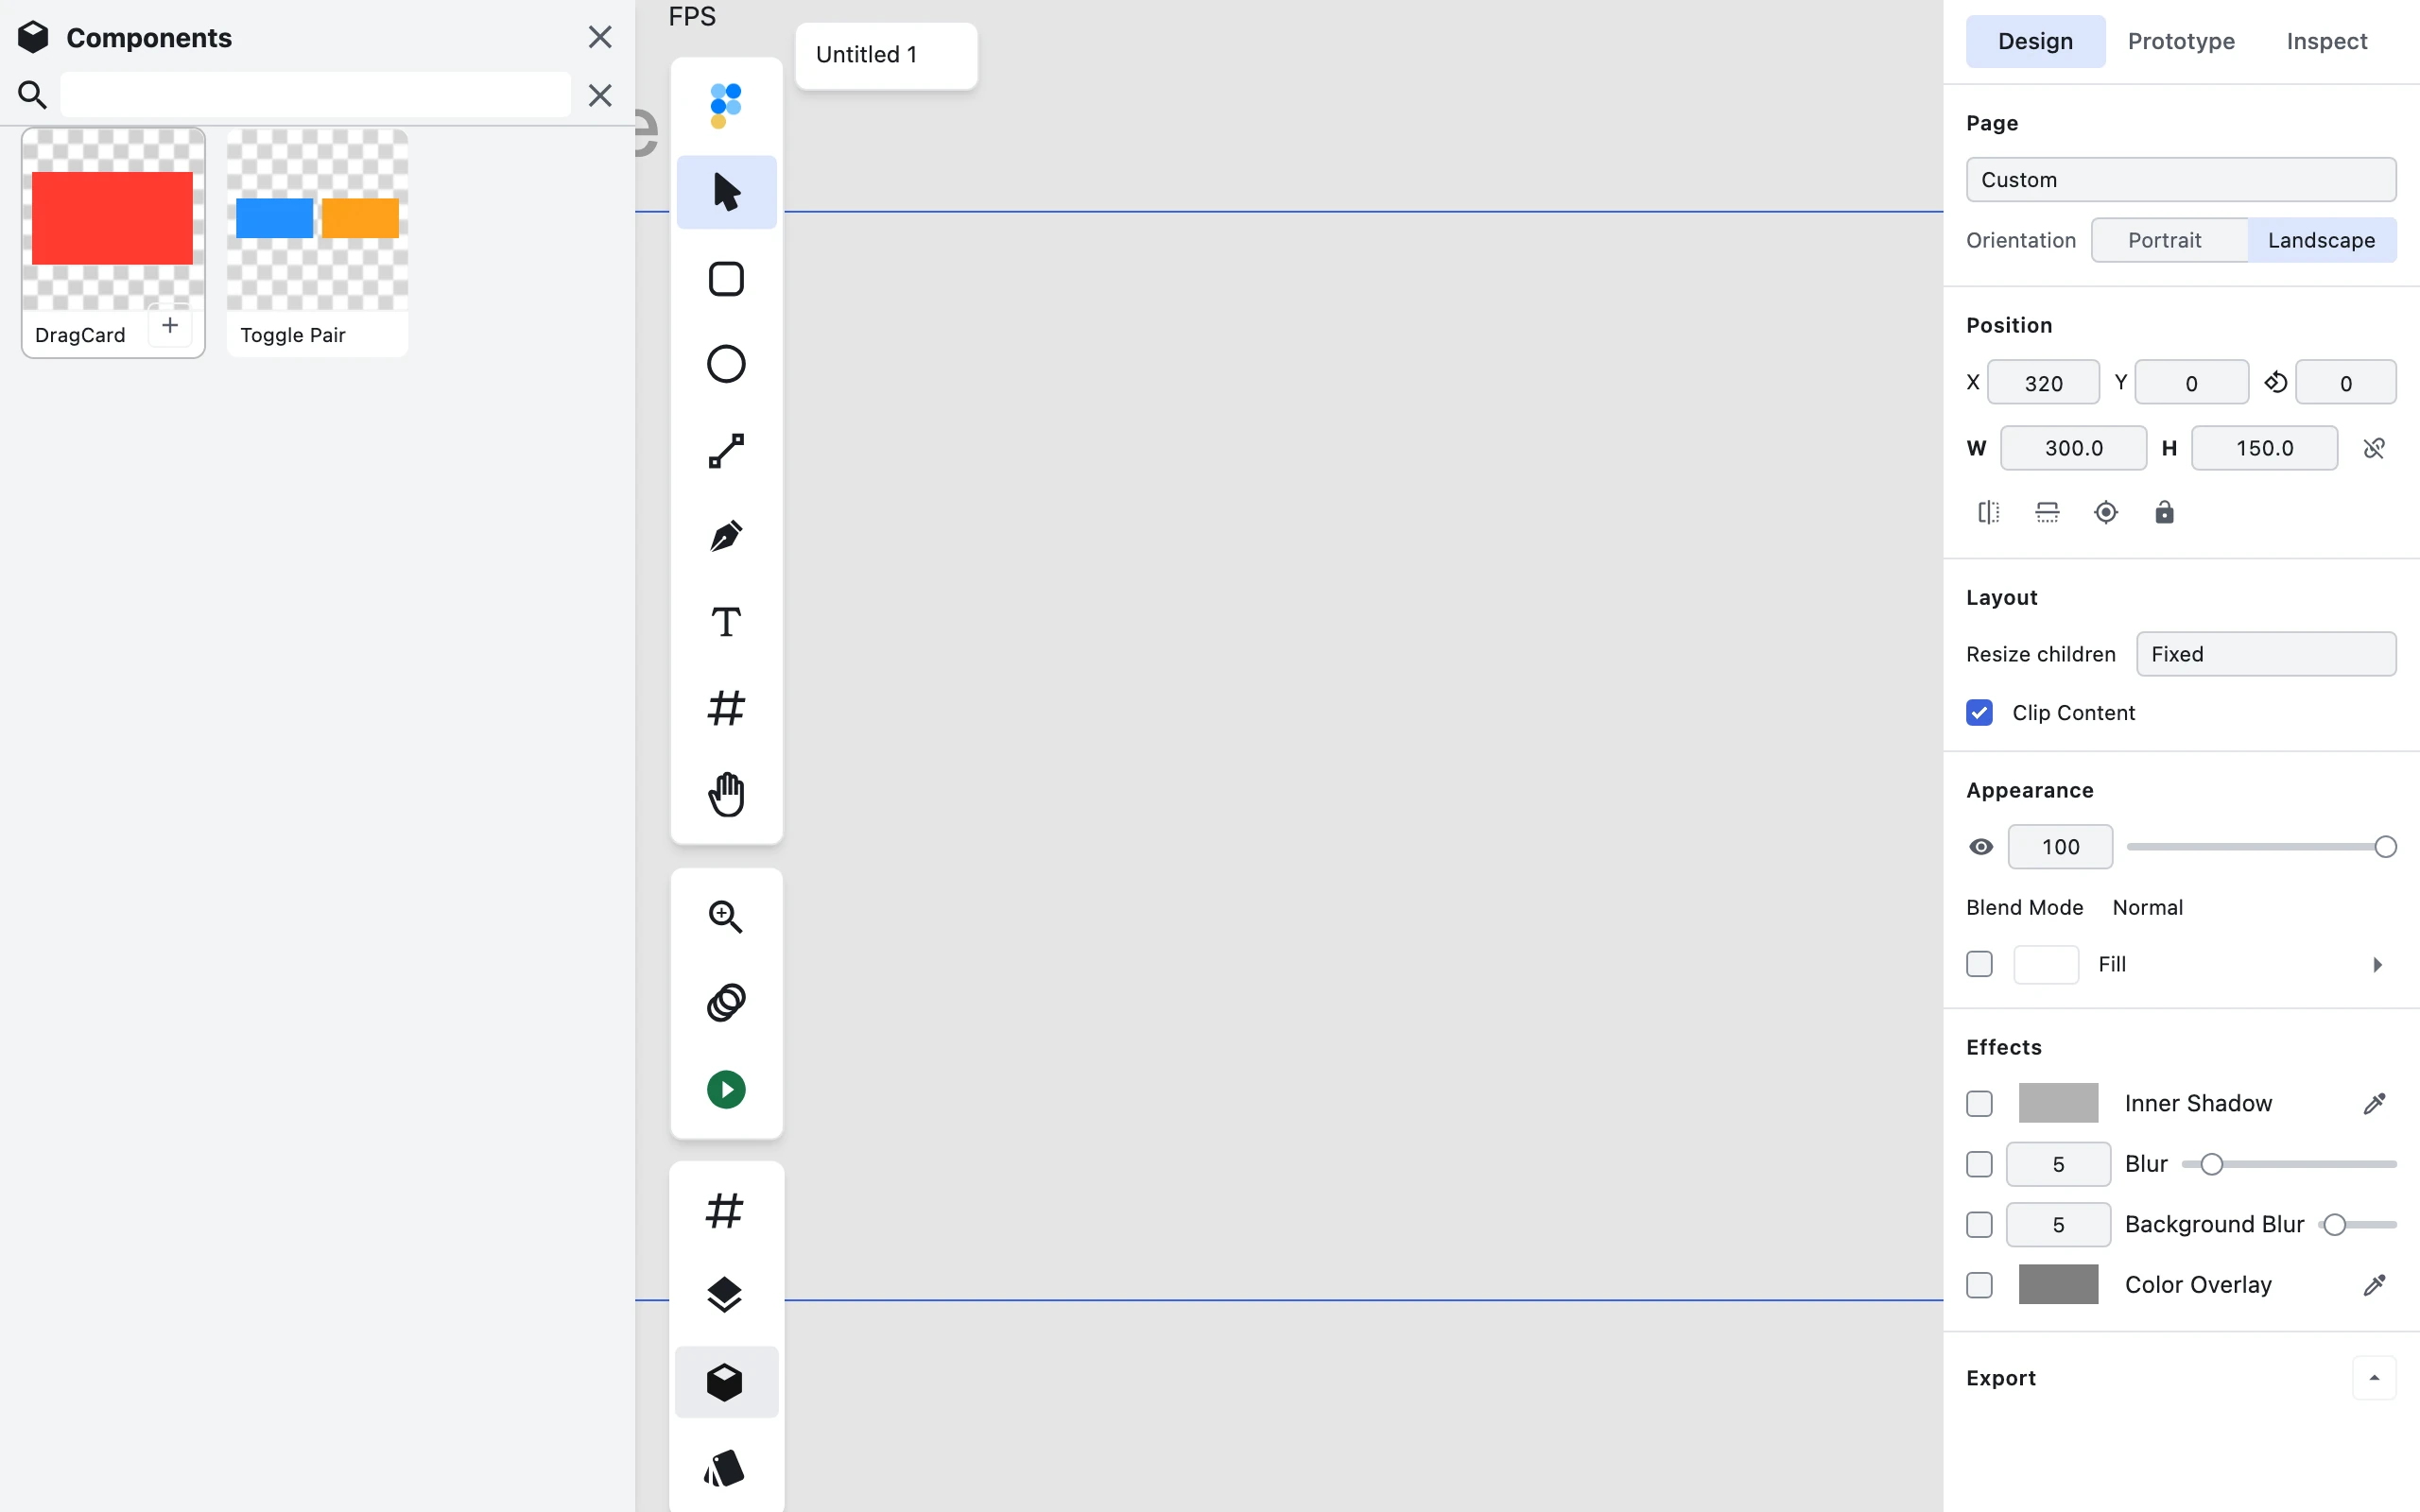

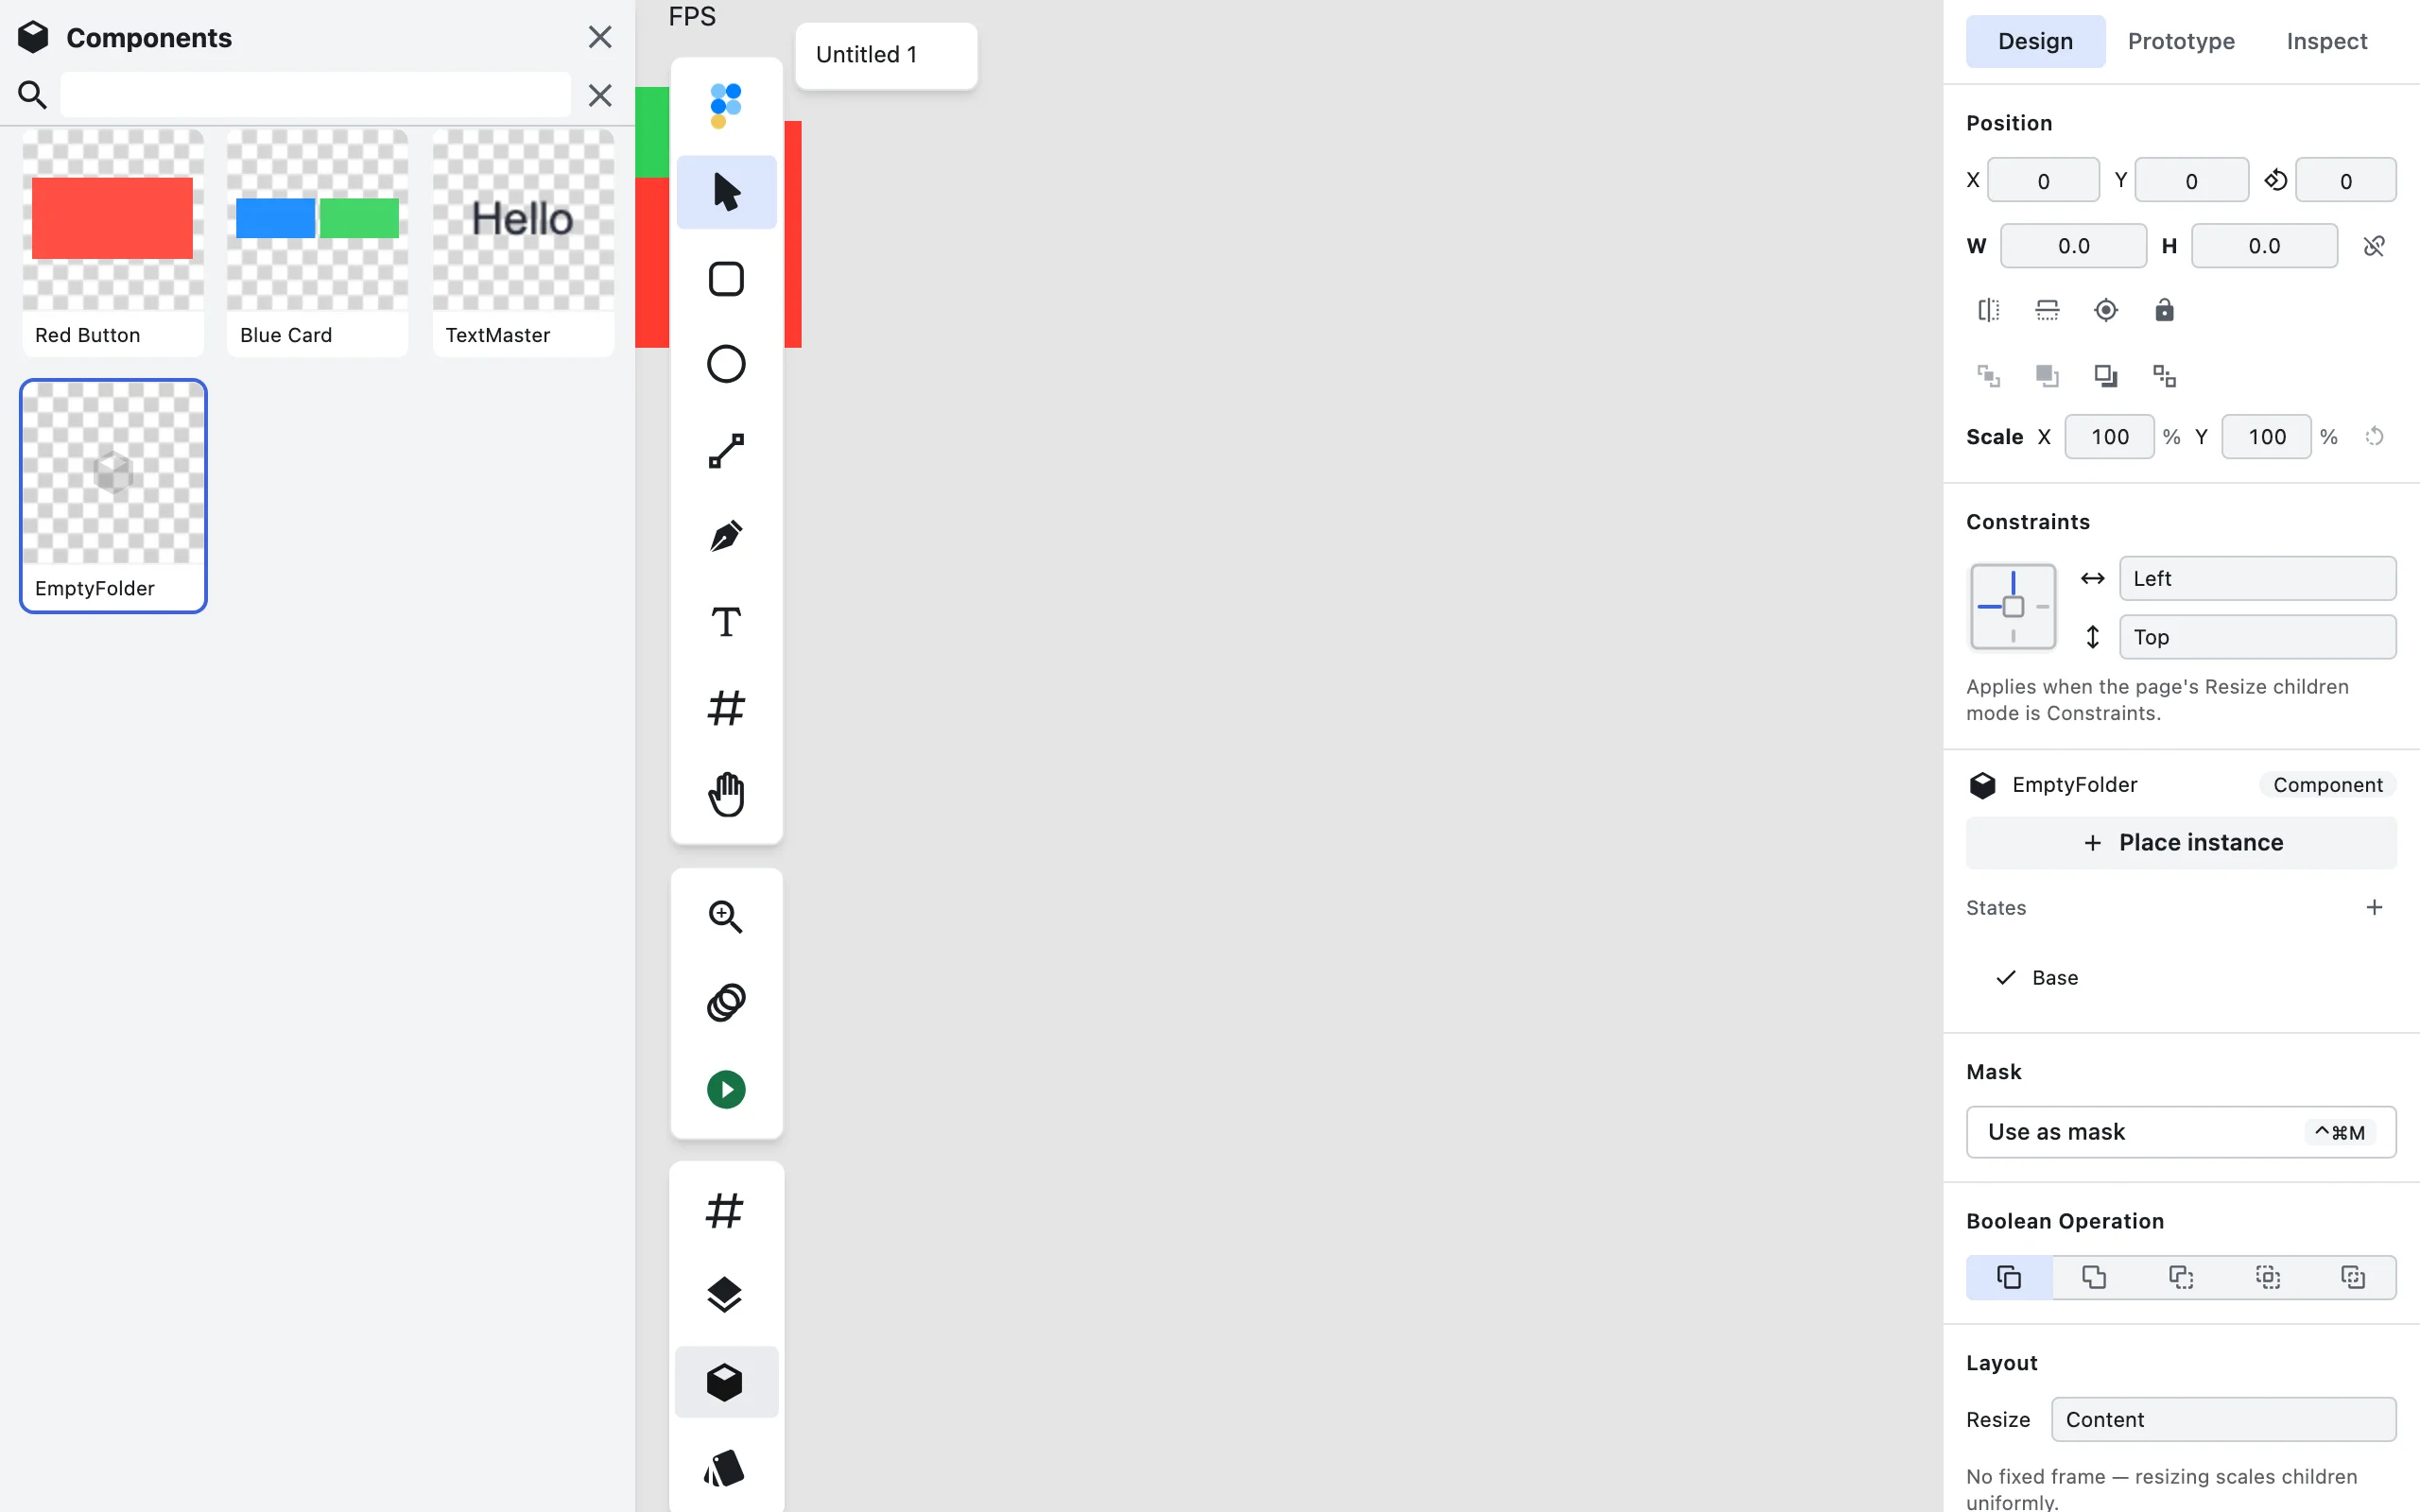

- Open the Components tab in the left rail — it shows every component master as a tile with a live preview of what it looks like, so you can recognise a component at a glance instead of by name.
- Place an instance in either of two ways:
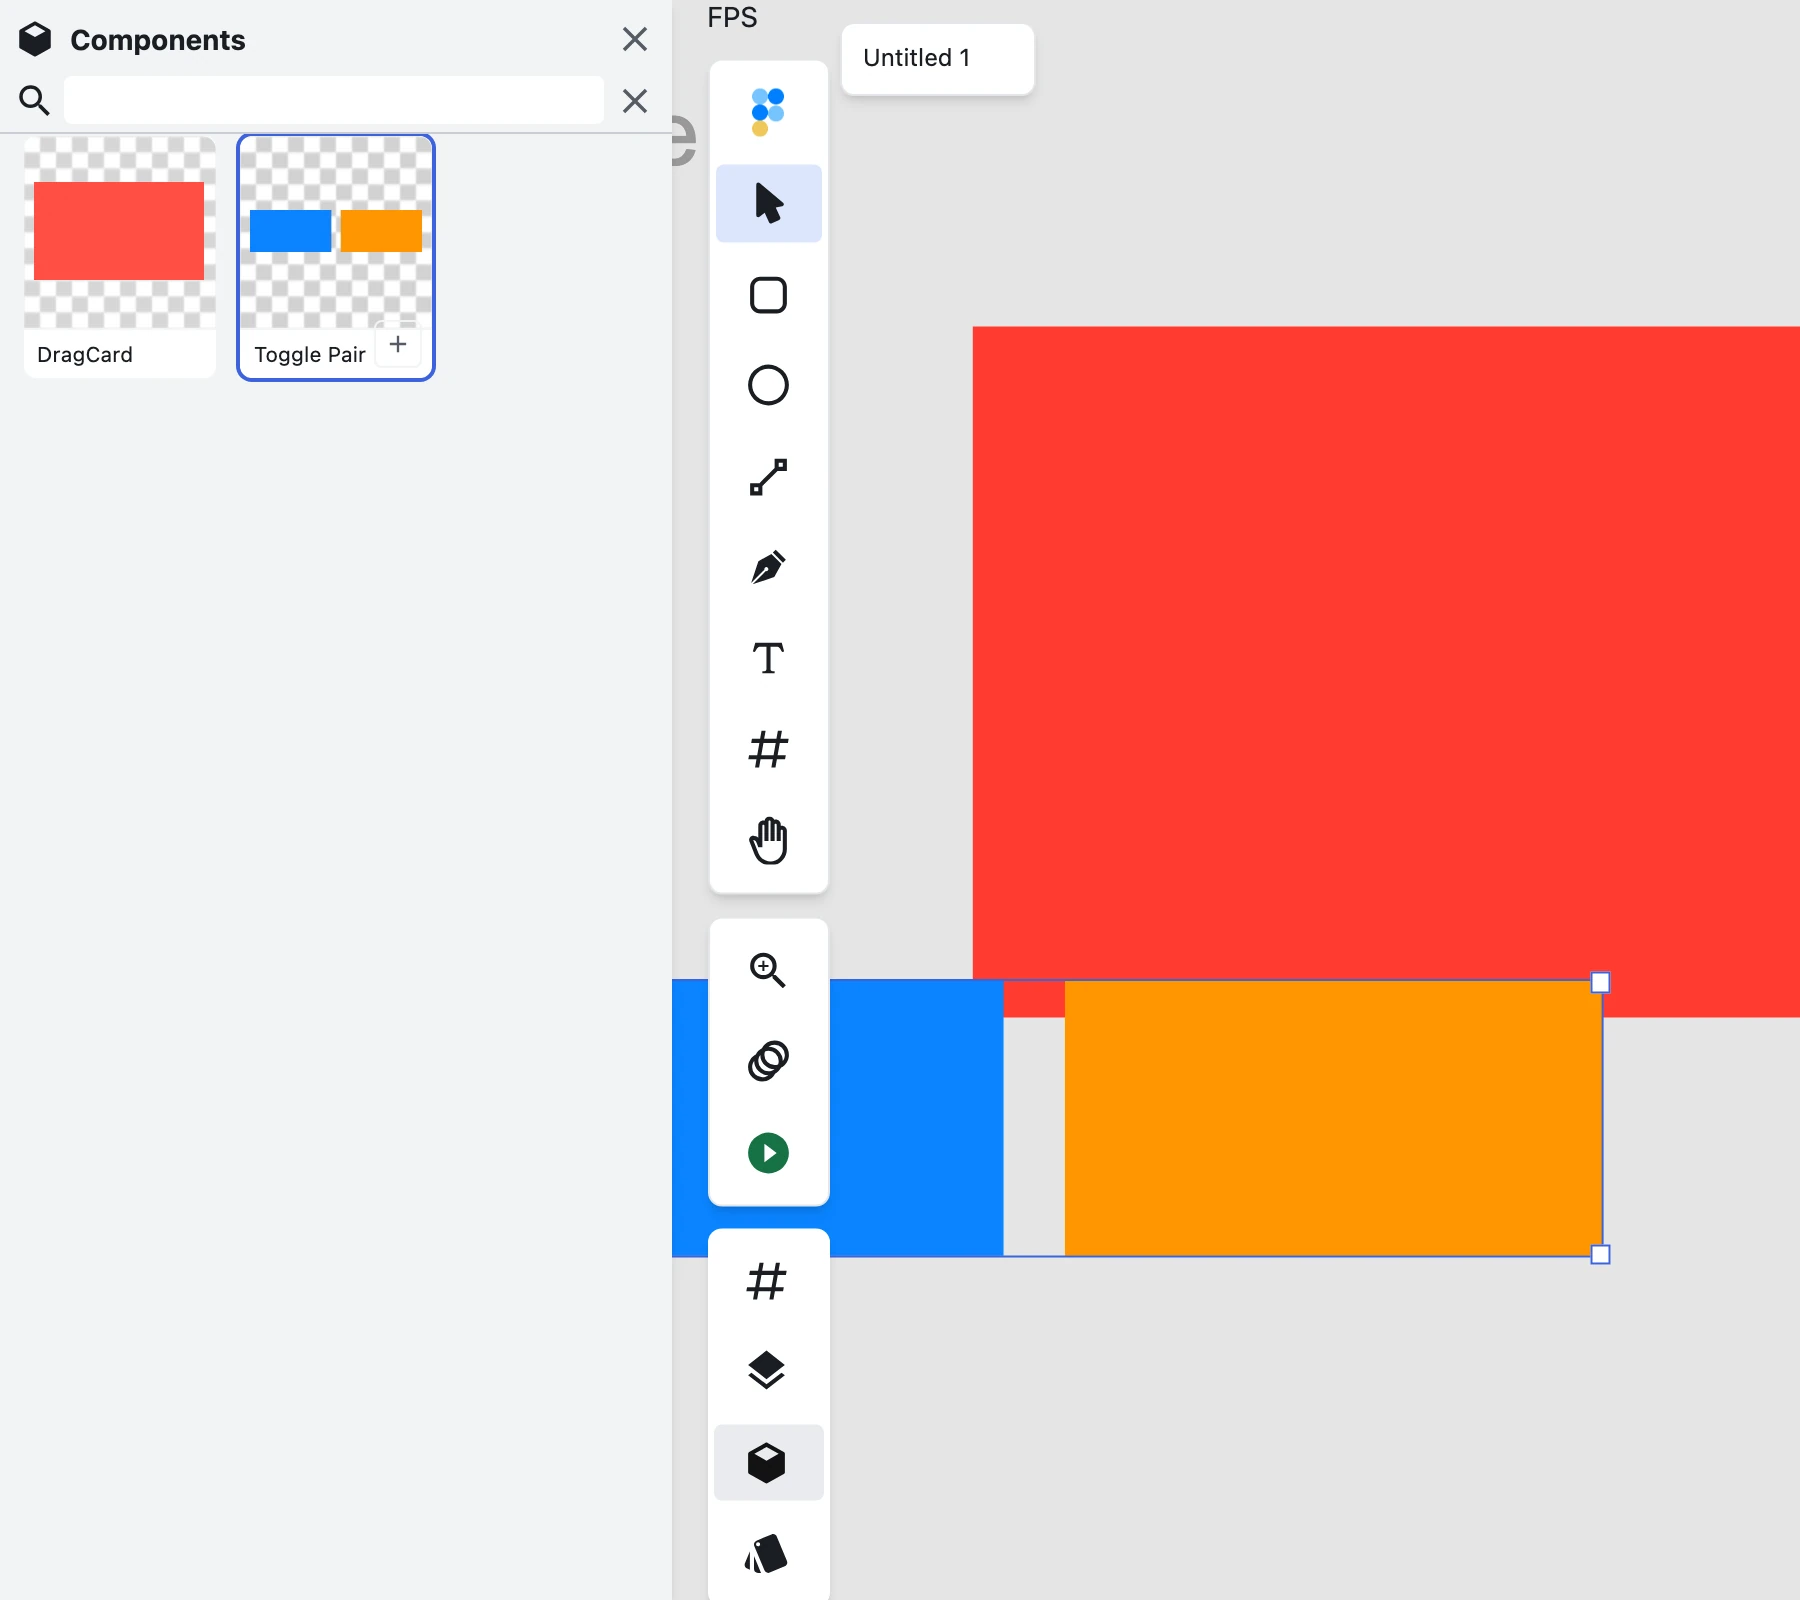
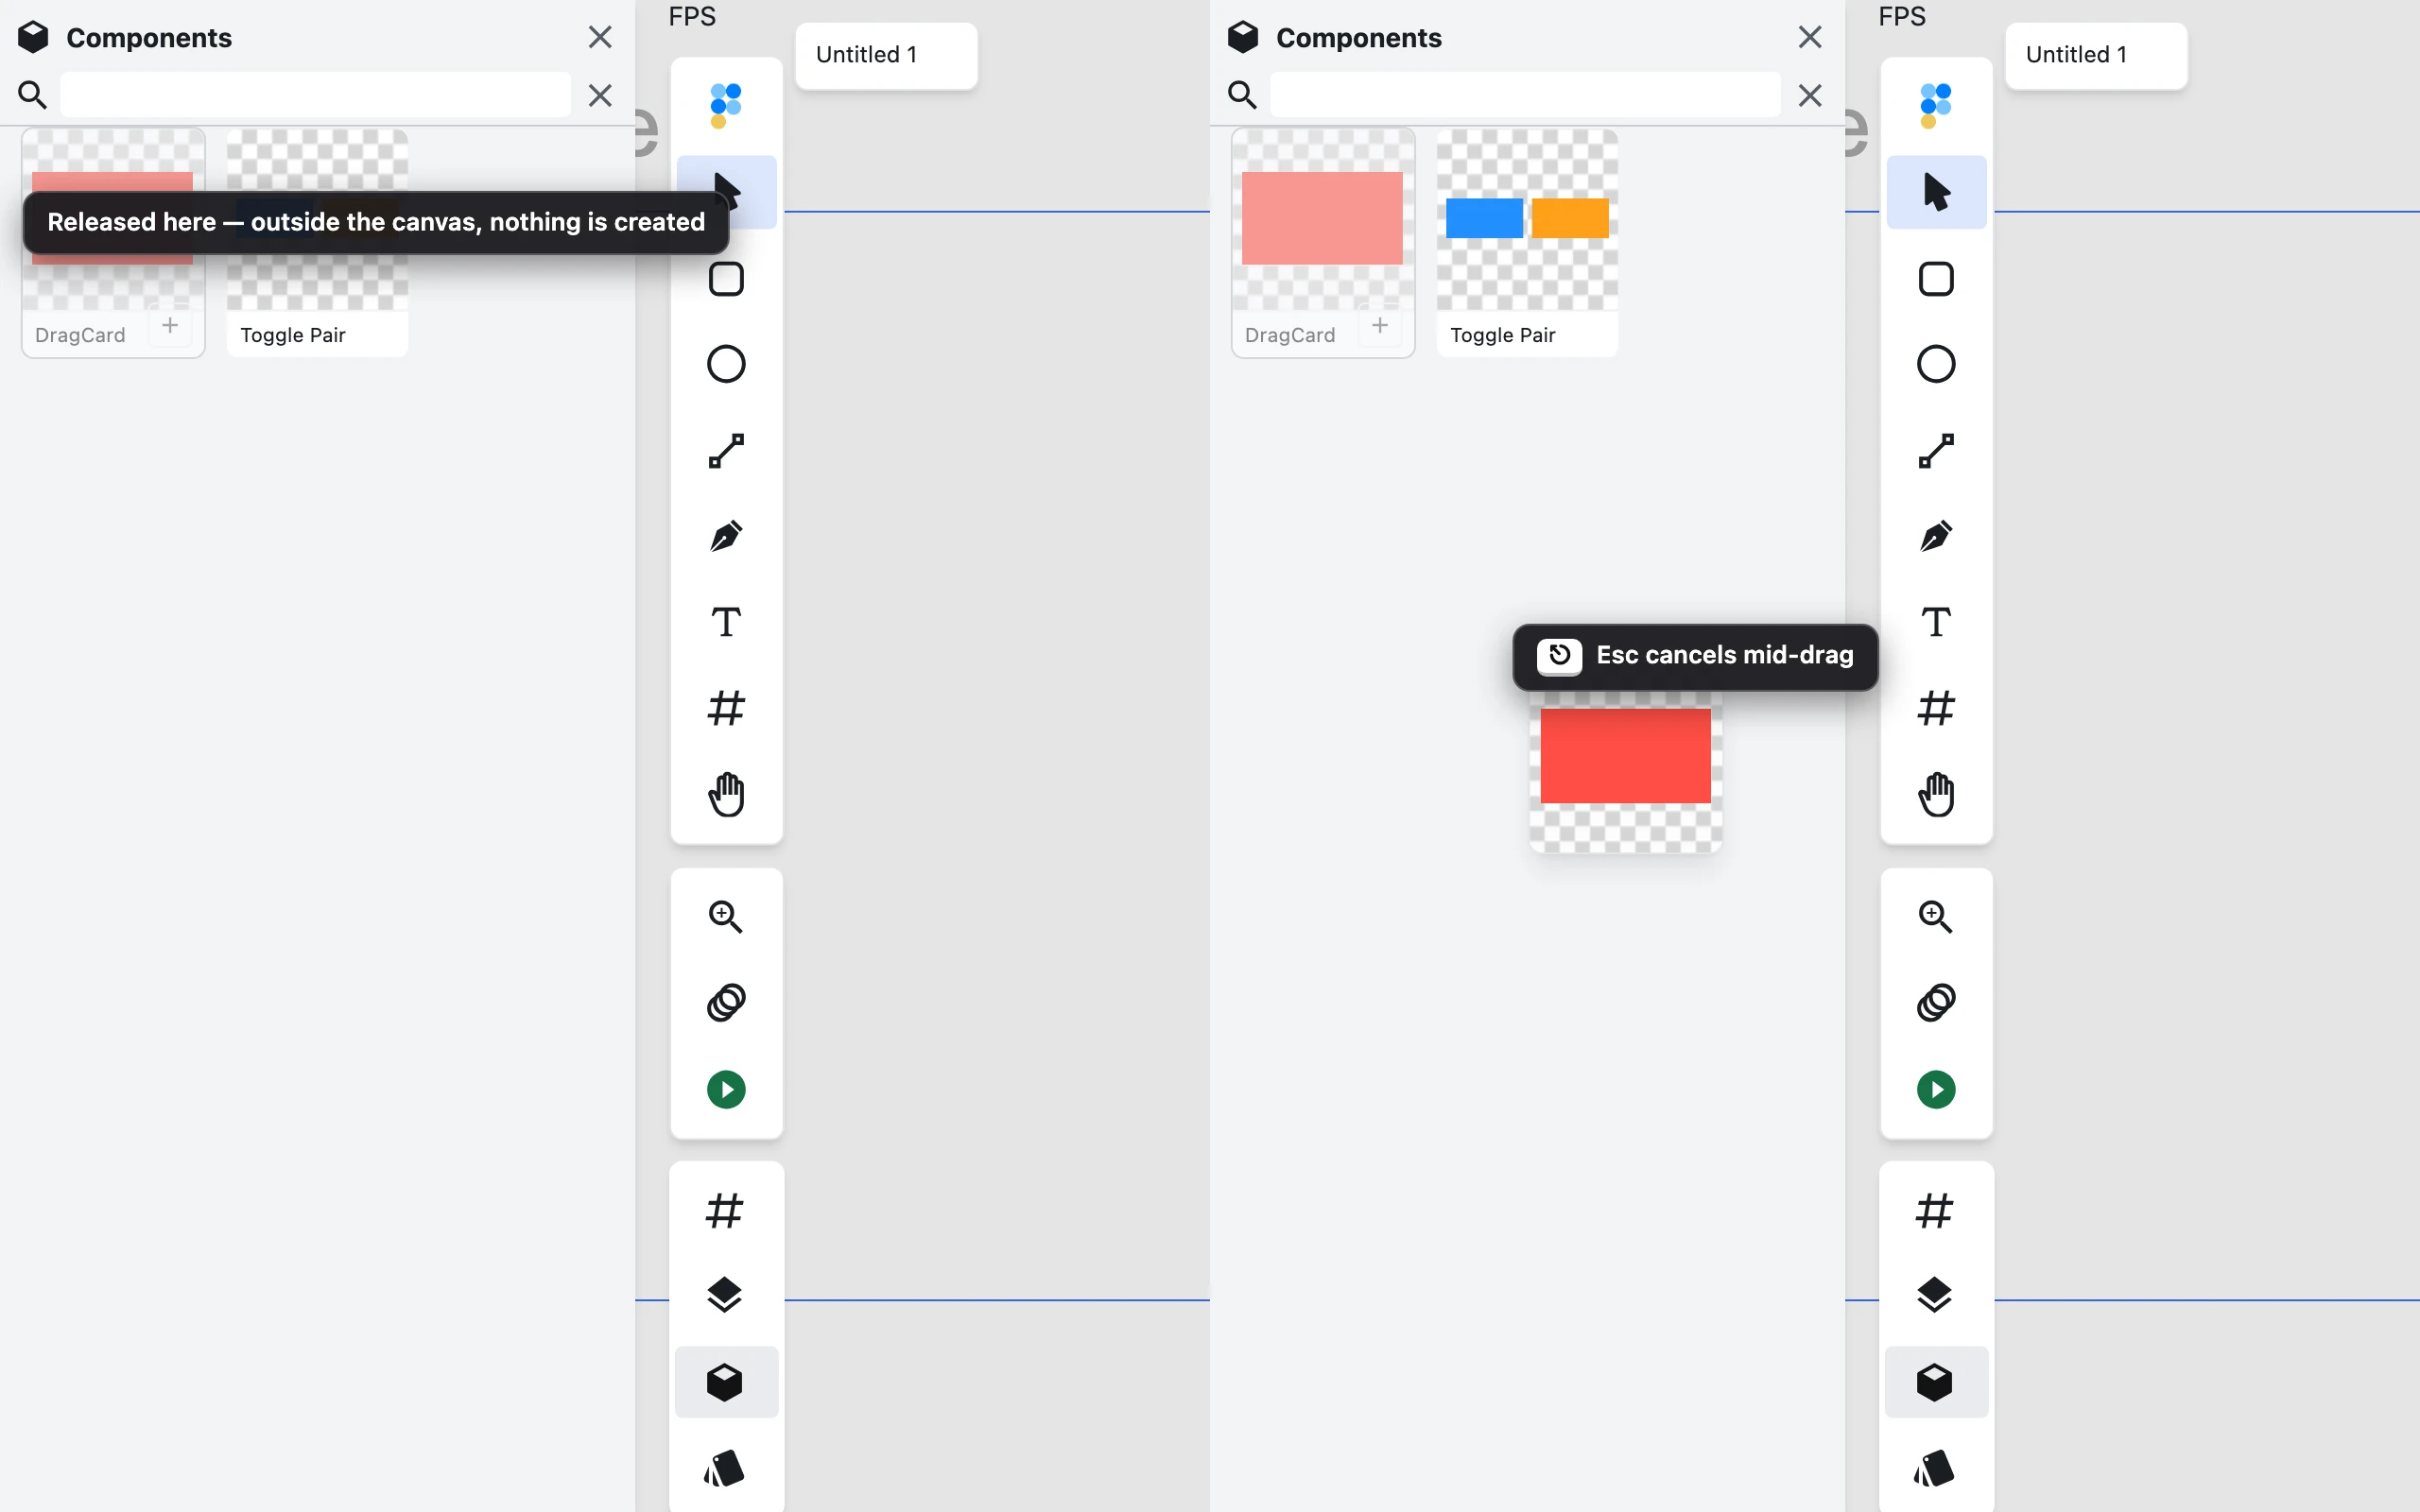
- Drag a tile onto the canvas: press and drag the tile you want, then drop it where you want the instance on the canvas. The instance appears on the active page at the drop point (the page you were looking at when you dropped), selected, as one undo step. Dragging outside the canvas or pressing Escape mid-drag creates nothing.
- Or click to place: Click a tile to select that master, then click Place instance in the right Inspector panel, or use the Place action on the tile itself, if shown. The instance appears on the master's own page, offset diagonally by 24px from the master — the behavior that shipped before drag support, unchanged if that masters-is-elsewhere defect is real it has its own repro.
- Either way, the new instance is a live, linked copy — edit the master and every instance follows.
Dragging a Component onto the Canvas
Press and drag any tile in the Components grid. While you drag, a ghost of that tile follows the cursor — the same live thumbnail the grid already shows — and releasing over the canvas drops an instance of that master on the active page at that point, selected and undoable in one step. The view does not move. Releasing outside the canvas or pressing Escape cancels the drag with no change.
Browsing Components as Tiles
The Components tab shows your project's masters as a responsive tile grid, not a text list — one tile per master, each with a live thumbnail of that master.
- What you see on each tile: a square image well (checkerboard behind it,
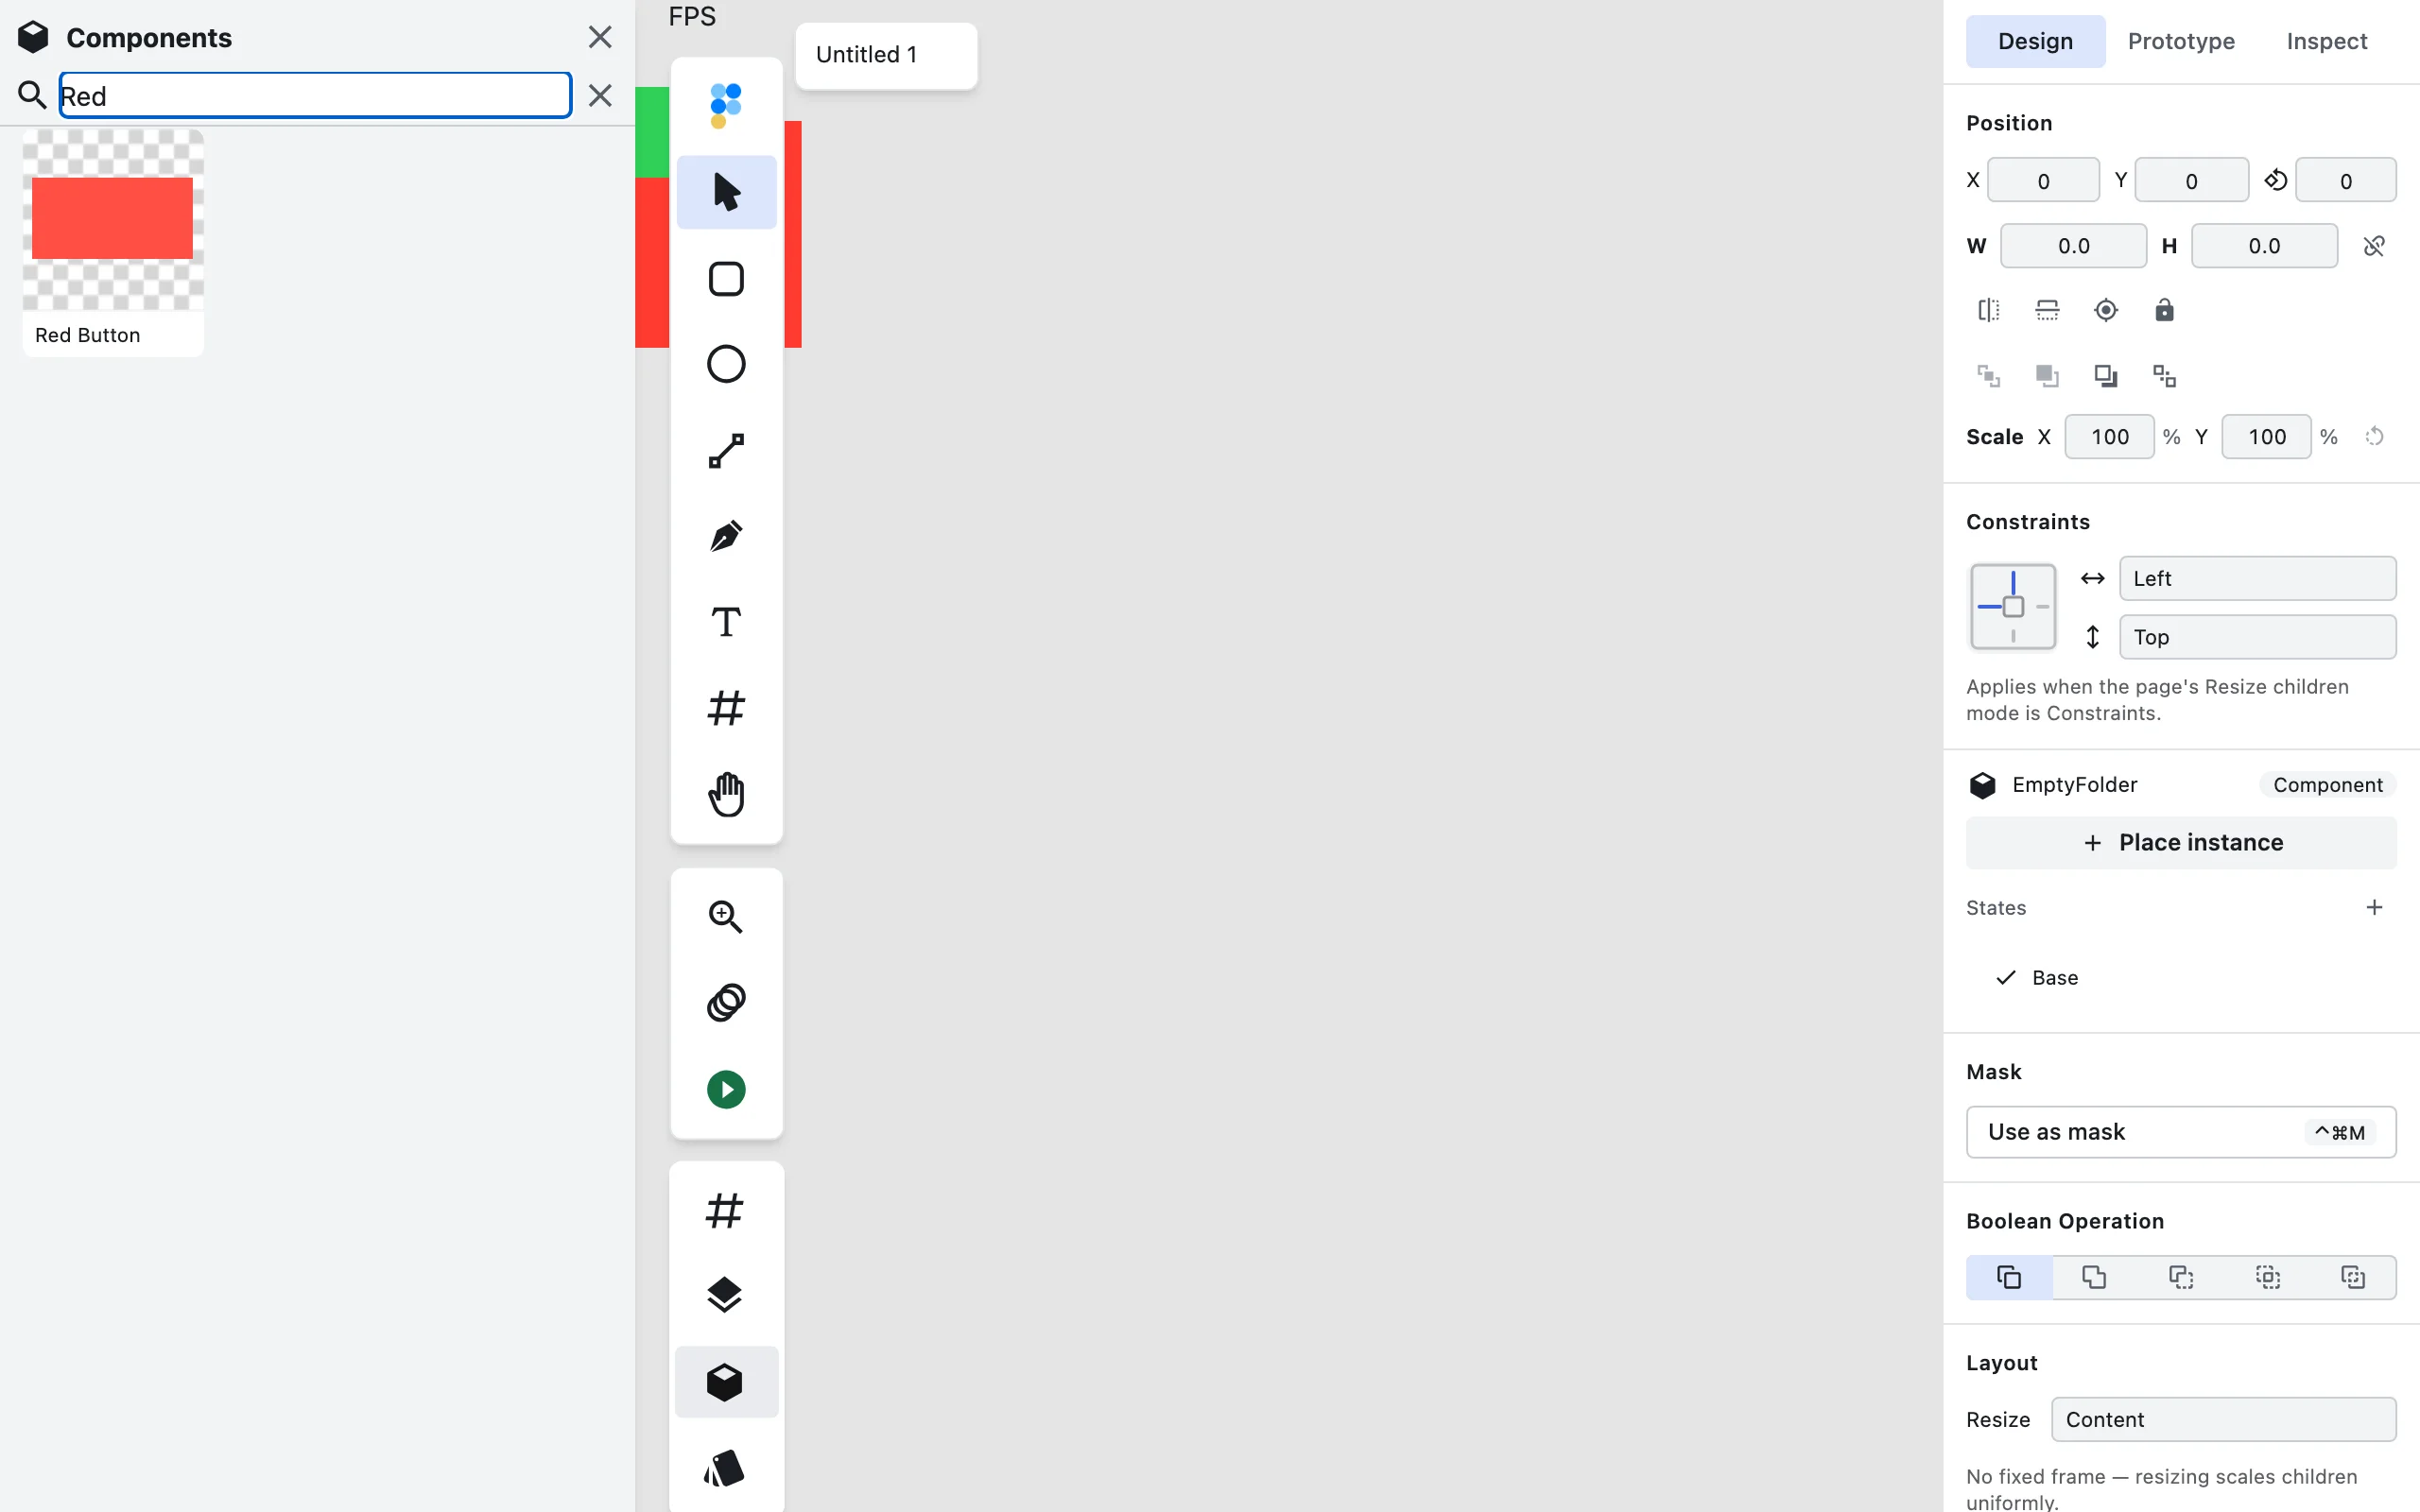
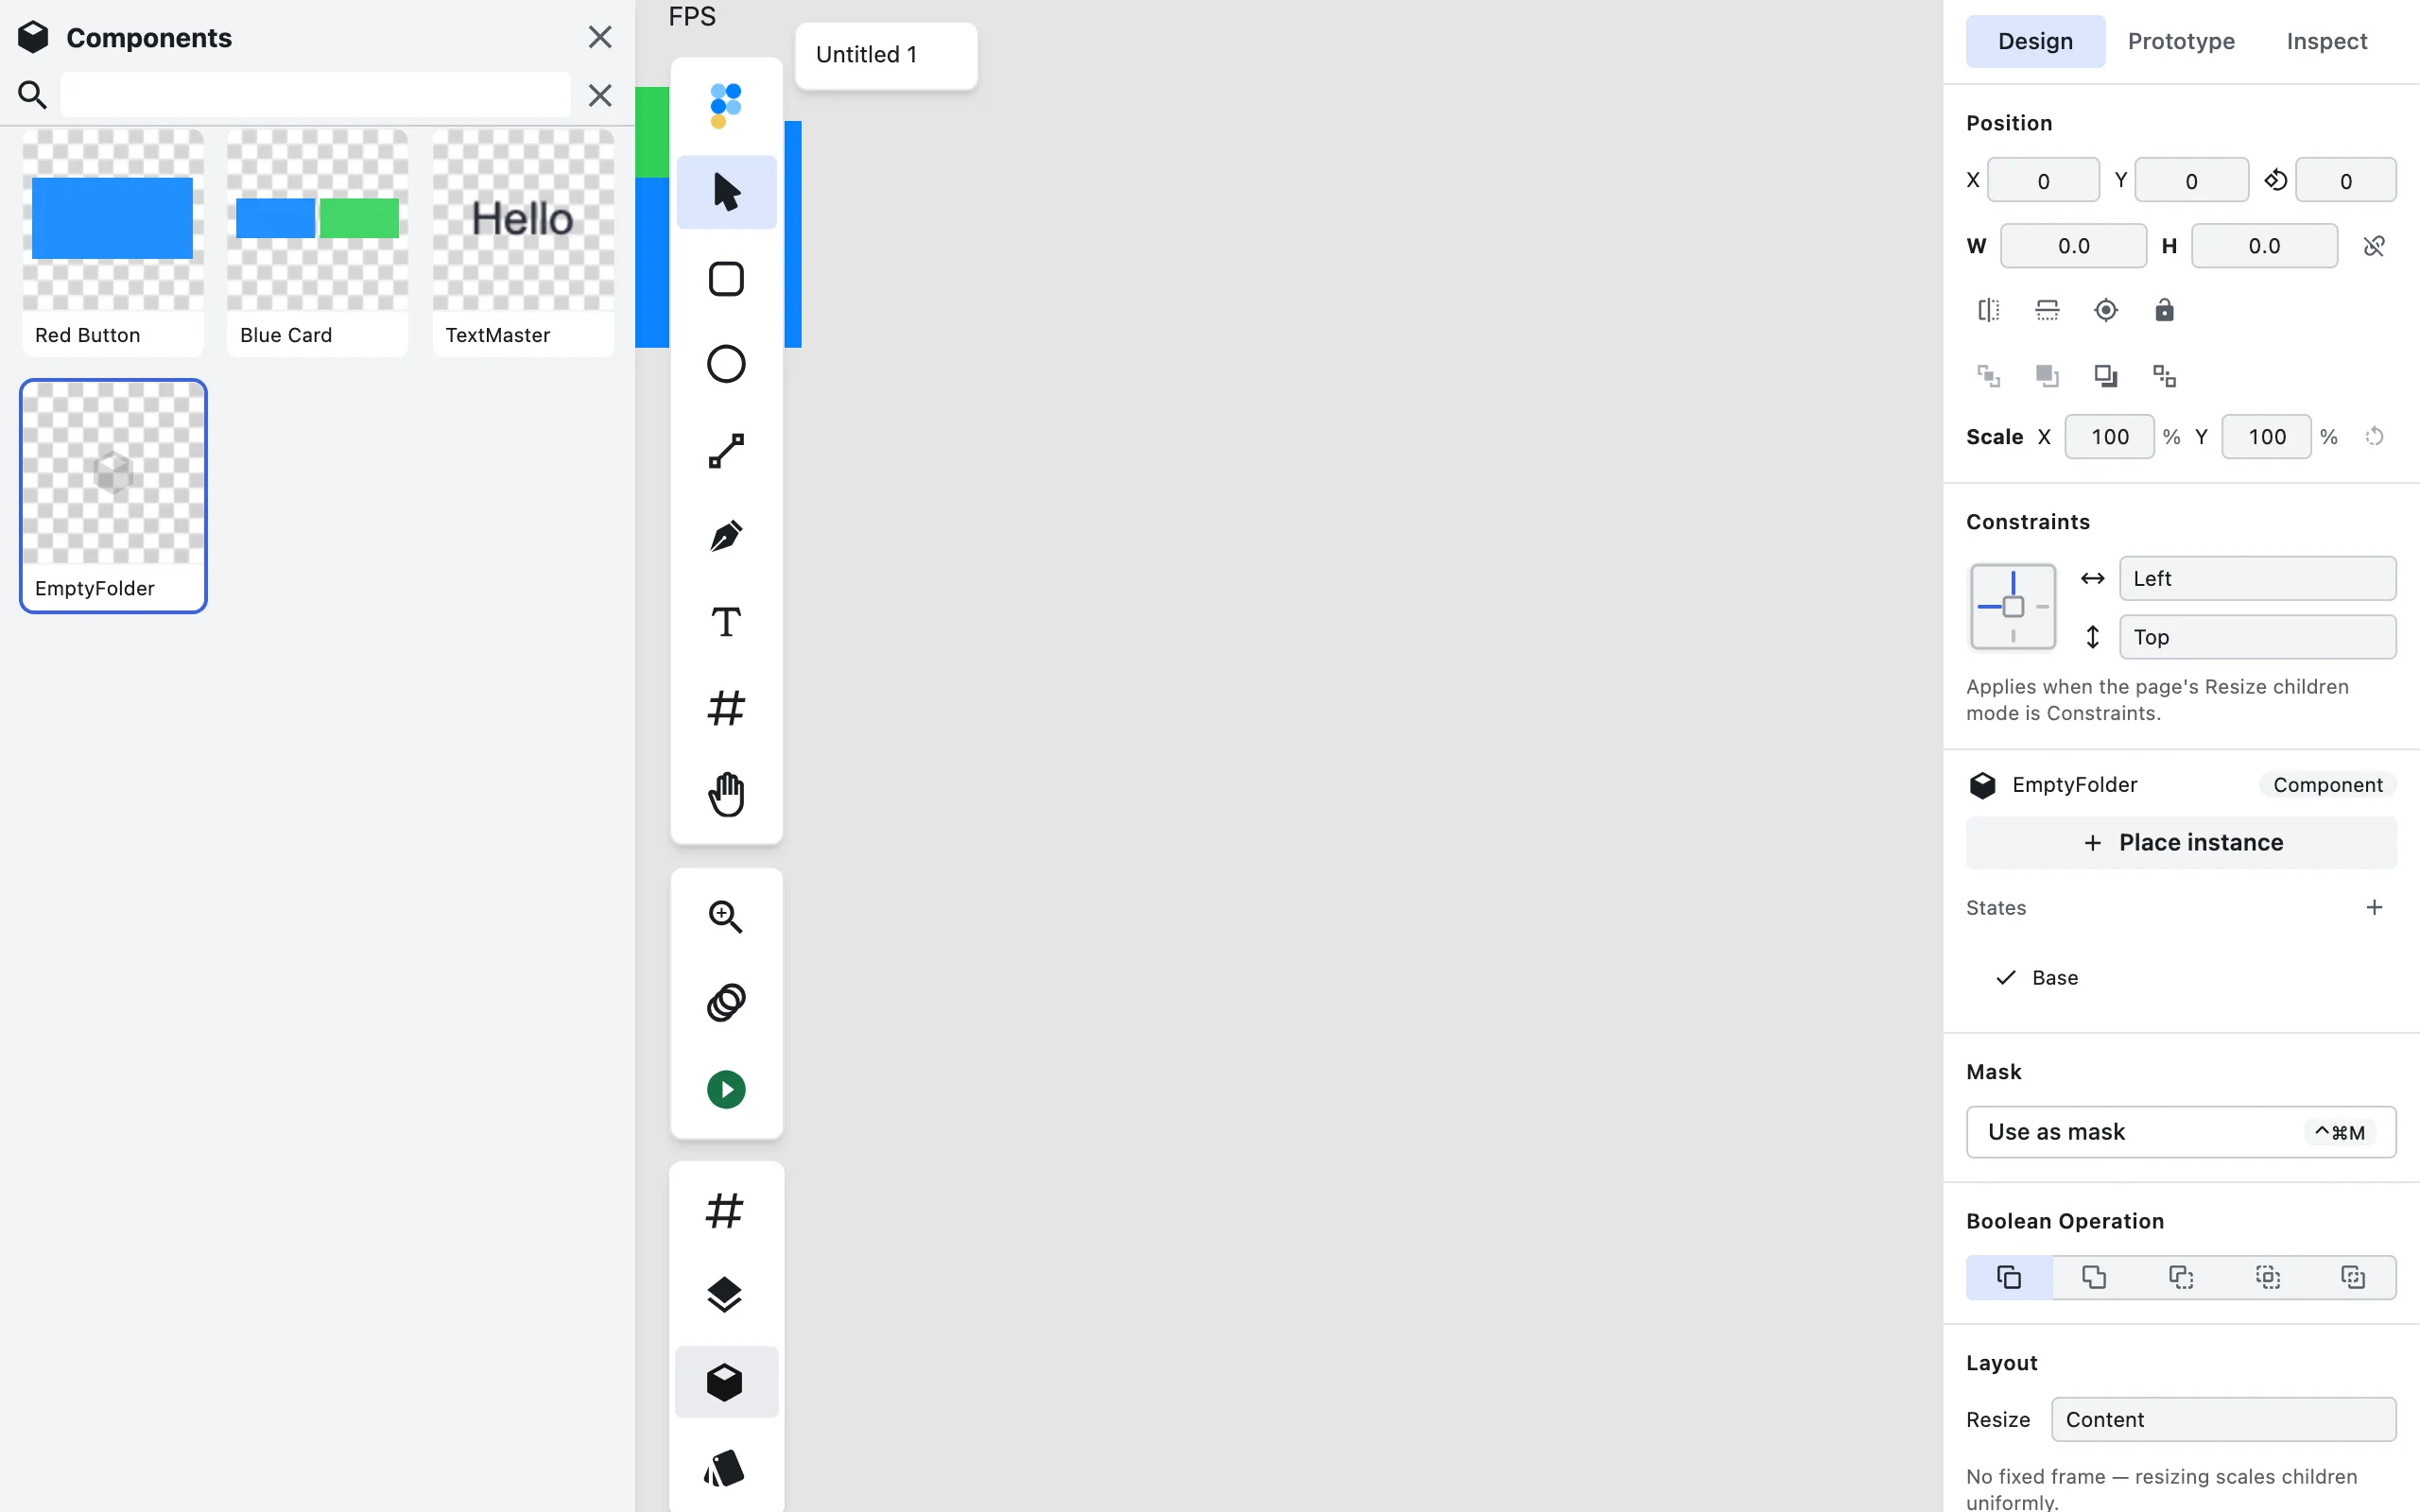
object-containso a wide button letterboxes rather than crops) showing a real render of the master, plus the master's name in the caption band and a Place instance action. - Live thumbnails: the image updates the moment you edit the master — change a fill, reshape a path, or restyle a child, and that tile's preview follows without closing and reopening the tab (
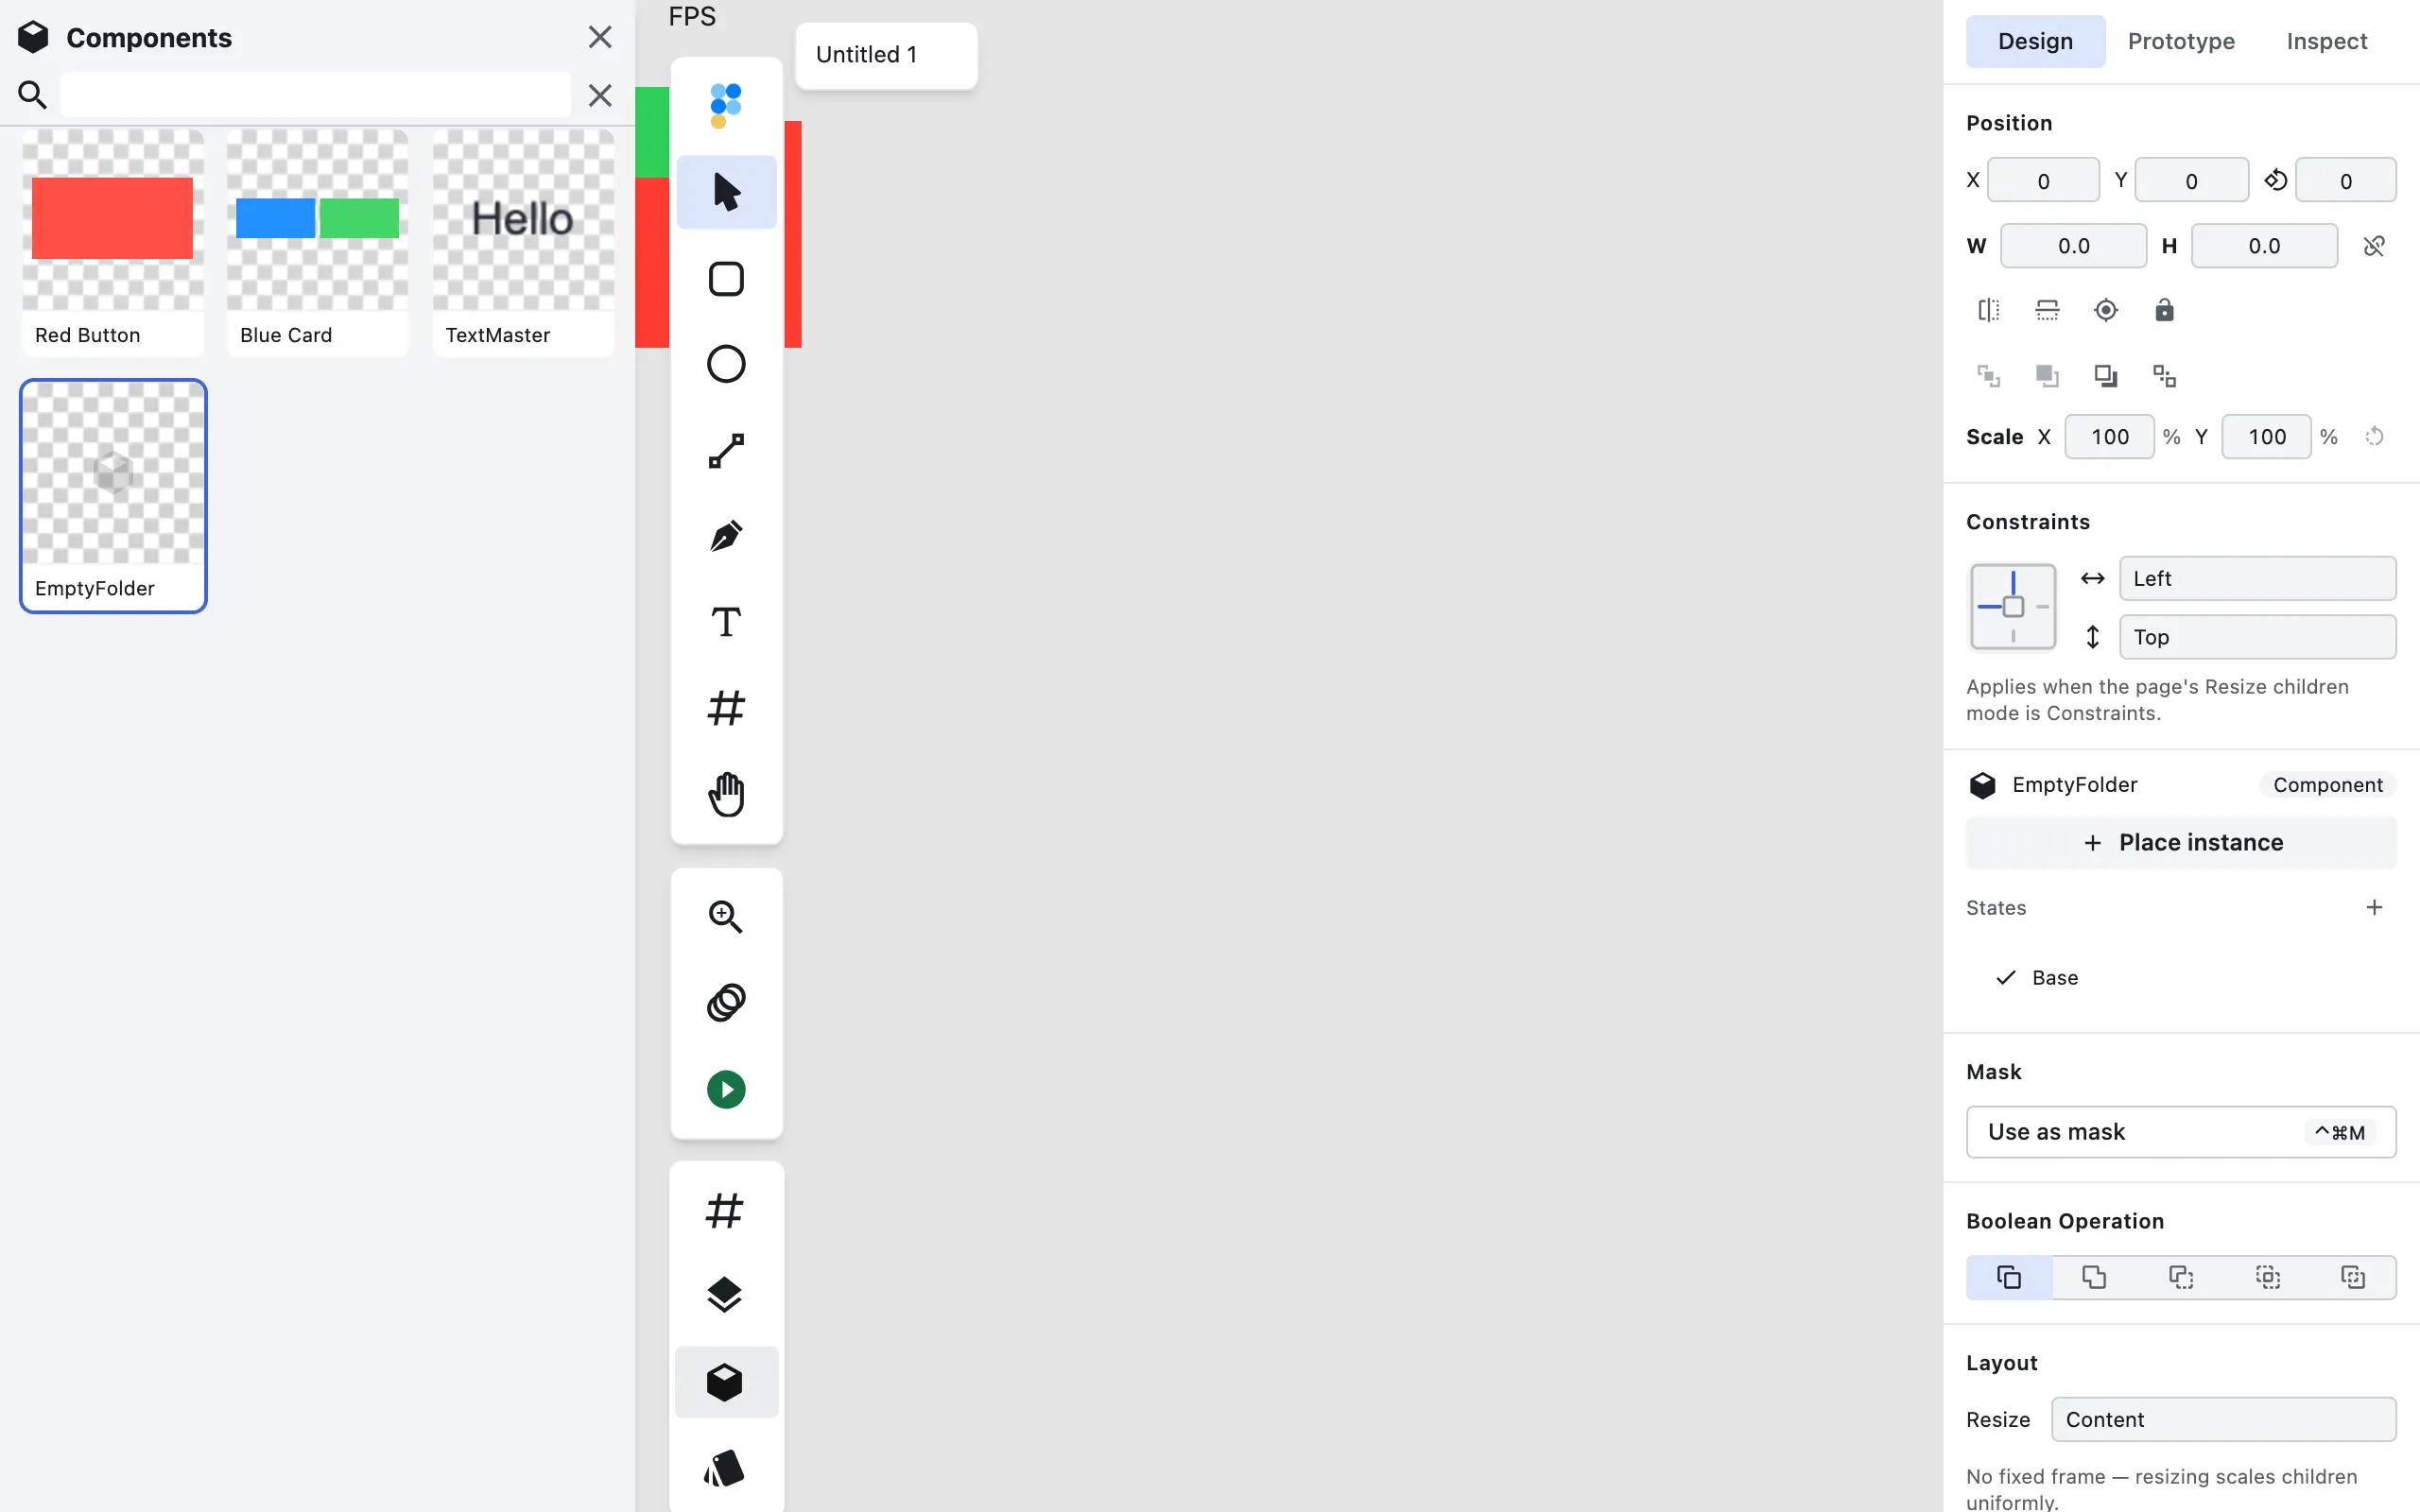
PreviewCanvasManagercache invalidated onlayer.update/child.update). Other tiles are untouched. - Skeleton → image → fallback: a tile shows a skeleton while its preview is being rendered. If a preview can't be produced or would be empty, the tile shows the component's type icon instead — it never stays blank.
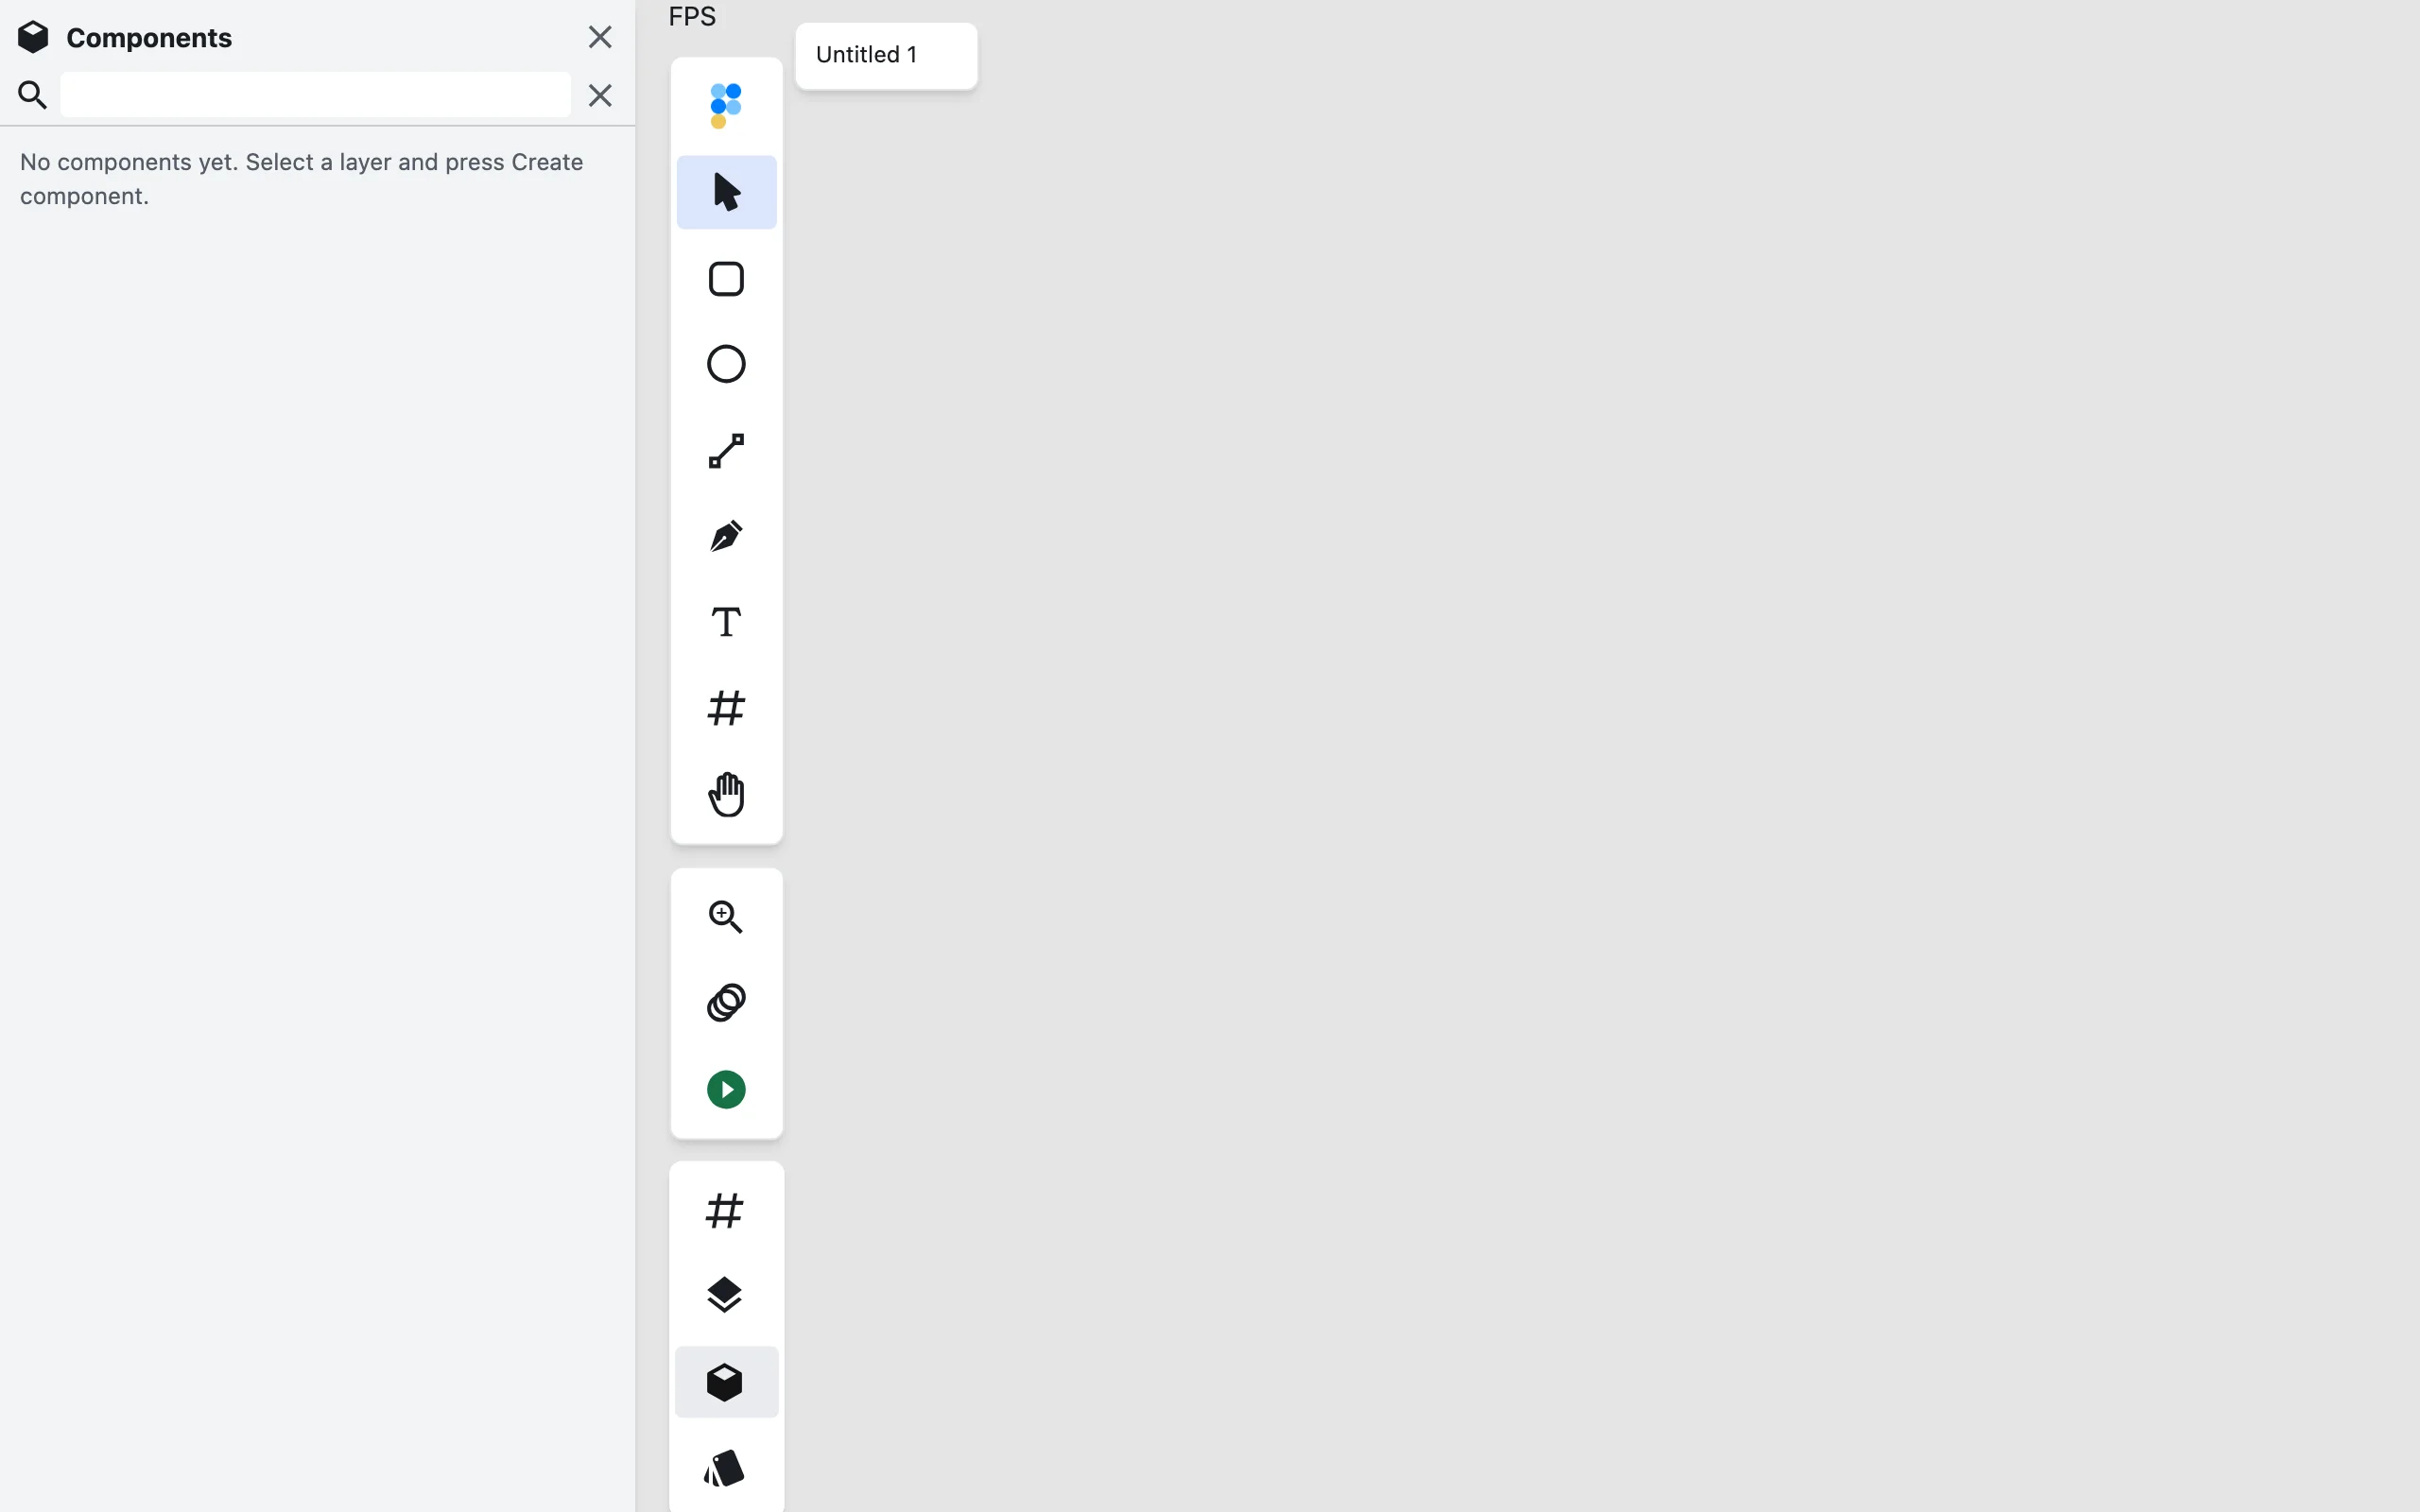
- Search still works: typing a name in the filter above the grid narrows the visible tiles the same way it narrowed the old list. With no components, the empty-state hint is shown and no tiles exist.
- Performance: rapid edits (for example, dragging a layer inside a master) are coalesced — the preview regenerates once after the burst settles, not once per frame.
Pasting Components: Instance Default vs. Independent Copy
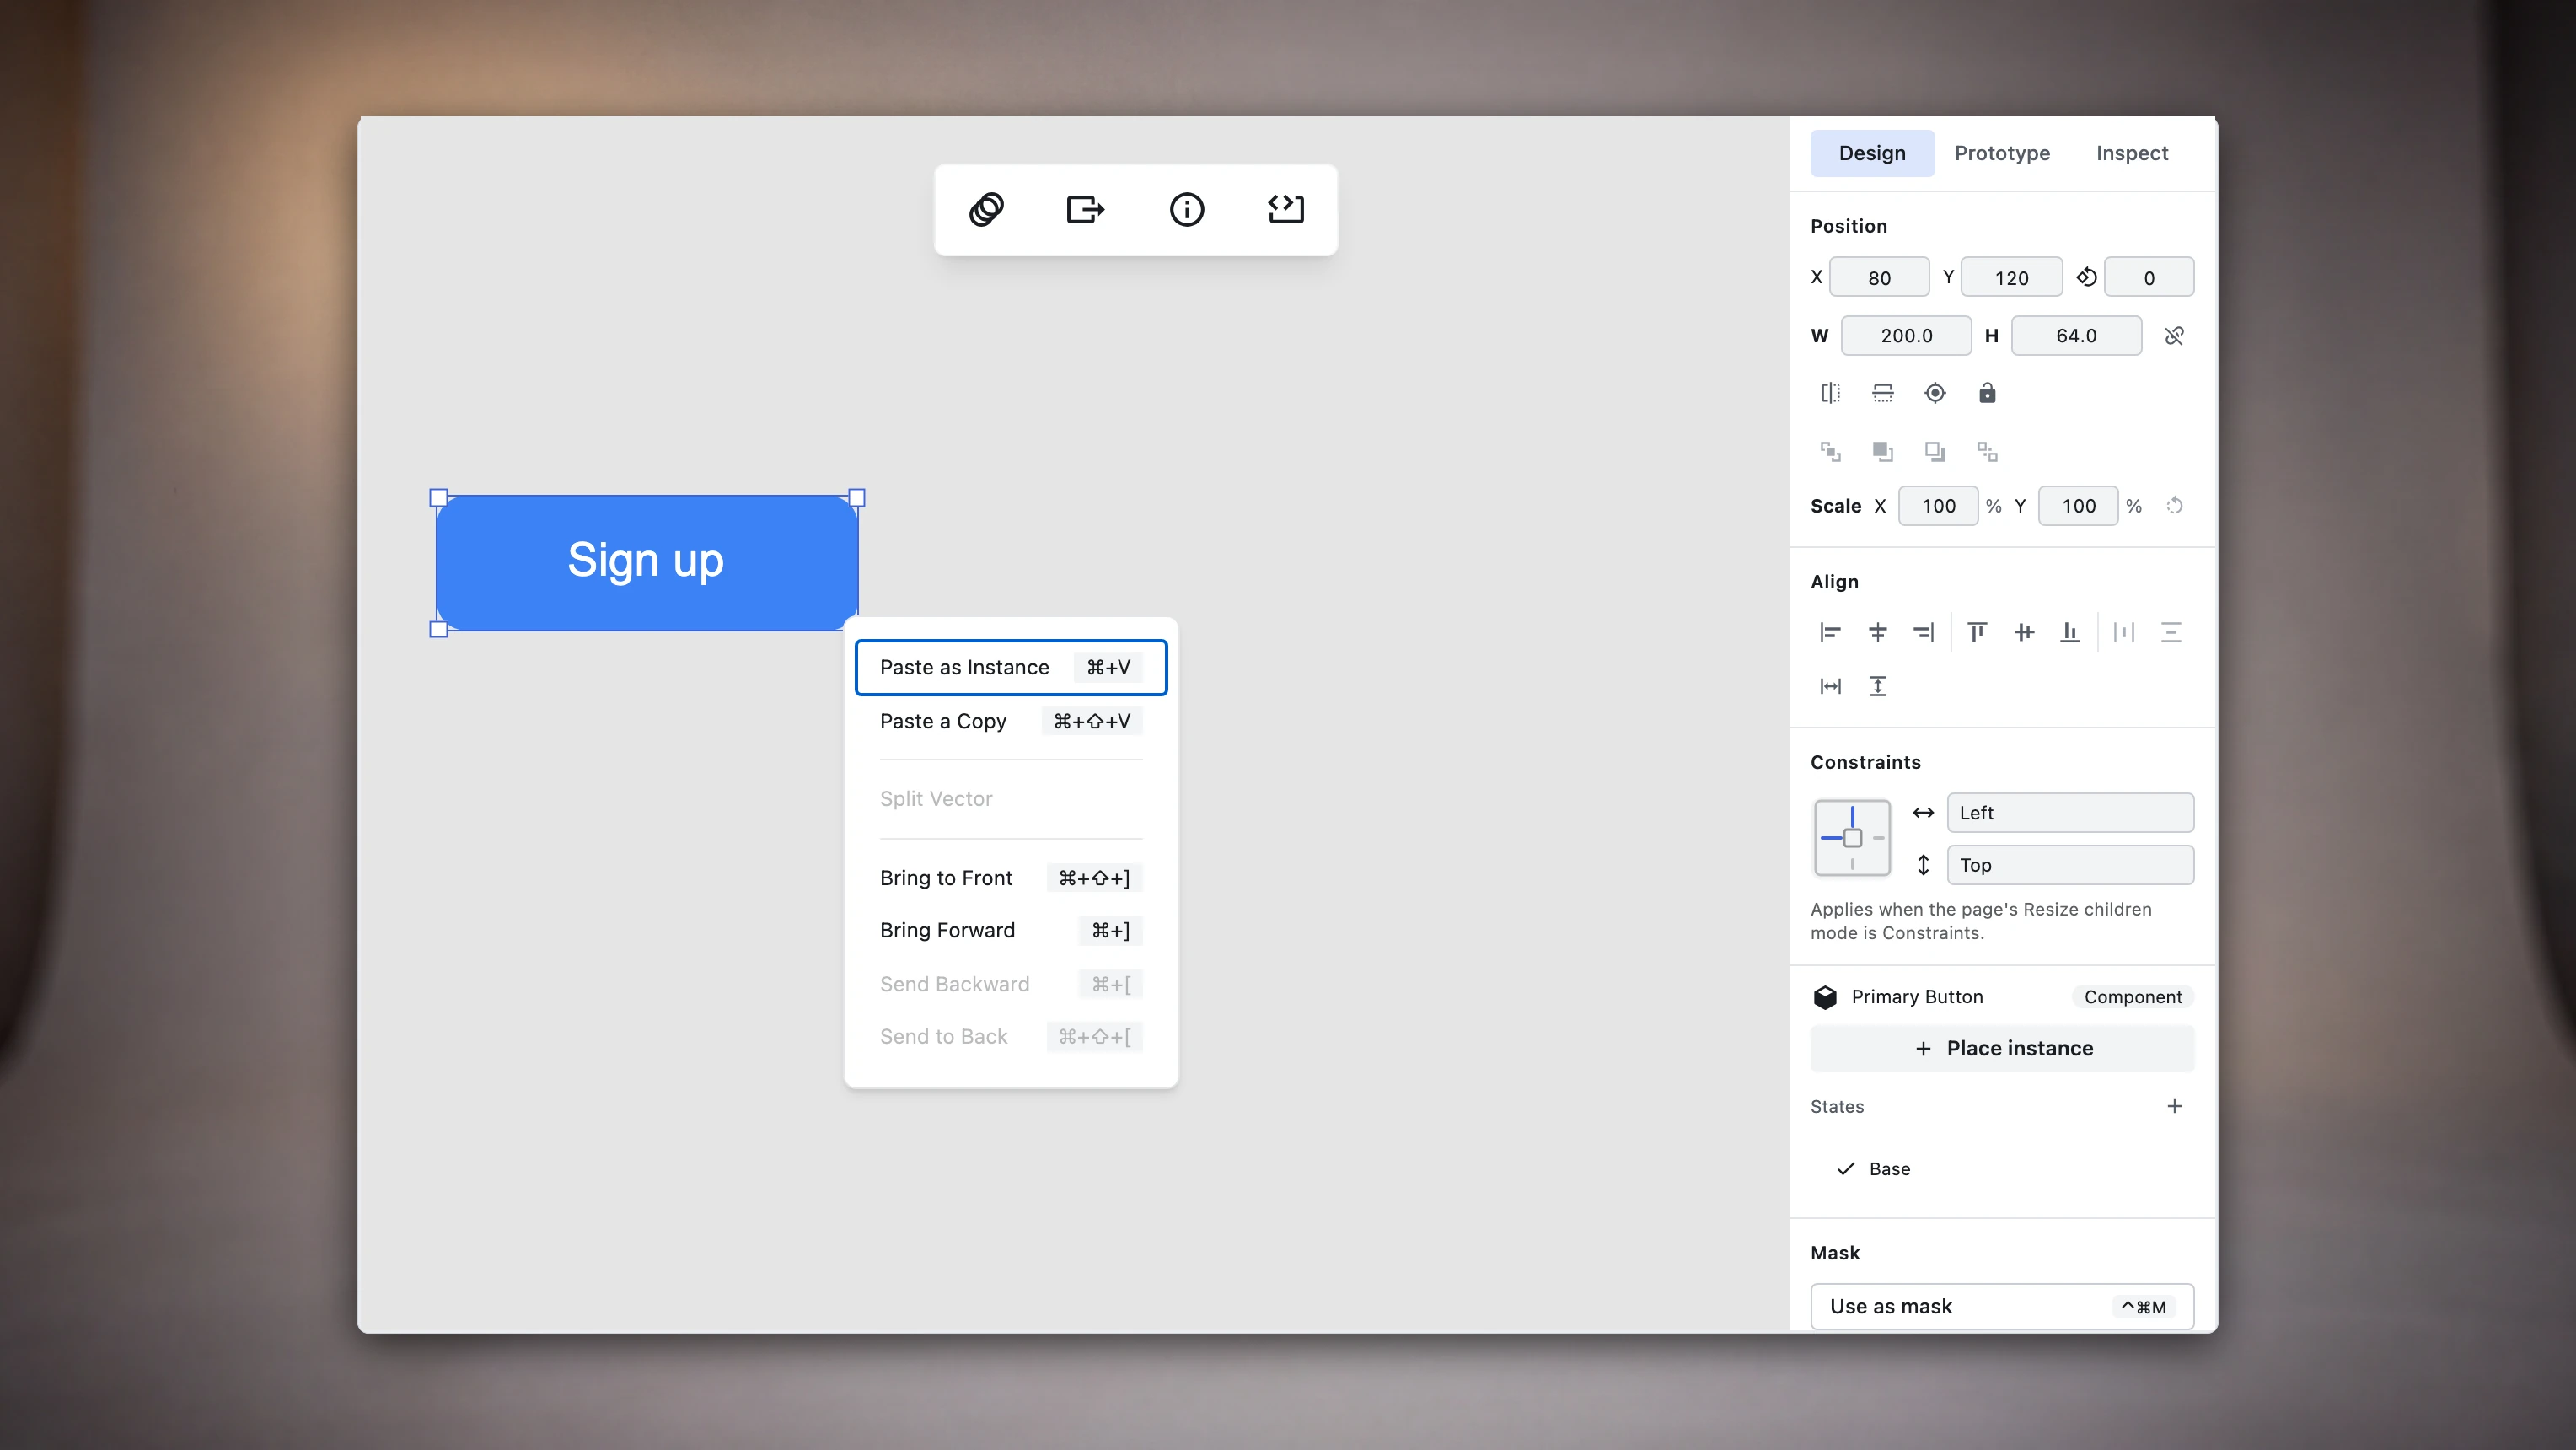
When you copy a component master (Cmd/Ctrl + C) and paste it:
- Plain Paste (
Cmd/Ctrl + V): Creates a linked instance of the master component (the default behavior). The new instance links to the original master, updates when the master is edited, and is placed as a page-level sibling. - Paste a Copy (
Cmd/Ctrl + Shift + V): Creates an independent master component (a fork), severing any relationship to the original master. - Canvas Context Menu Integration: Right-clicking on the canvas with component master(s) on the clipboard opens the context menu displaying both options: Paste as Instance (
Cmd/Ctrl+V) and Paste a Copy (Cmd/Ctrl+Shift+V).

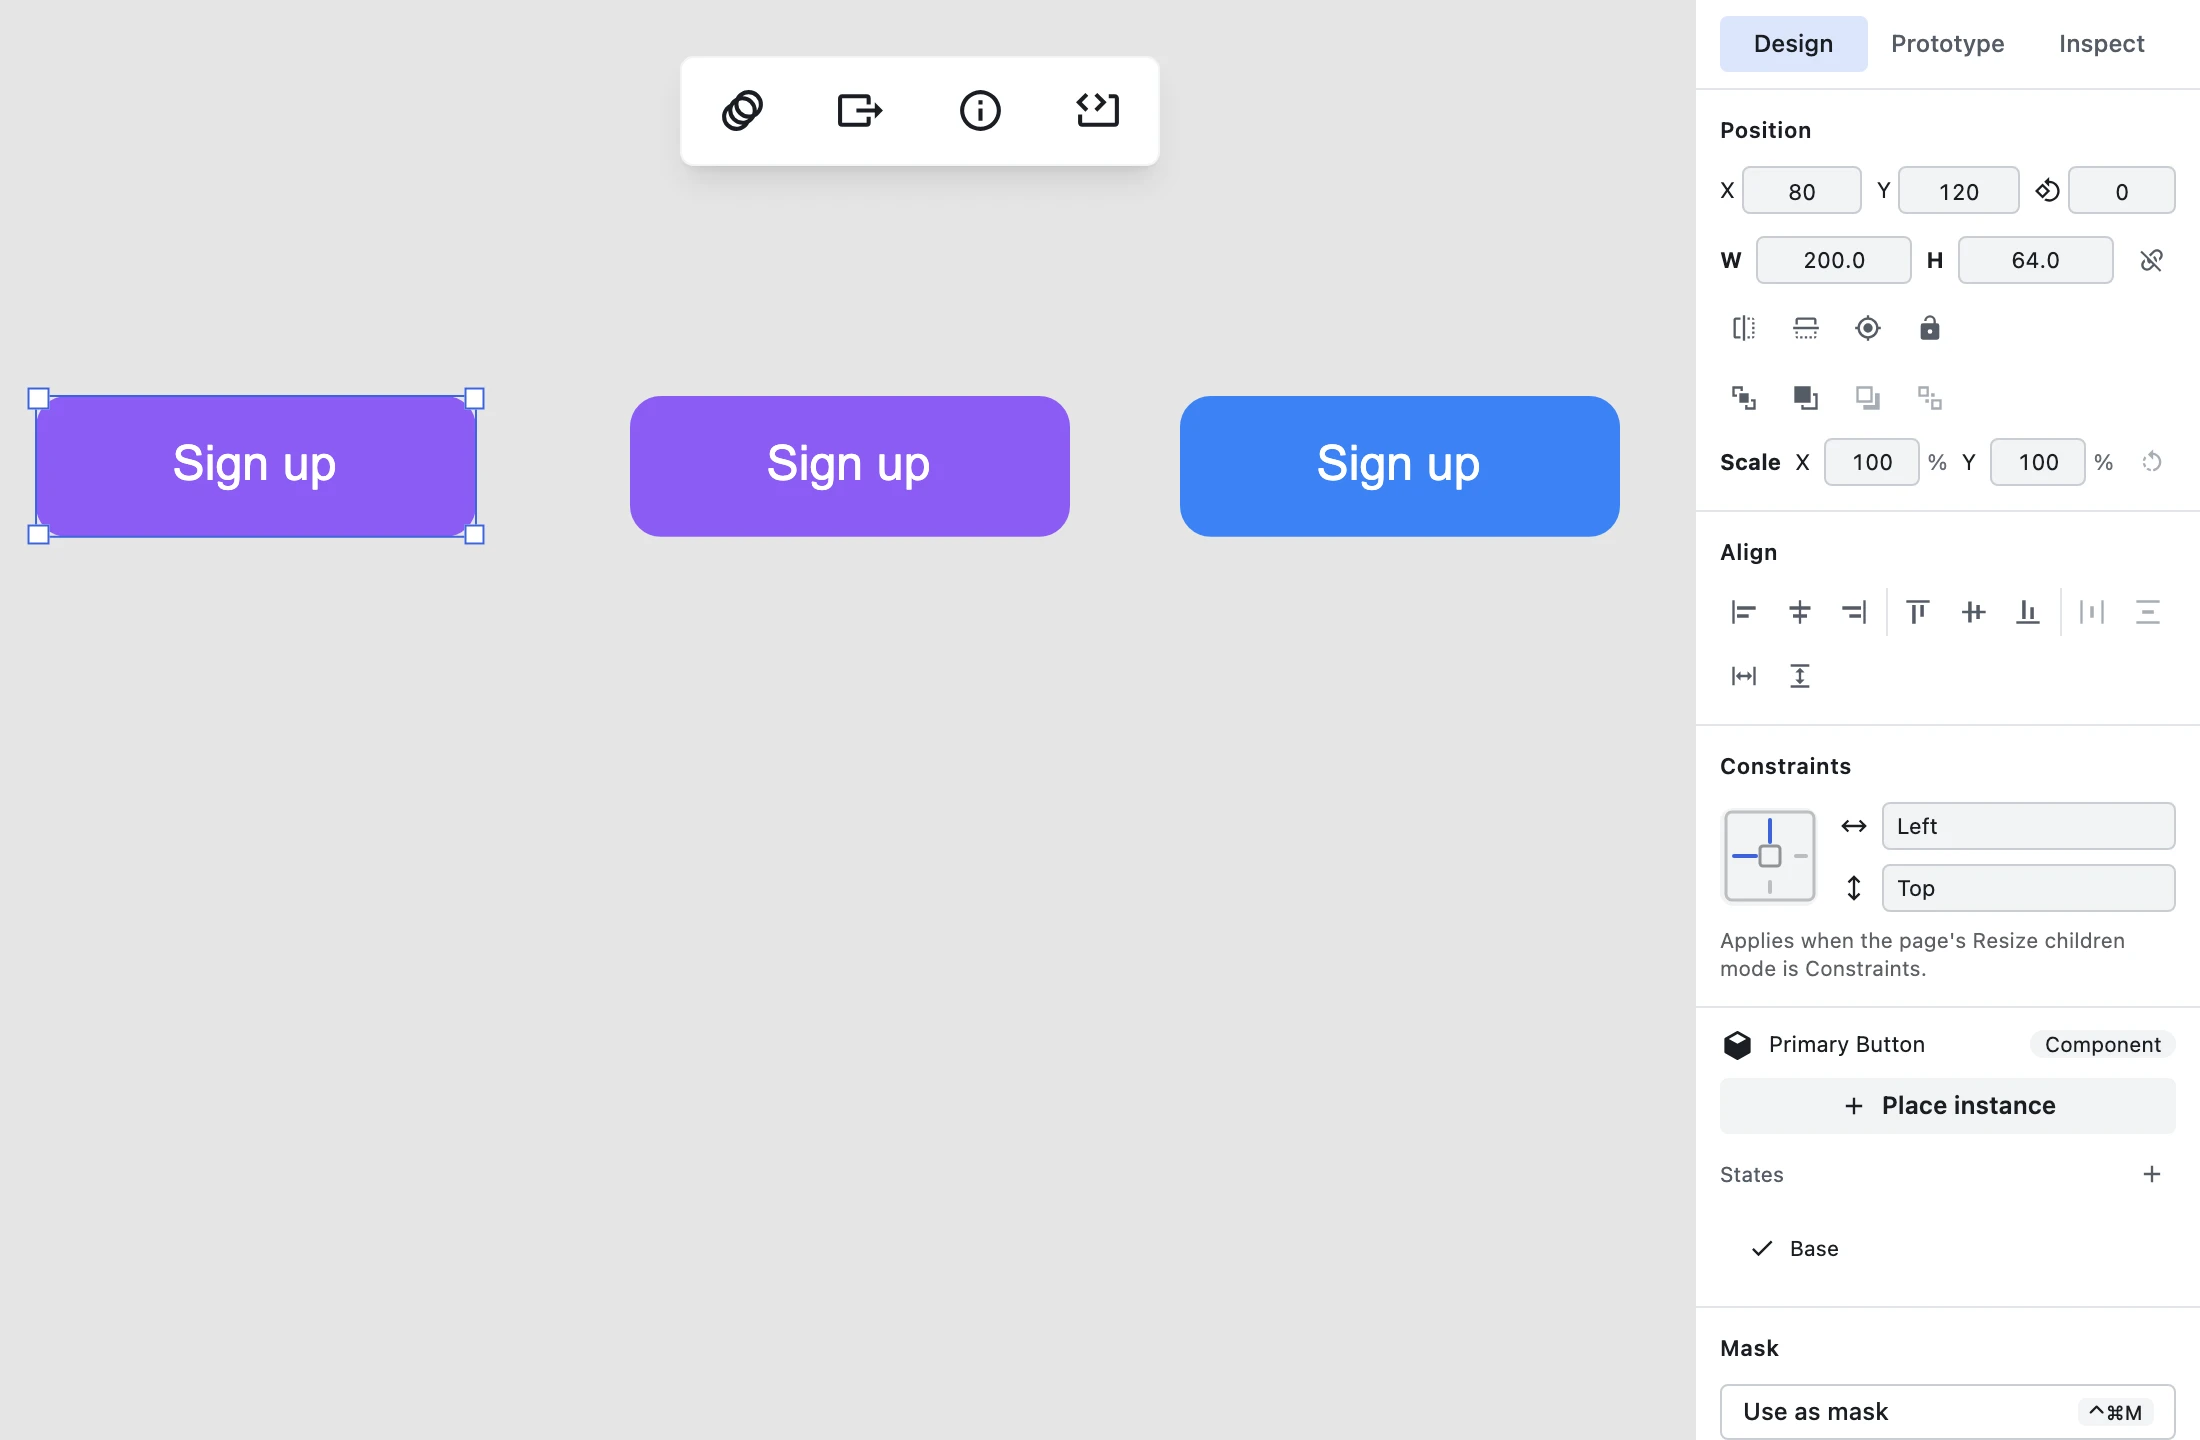
Geometry Synchronization & Master Editing
Master components and linked instances maintain strict geometry synchronization:
- Real-time Geometry Sync: Adjusting a master's dimensions or vector paths — for example, selecting a rectangle and clicking Convert To Path, then Edit Path to reshape it — automatically updates every linked instance to match.
- Transform Updates: Resizing or editing structural layout propagates across every instance on every page.

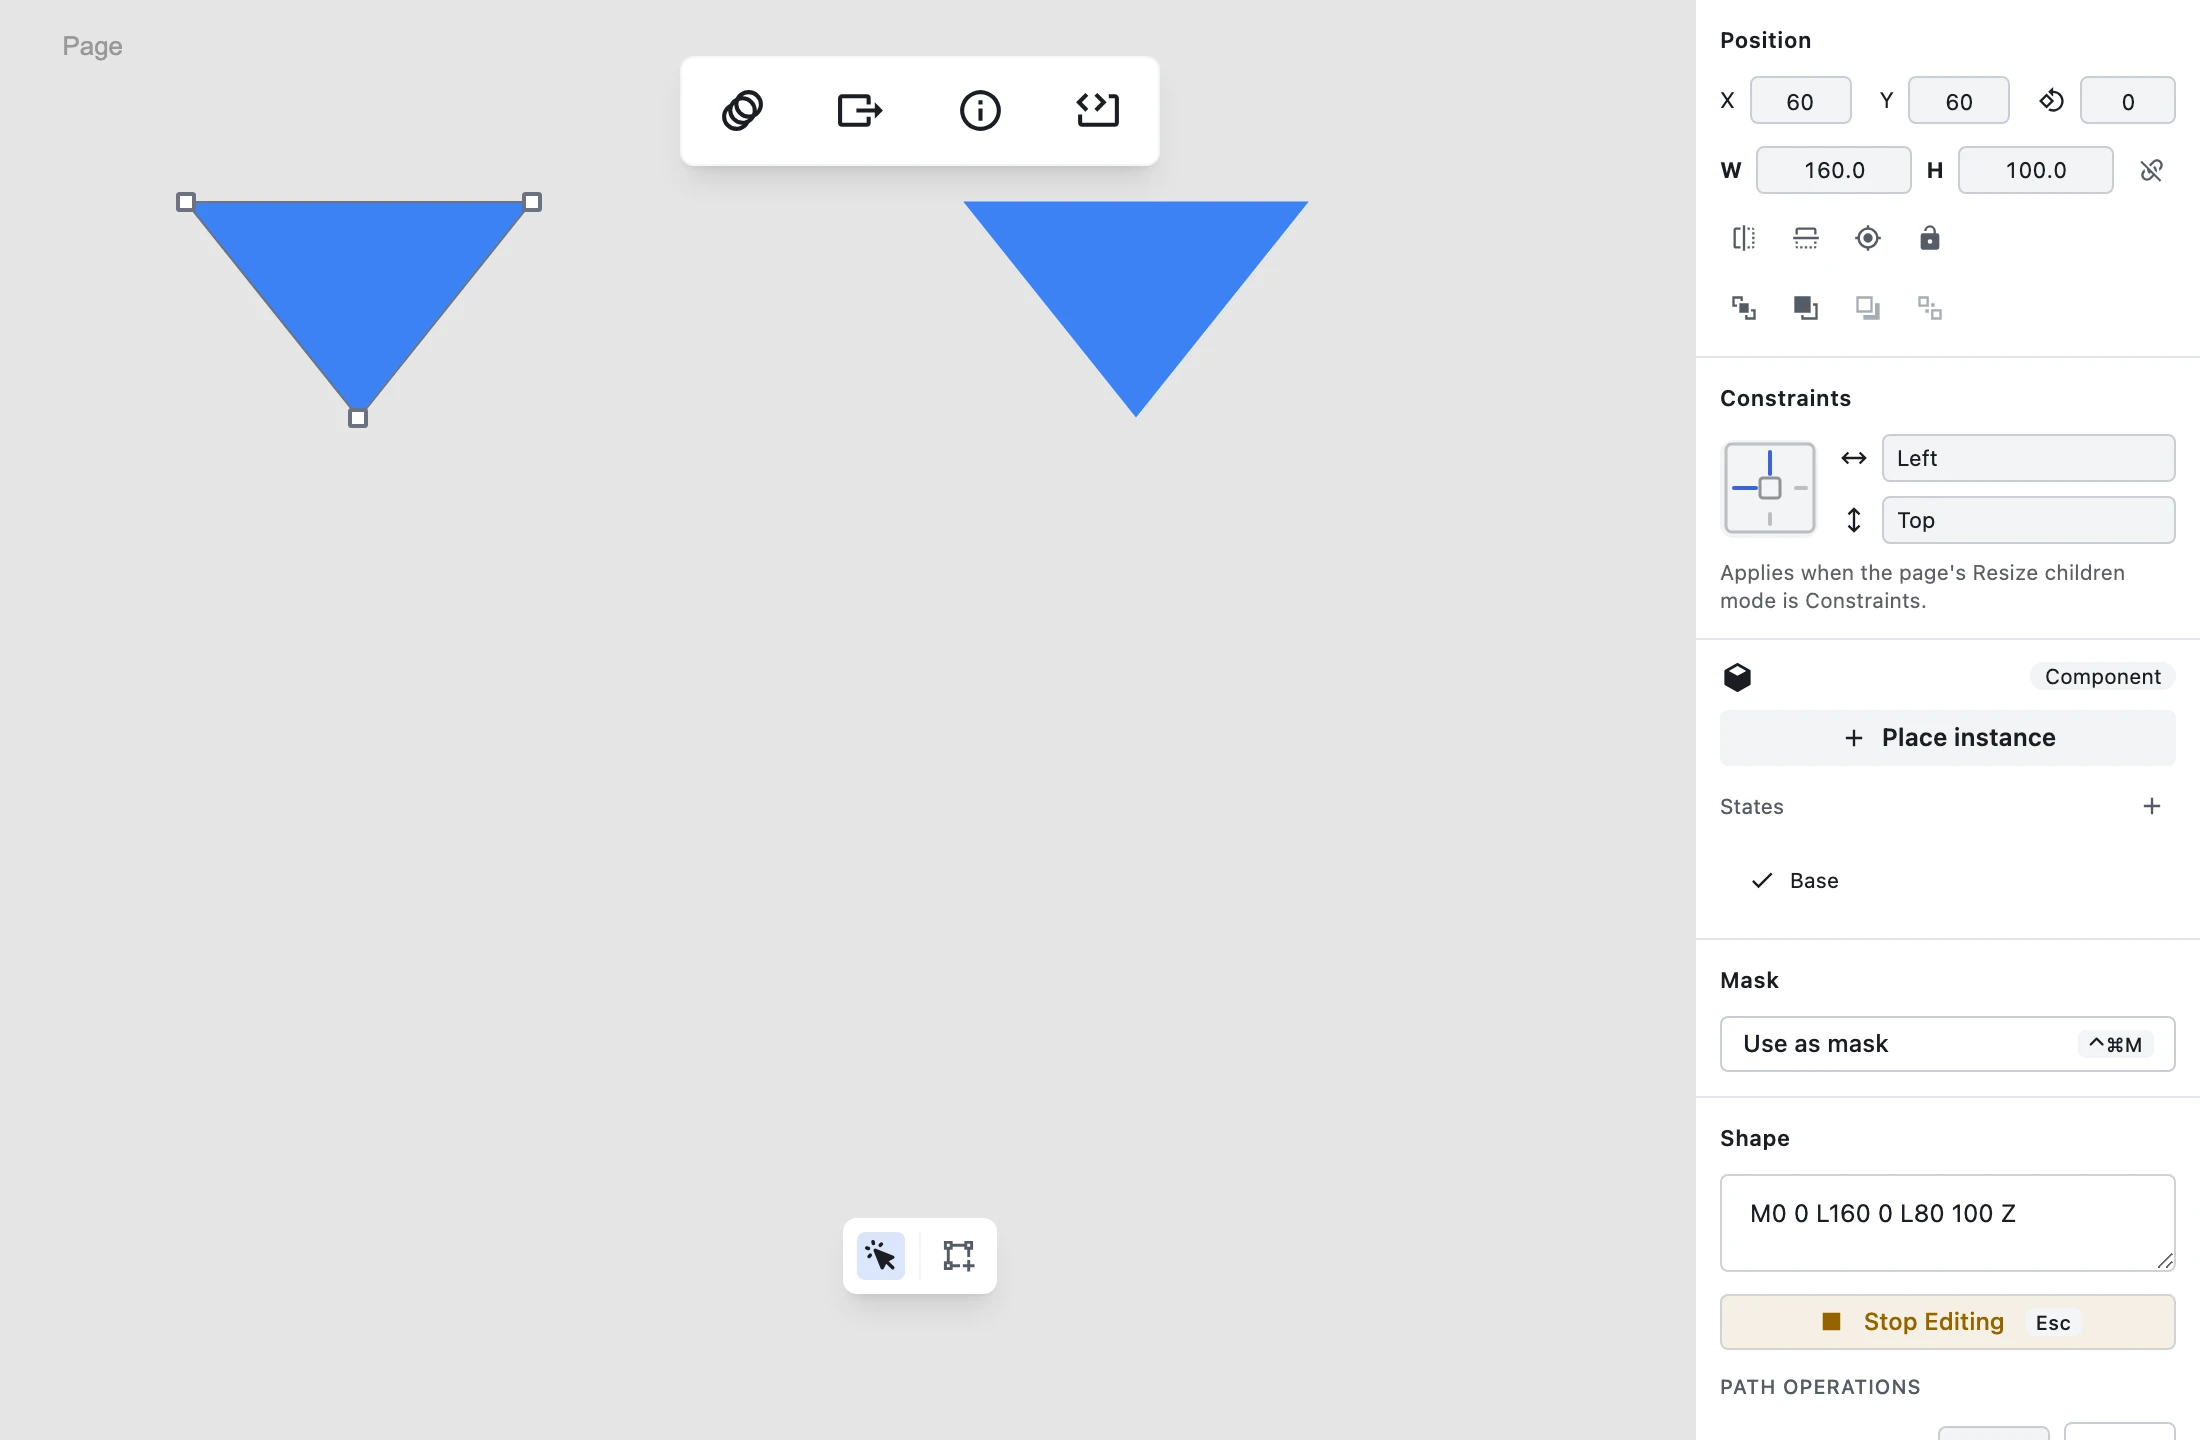
Managing Instance Overrides

Instances allow you to customize specific properties locally without severing their connection to the master component across 4 override groups (transform, fill, text, visibility):
- Text Content Overrides: Change button labels or copy locally.
- Fill & Color Overrides: Custom-paint individual instance fills or icons.
- Visibility Overrides: Toggle sub-layers on or off within specific instances.
- Transform Overrides: Position or scale local instance sub-elements.
Resetting Overrides
To revert an instance back to matching its master component, click the Reset all changes button in the Inspector's Overrides section, or use the per-child reset control next to an individual overridden layer.
Multi-Format Compatibility: PSD Smart Objects & Symbols
Figpea handles each format's component constructs differently on import:
- Adobe XD Components: XD symbols translate directly into master components with override support.
- Figma (.fig) Component Sets: Main components and instances preserve hierarchy upon import.
- Photoshop PSD Smart Objects: Figpea's PSD import doesn't convert Smart Objects into components automatically — they come in as regular layers. If you know Photoshop's Smart Objects, Figpea's component masters and linked instances are the equivalent concept: convert the imported layer into a master yourself, then place linked instances of it. See Advanced Layer Operations → Components & Instances for the full comparison.
Programmatic Control: Agent API
For automated workflows or scripting, Figpea exposes the figpea.component API group (available when opening the editor with ?agent=1). You can programmatically create components, place instances, query overrides, and reset overrides using JavaScript.
For method signatures and code examples, see the Agent API Documentation.
Frequently Asked Questions
What happens when I edit a master component?
Editing visual elements, vector paths, fills, or geometry inside a master component instantly updates every linked instance on your canvas.
Can I resize or reposition a single instance independently?
An instance's own outer transform (position/scale/rotation on a page) is independently adjustable like any layer, but internal structural geometry strictly follows the master component.
Does modifying components write back to my original PSD, XD, or Figma file?
No. Figpea operates 100% locally in your browser project memory and does not overwrite your original source files on disk.
How do I paste a component as a linked instance versus an independent copy?
Pressing Cmd/Ctrl + V pastes a linked instance that updates when the master is edited. Pressing Cmd/Ctrl + Shift + V (or right-clicking the canvas and choosing "Paste a Copy") creates an independent master clone that does not receive updates from the original master.
Are component features free or Pro-gated?
Creating component masters, placing instances, managing overrides, and resetting changes are core editor features and are 100% free to use.
Why does the Components tab show pictures instead of a list?
To make components recognisable at a glance. Each tile shows a live thumbnail — a real render of that master — so two components called "Button" and "Button 2" are visibly different. The image updates when you edit the master, and if a thumbnail can't be rendered the tile shows the component's icon instead. Nothing is uploaded; nothing is saved to your original PSD, XD, or Fig file.
How do I place a component instance exactly where I want it?
Drag a tile from the Components tab and drop it on the canvas at that spot — the instance lands on the page you're viewing, at the drop point, and is selected. Clicking Place instance still works, but it puts the instance on the master's own page offset from the master rather than where you dropped. Neither way moves the camera, and both are free — exports are the only gate.
Related Documentation
- Assets Panel — Viewing and managing component masters and assets
- Advanced Layer Operations — Smart Object compatibility and layer workflows
- Basic Layer Operations — Selecting, grouping, and organizing canvas elements
- Agent API — Scripting components programmatically with
figpea.component - What We Collect — Privacy and local-first architecture details