 Figpea
Basic Layer Operations
Learn how to work with layers in Figpea, from basic selection and visibility controls to essential transformations. This guide covers the fundamental operations you'll use most frequently.
Creating New Layers
Shape Layers
- Press 'A' or click the "New Shape" button in the toolbar (or choose Rectangle, Ellipse, Line, Polygon, or Path)
- Select from basic shapes:
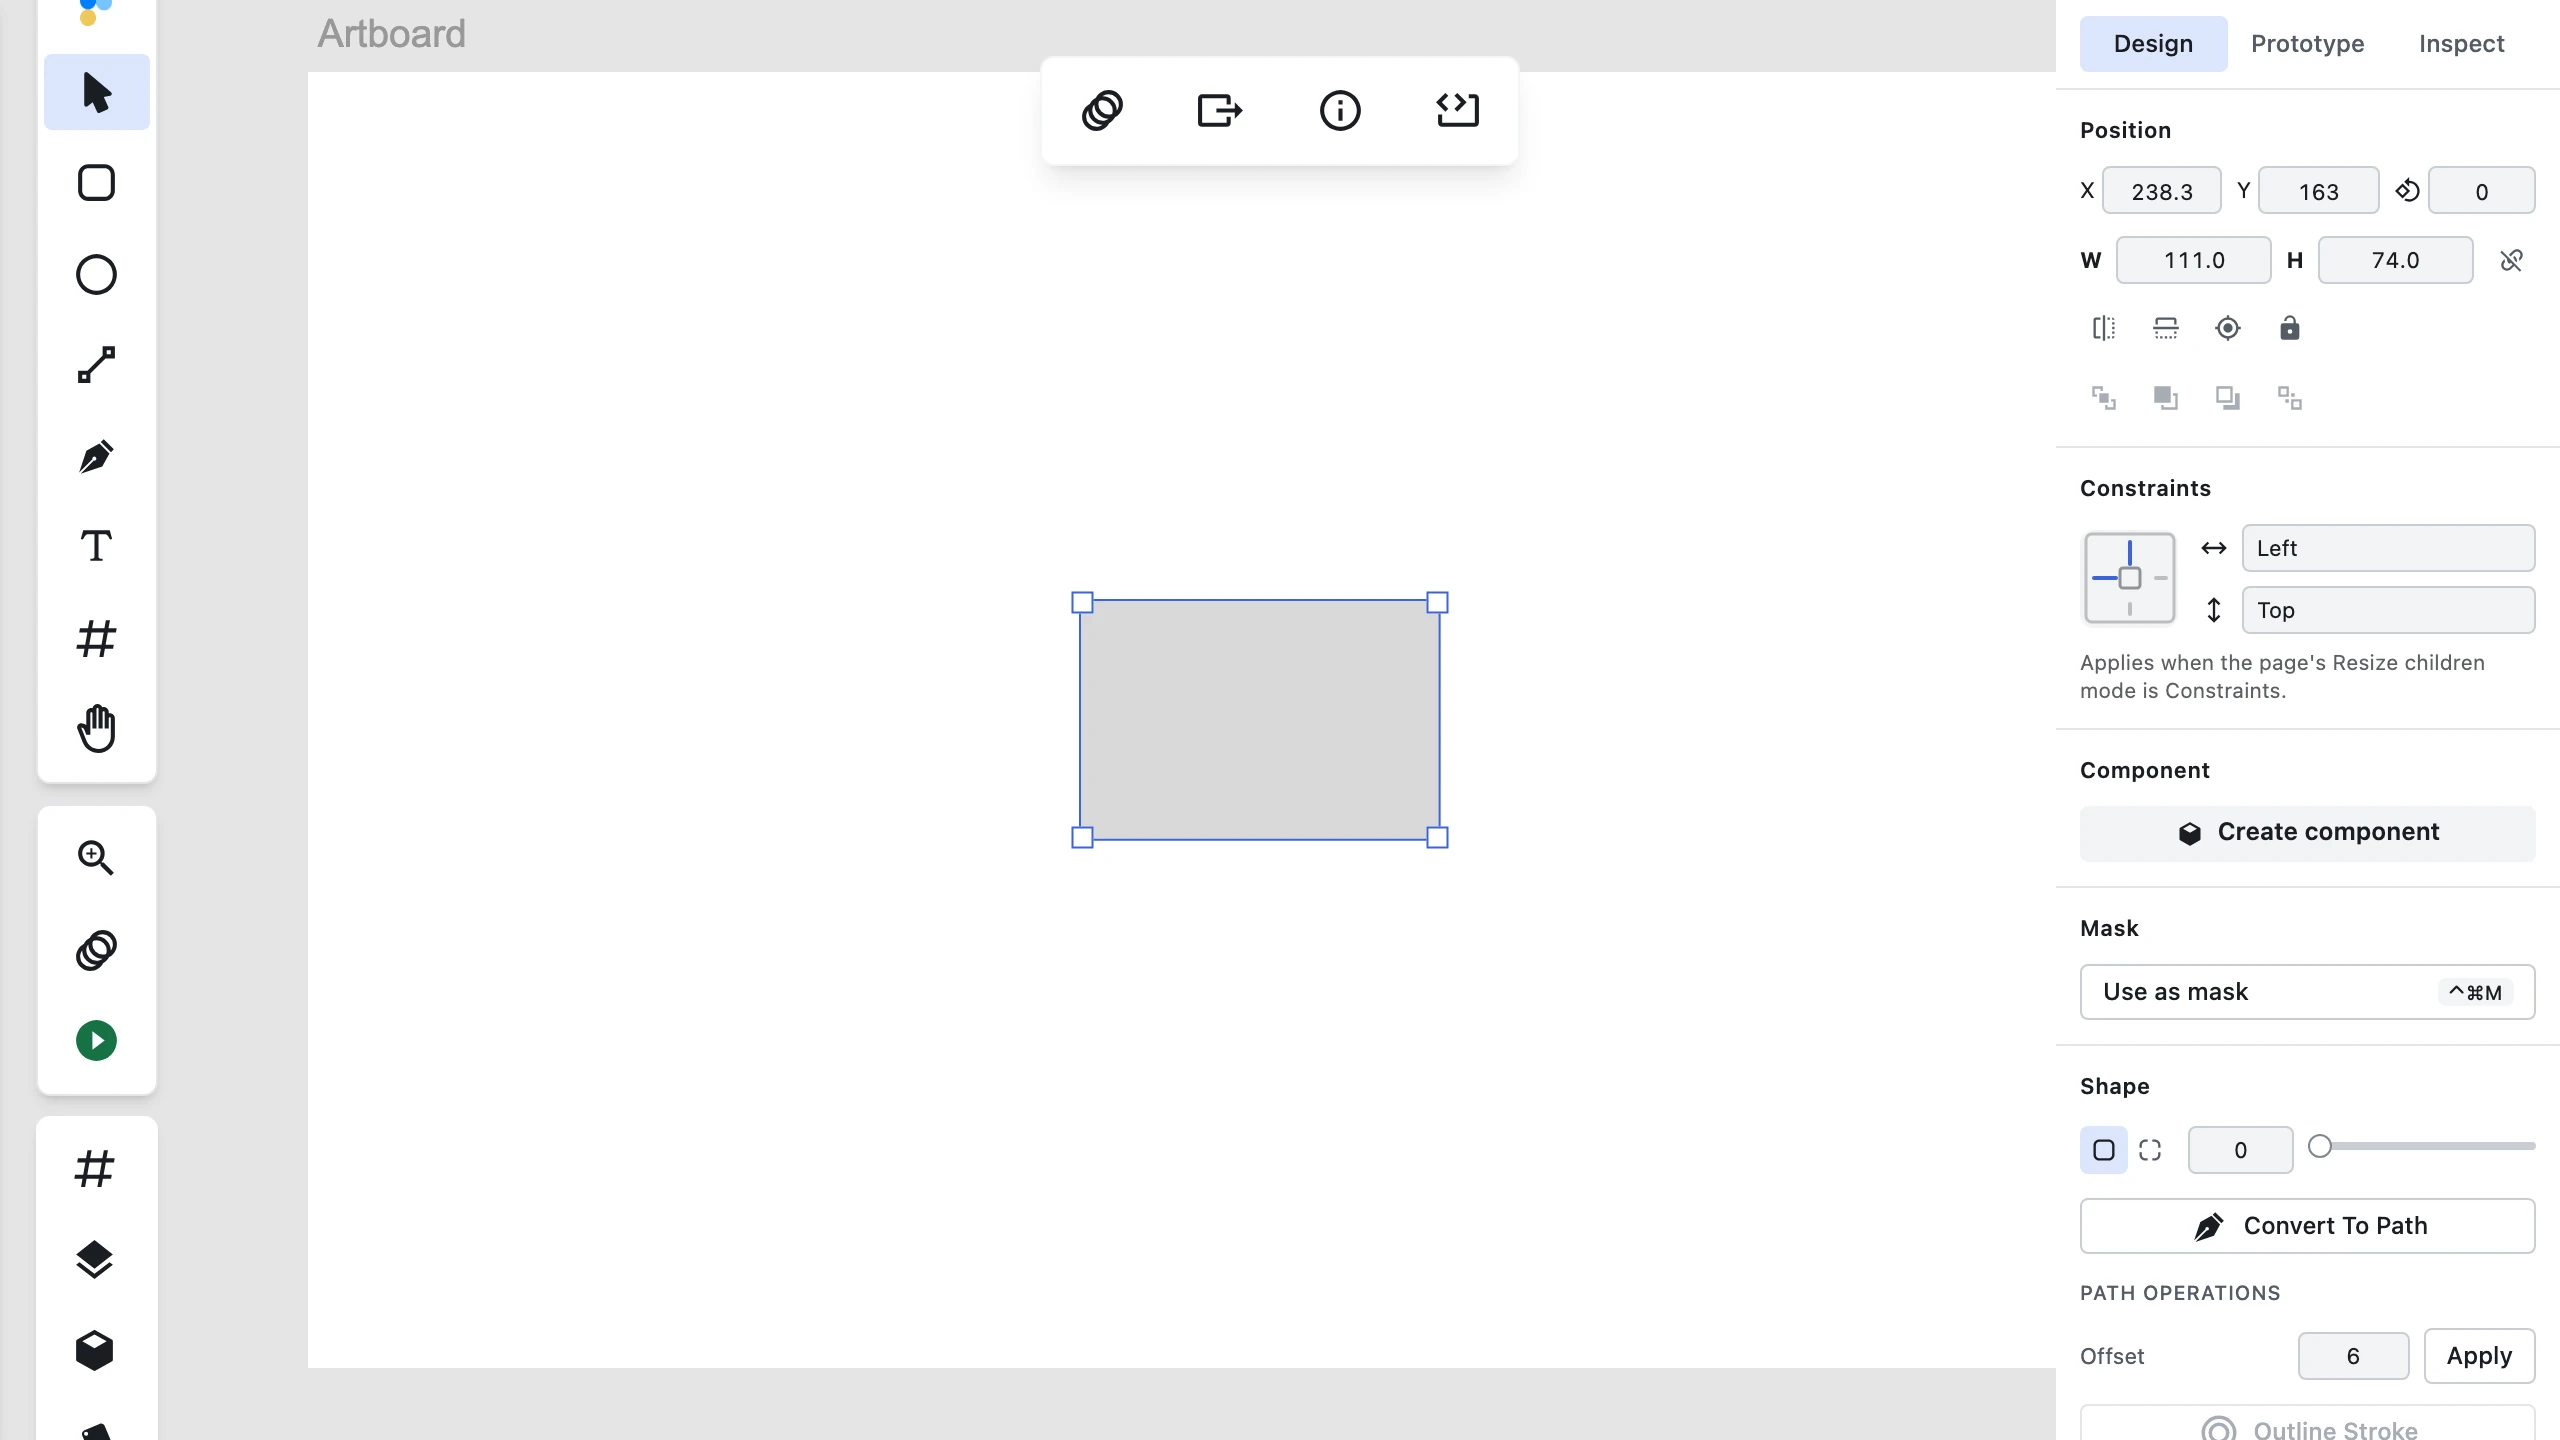
- Rectangle (default: 100x50 pixels)
- Ellipse (default: 50px radius)
- Line (default: 100px length)
- Click and drag anywhere on the canvas or artboard to place the shape
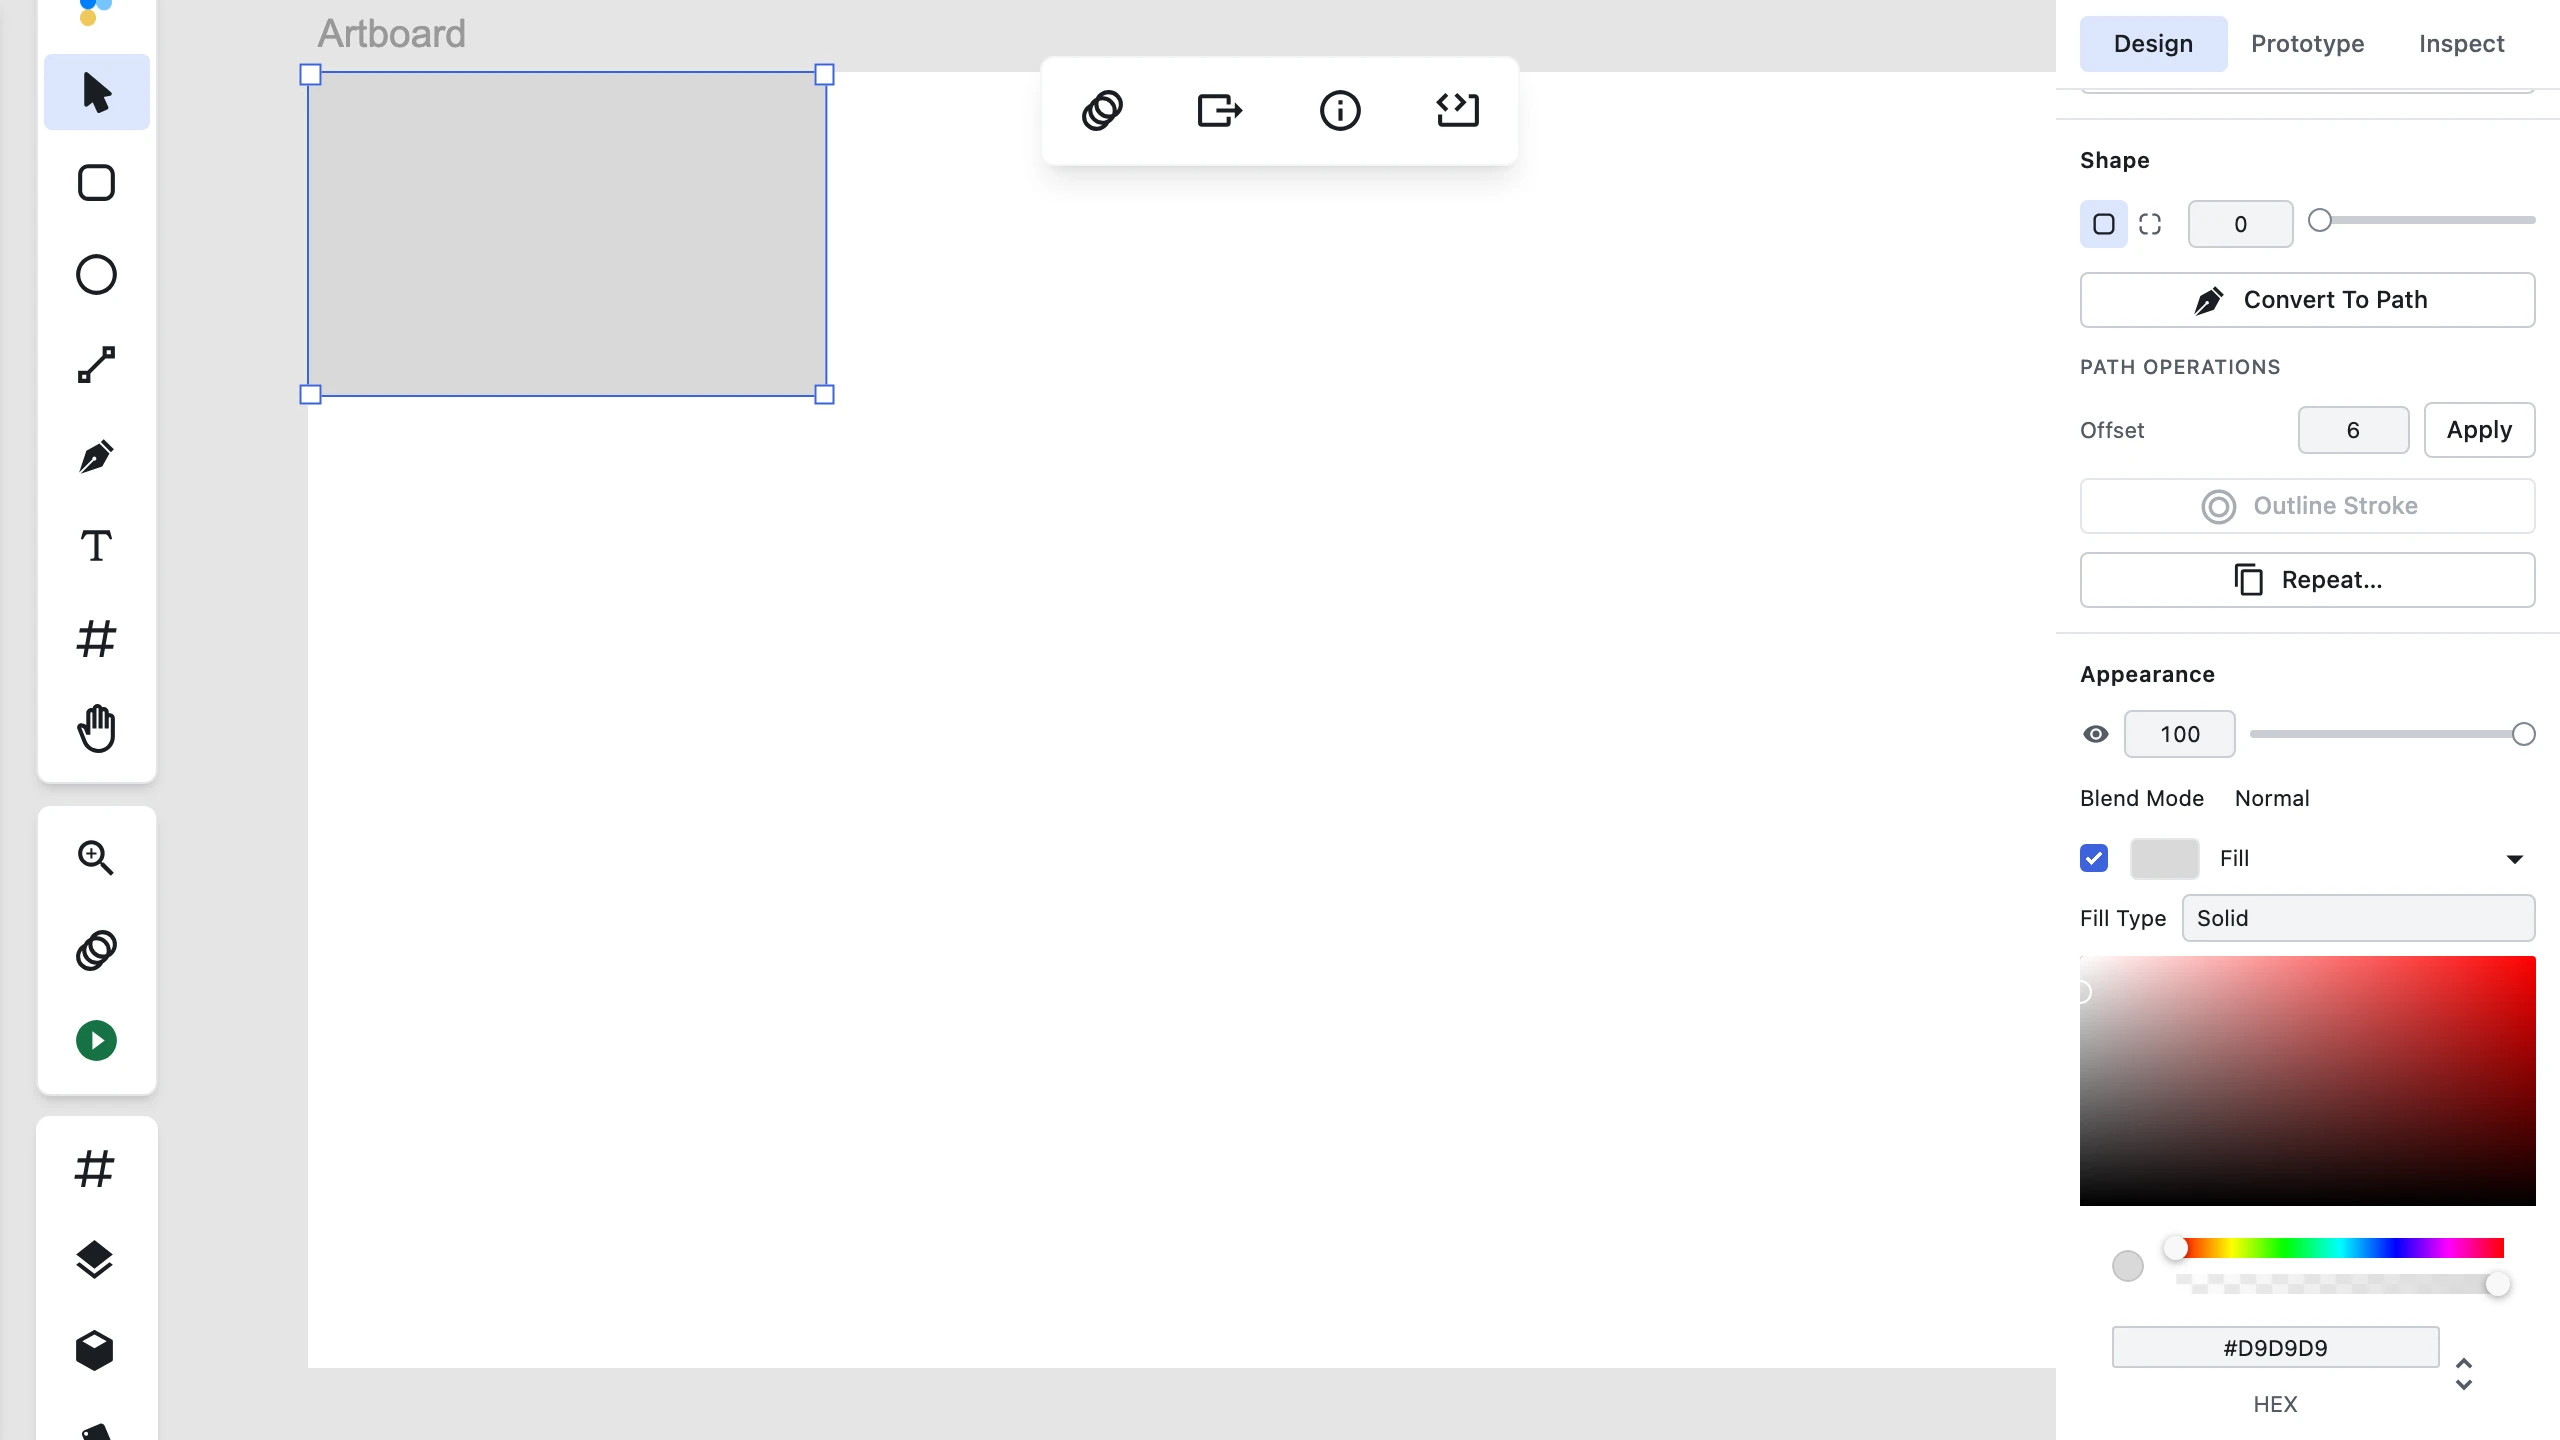
- Newly created shapes default to a visible neutral fill so they stand out clearly against white artboards (or inherit custom fill styles from previously styled layers)
Frequently Asked Questions
- Q: Why does my new rectangle or shape have a neutral grey fill?
- A: New shapes default to a visible neutral fill so they are immediately visible on white artboards. You can customize the fill color, gradient, or opacity at any time in the inspector panel under Appearance.
Text Layers
- Press 'T' or click the "New Text" button
- Click on the canvas to place text
- Start typing immediately in edit mode
- Text layers are named "Text" by default
Layer Placement
- Click inside a folder/group to add as child
- Click outside page boundaries to add to project root
- Click inside page to add to the page you clicked in
- Layers automatically position based on cursor location
Learn more: Creating Shape and Text Layers in Figpea
Layer List Navigation
The layer list is your primary tool for organizing and managing design elements:
Finding Layers
- Use the search bar to quickly locate layers
- Navigate the hierarchy with expand/collapse controls
- Filter layers by type (shape, text, group, etc.)
Selection Techniques
On the canvas:
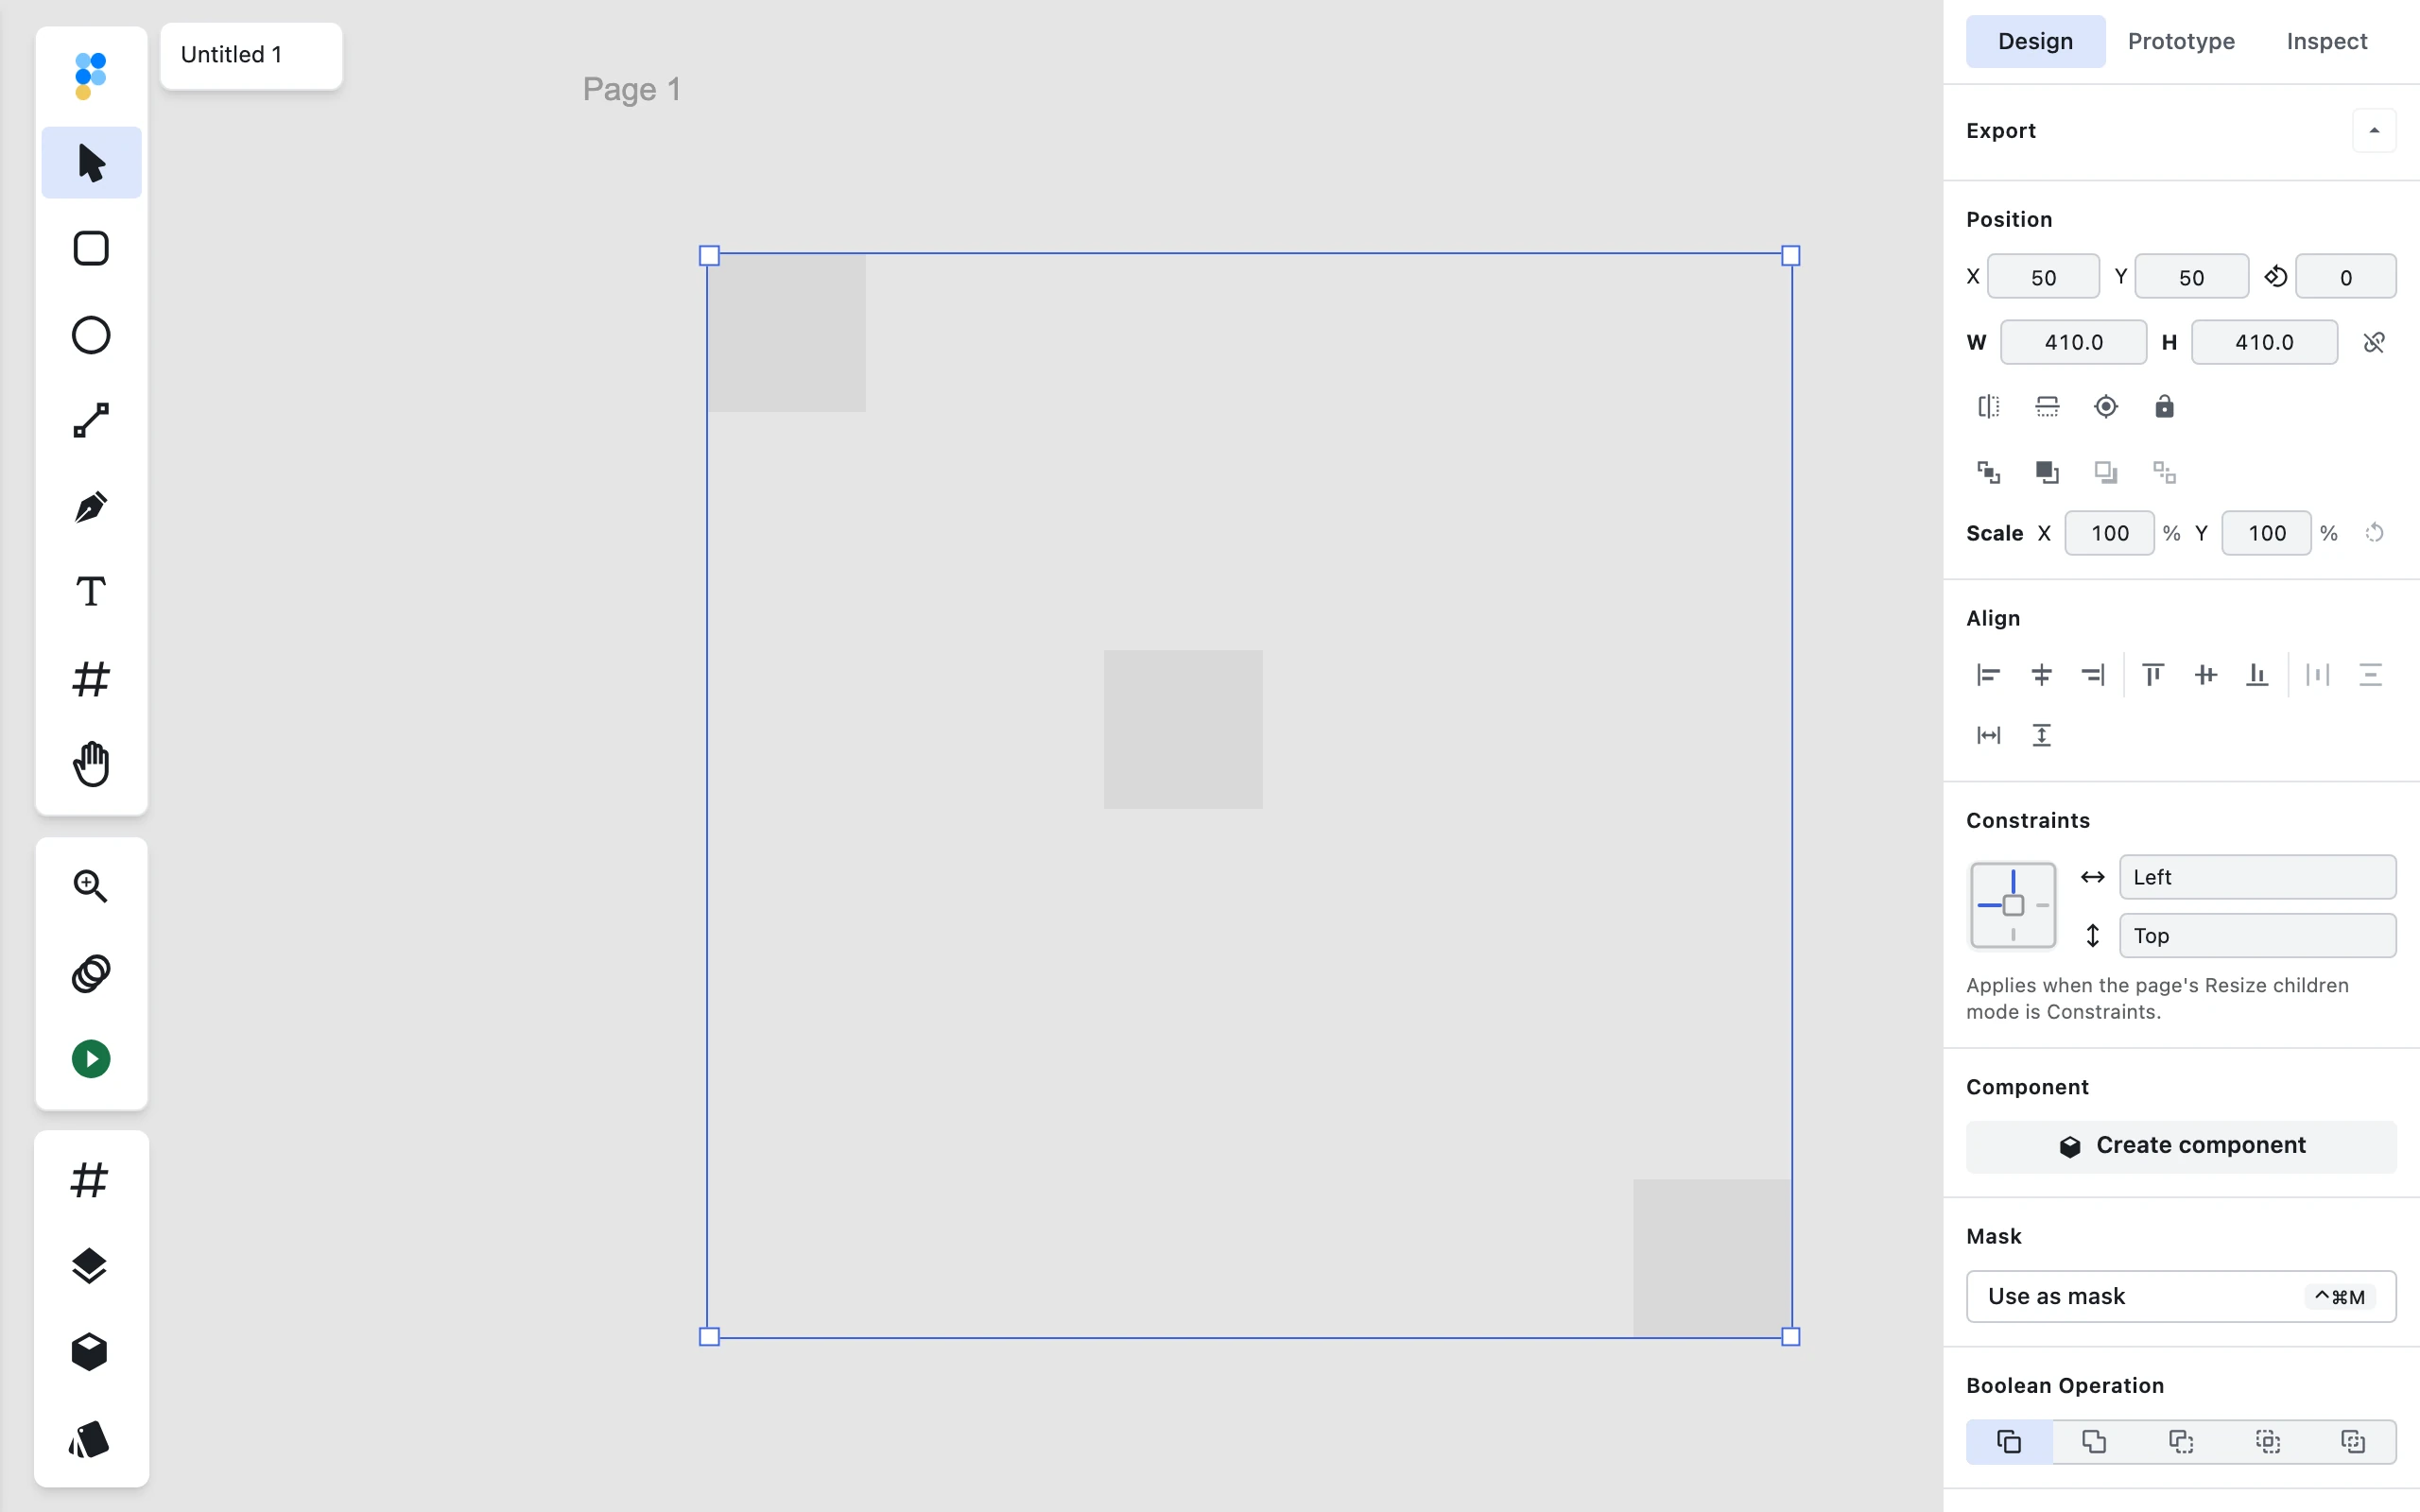
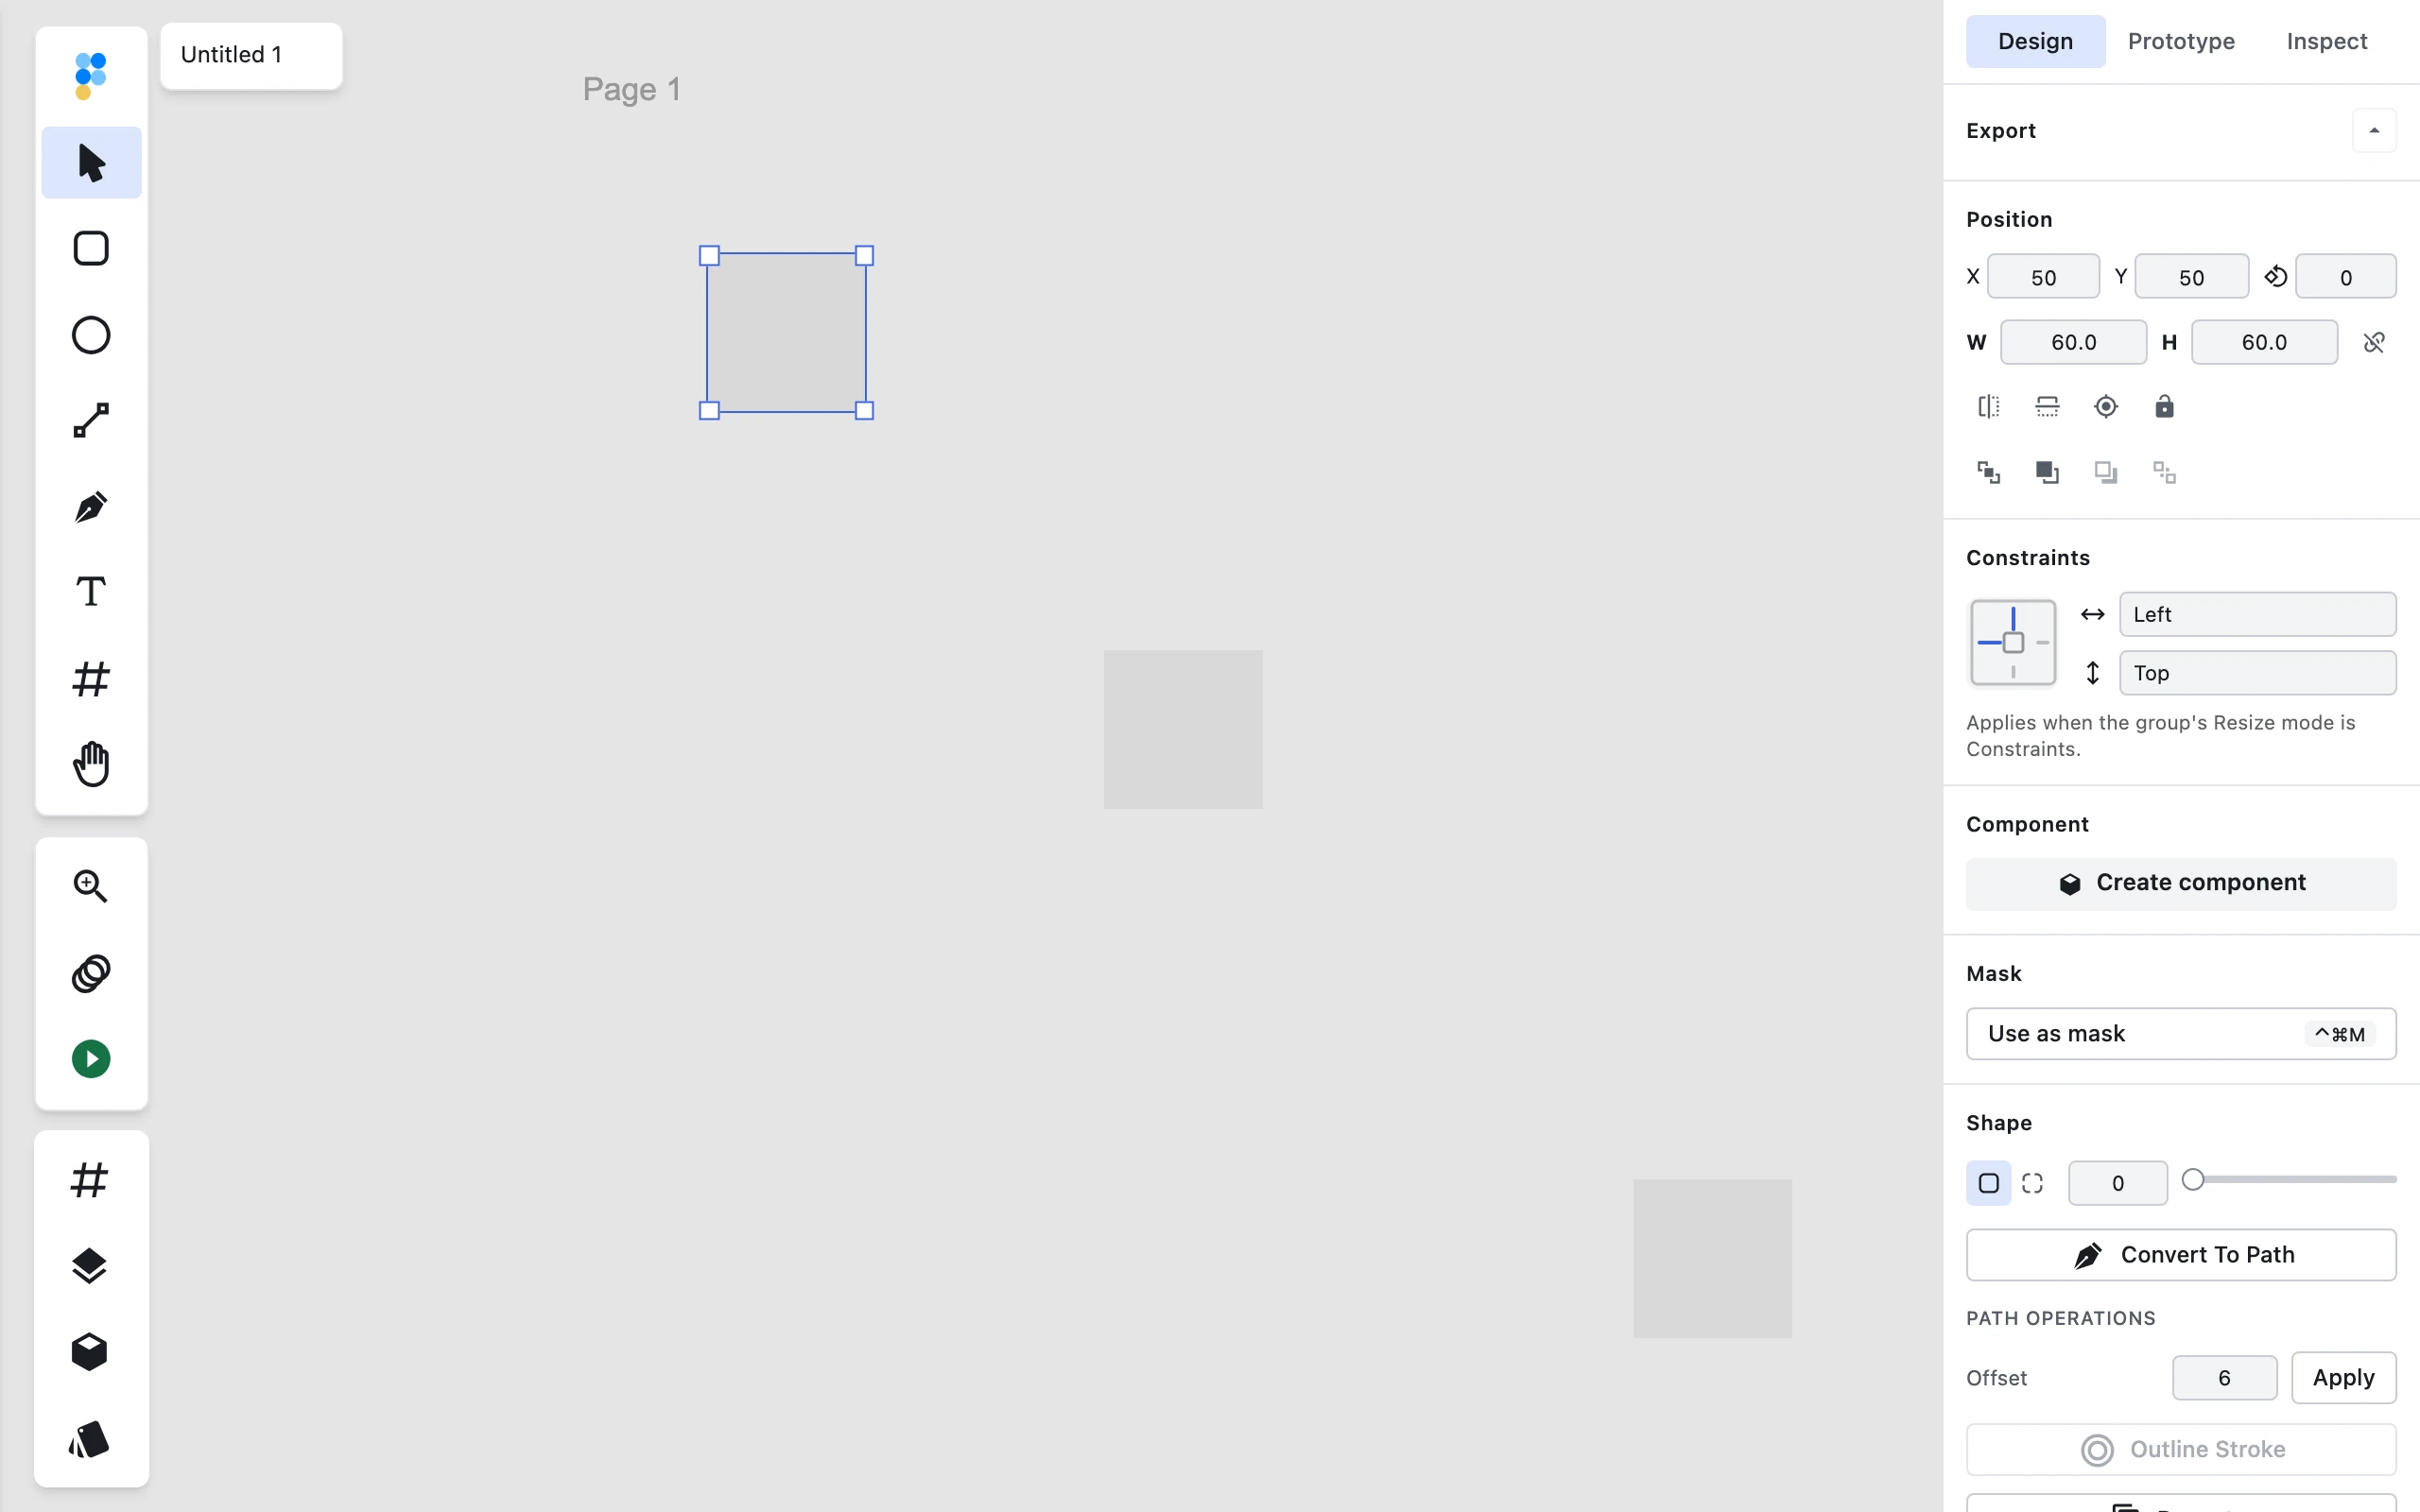
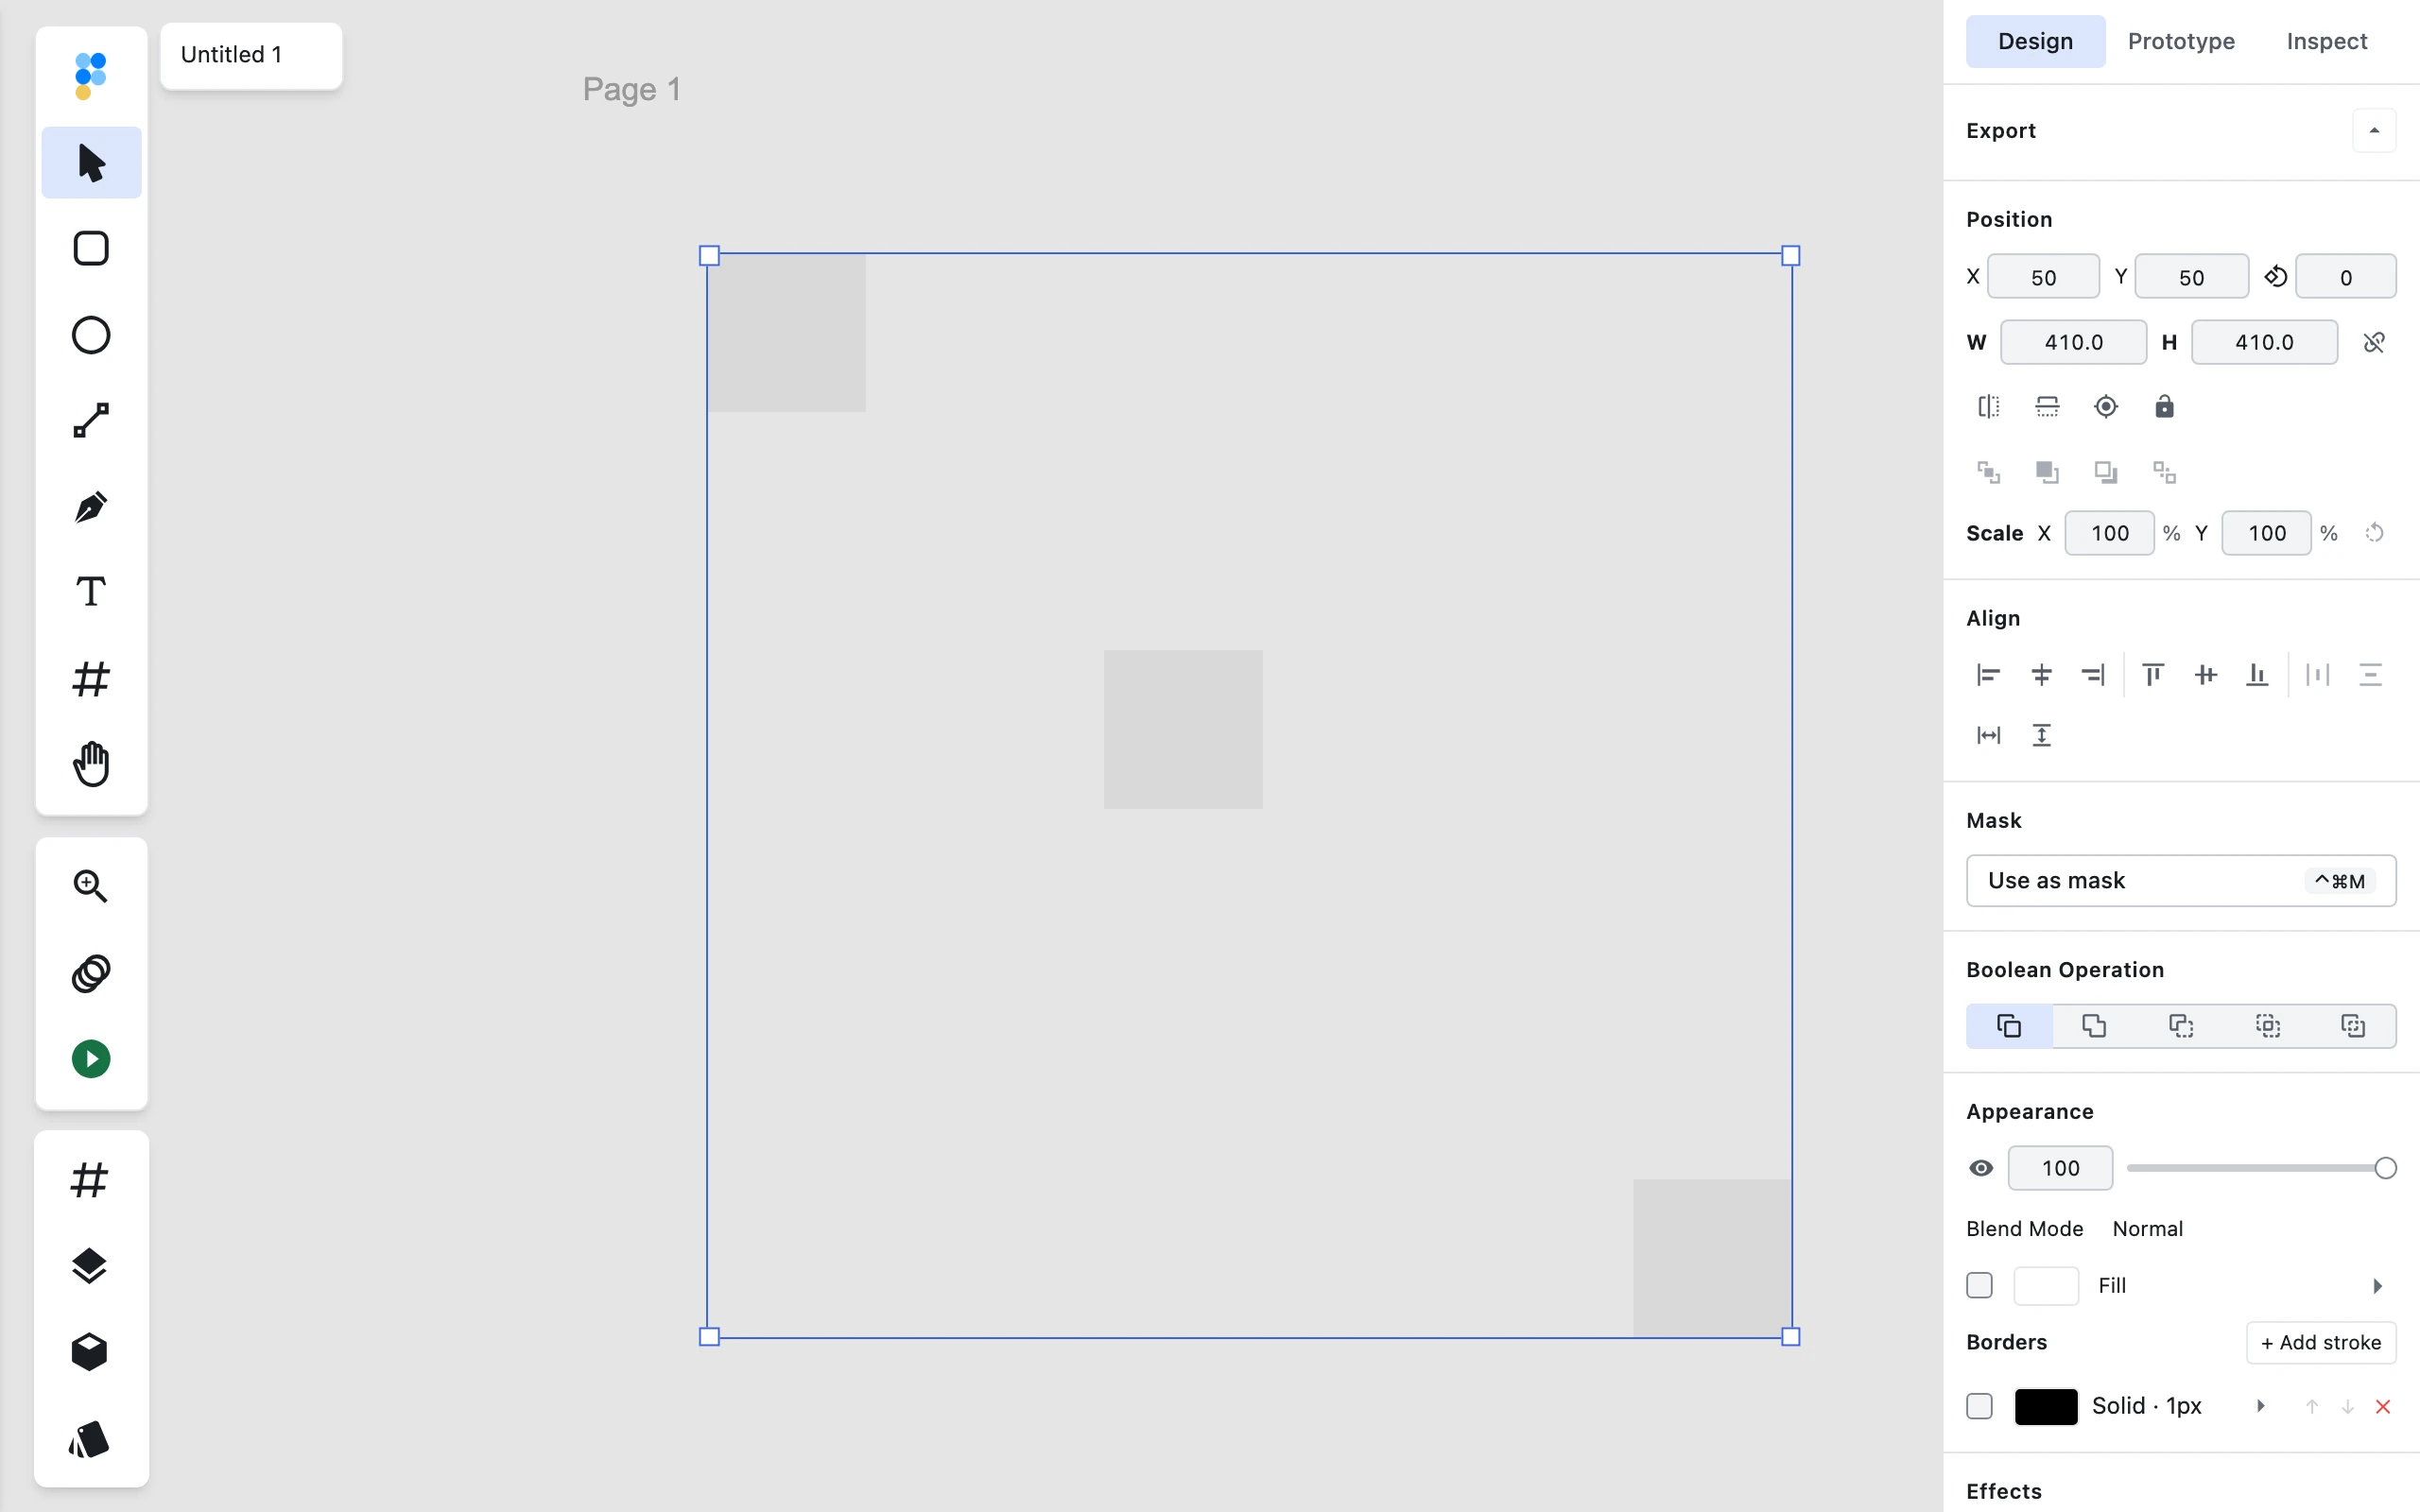
- Click a grouped layer to select its parent group — the whole group highlights and the transform box bounds every child. Clicking a layer that isn't grouped selects that layer directly.

- Double-click inside a selected group to drill one level deeper toward the layer under the cursor. Keep double-clicking to reach the leaf. When you reach a text or vector layer, double-clicking again enters text editing or vector/pattern editing.
- Cmd/Ctrl + click any nested layer to deep-select the leaf under the cursor in one step, even inside deeply nested groups. Cmd/Ctrl + click replaces the current selection.
- Shift + click to add or remove layers from the selection. Shift is the only modifier that accumulates on the canvas — Cmd/Ctrl on the canvas does not.
- Hover to preview: the red outline shows exactly what a click would select at that point (hold Cmd/Ctrl to preview the leaf).
Drilling context: after you double-click into a group G, clicking a sibling inside the same G stays inside G rather than bouncing back to the top level; clicking a layer outside G clears the context and returns to parent-first selection.
Drag-select (marquee): press on empty canvas and drag to select multiple layers at once. A plain drag selects top-level layers only — crossing any part of a group selects the whole group, never its children individually. Hold Cmd/Ctrl while dragging to select nested layers individually, even inside deeply nested groups. Hold Shift while dragging to add what you drag over to your current selection instead of replacing it. You can press or release Cmd/Ctrl mid-drag to switch between top-level and deep results before you let go. Locked and hidden layers are never selected by a marquee.


In the Layers panel (unchanged): Shift + click = range, Cmd/Ctrl + click = individual toggle — use the list when you need precise, row-level control. Learn more: Layer Hierarchy Operations in Figpea
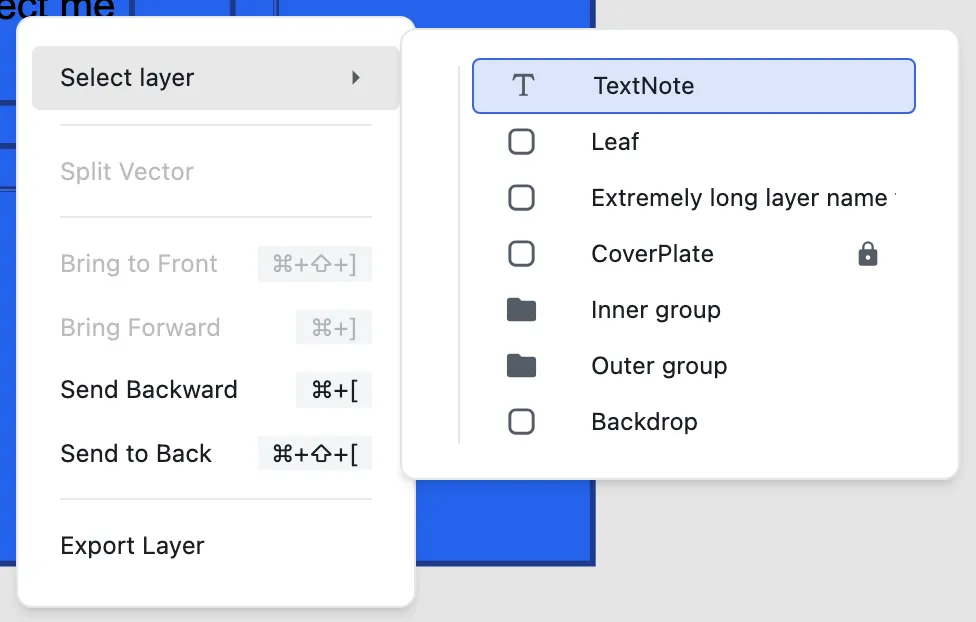
Right-click → Select layer lists every layer under the cursor, top of the list first, in the same order as the Layers panel. Pick any entry to select exactly that layer — no double-clicking into groups required. Locked layers appear in the list with a padlock icon and can be selected this way even though canvas clicks pass through them; hidden layers are never listed.

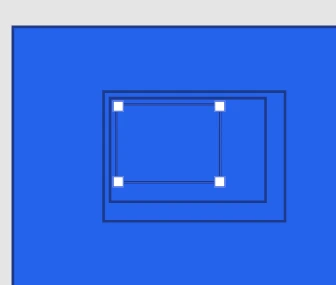
How do I select a layer inside a group in Figpea? Click the group to select it, then double-click inside it to go one level deeper — or hold Cmd (Mac) / Ctrl (Windows) and click the nested layer to select it directly.
How do I select a locked layer in Figpea? Right-click the area where it sits and choose Select layer, then pick the locked layer from the list — it appears with a padlock icon. Plain clicks skip locked layers, but the Select layer menu reaches them.
Why does dragging a selection box select my whole group instead of one shape inside it? A plain drag selects top-level layers, so crossing any part of a group picks the group. Hold Cmd (Mac) / Ctrl (Windows) while you drag to select shapes inside groups individually.
How do I add to a selection instead of replacing it? Hold Shift while you drag a marquee — everything you drag over joins your current selection.
Select Matching Layers
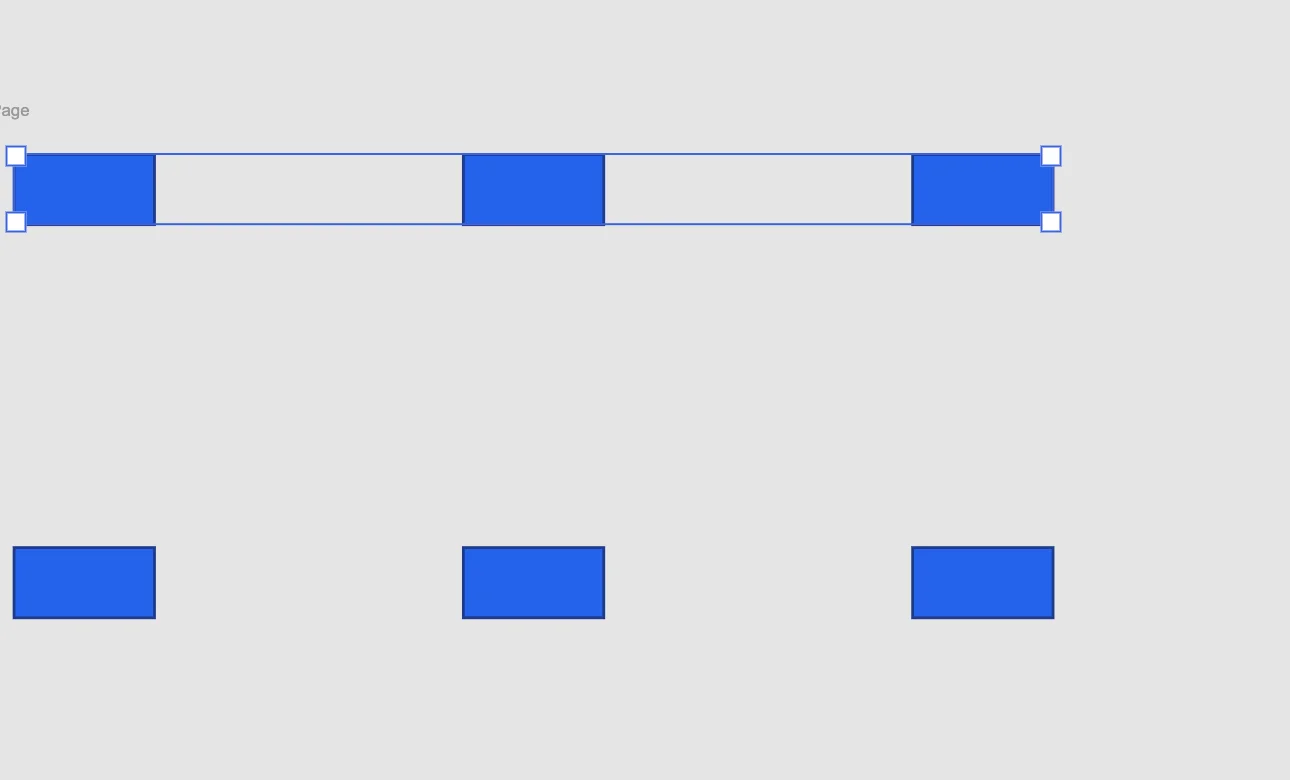
Select matching layers (Edit menu → Select matching layers, or Opt+Cmd+A on Mac / Alt+Ctrl+A on Windows/Linux) selects every layer on the current page that is "the same" as the selected one — built for the these frames are variations of one screen workflow: select one Header bar inside the first frame, run the command, and the matching Header bars in every sibling frame join the selection so you can restyle, move, or delete them all at once.
The command is enabled only when exactly one layer is selected and it sits inside a frame or group — with an empty selection, a multi-selection, or a top-level layer selected, the menu item is greyed out and the shortcut does nothing.
What counts as a match — a candidate layer matches the selected layer if either rule fires:
- Same component instance: both are instances of the same component master. Instances of one master always match each other, regardless of name, size, or position.
- Same structure and placement: same type (rect, text, group, …), the exact same name, size within ±1 unit, and the same relative position — the layer sits at the same offset (within ±1 unit) and at the same position in its parent's child order, along an identical chain of ancestors up to its top-level frame. This is how matching works across sibling frames: each copy lives in a different frame, but at the same place in the same structure.
Matching never crosses pages — only the selected layer's own page is searched — and locked or hidden layers are never selected. Fill, stroke, and text content are deliberately not compared: those are usually exactly what you want to change in bulk.
Select All with Same
Select one or more layers, then open Edit ▸ Select All with Same and pick a property — Figpea selects every layer in the file that shares it, across every page. This is the "recolour every button" / "swap the font everywhere" workflow: run the command once, then change the fill, stroke, effect or font once for the whole selection. With several layers selected, a variant is only enabled when they agree on that property, and the search then matches against that shared value; variants that can't apply to the current selection (e.g. Font with no text layer selected, Instance with no component instance selected) are disabled. Locked and hidden layers are never selected.
What "same" means for each variant:
- Properties — the whole appearance matches: same fill AND same stroke AND same effects AND same opacity AND same blend mode. Geometry (position, size, rotation) and names are deliberately ignored, so two identically-styled buttons in different places match each other.
- Fill — the entire fill paint stack is compared structurally: the same number of paints, each equal by type and parameters, in the same order. Solid fills compare by colour (
#FF0000and#ff0000are the same); gradients compare by type, their stops (colours and offsets) and geometry; an image fill matches another layer only when both reference the same image asset. A solid fill never matches a gradient, and a gradient never matches an image. - Stroke — the same full-stack rule as Fill: a two-stroke layer never matches a layer whose single stroke equals the first of the two. Weight, position, caps, joins and dash settings are part of the comparison. A layer with no stroke matches other strokeless layers.
- Effect — the complete effect set must be equal: identical drop shadows match, but any extra or differing effect (an inner shadow, a different blur radius) breaks the match.
- Text Properties — text layers only: same font family, size, weight and italic, plus the same alignment and fill colour. Non-text layers are never selected.
- Font — text layers only: same font family regardless of size or weight. Use this to swap a font everywhere it is used.
- Instance — component instances only: all instances of the same component master. Plain (non-instance) layers are never selected.
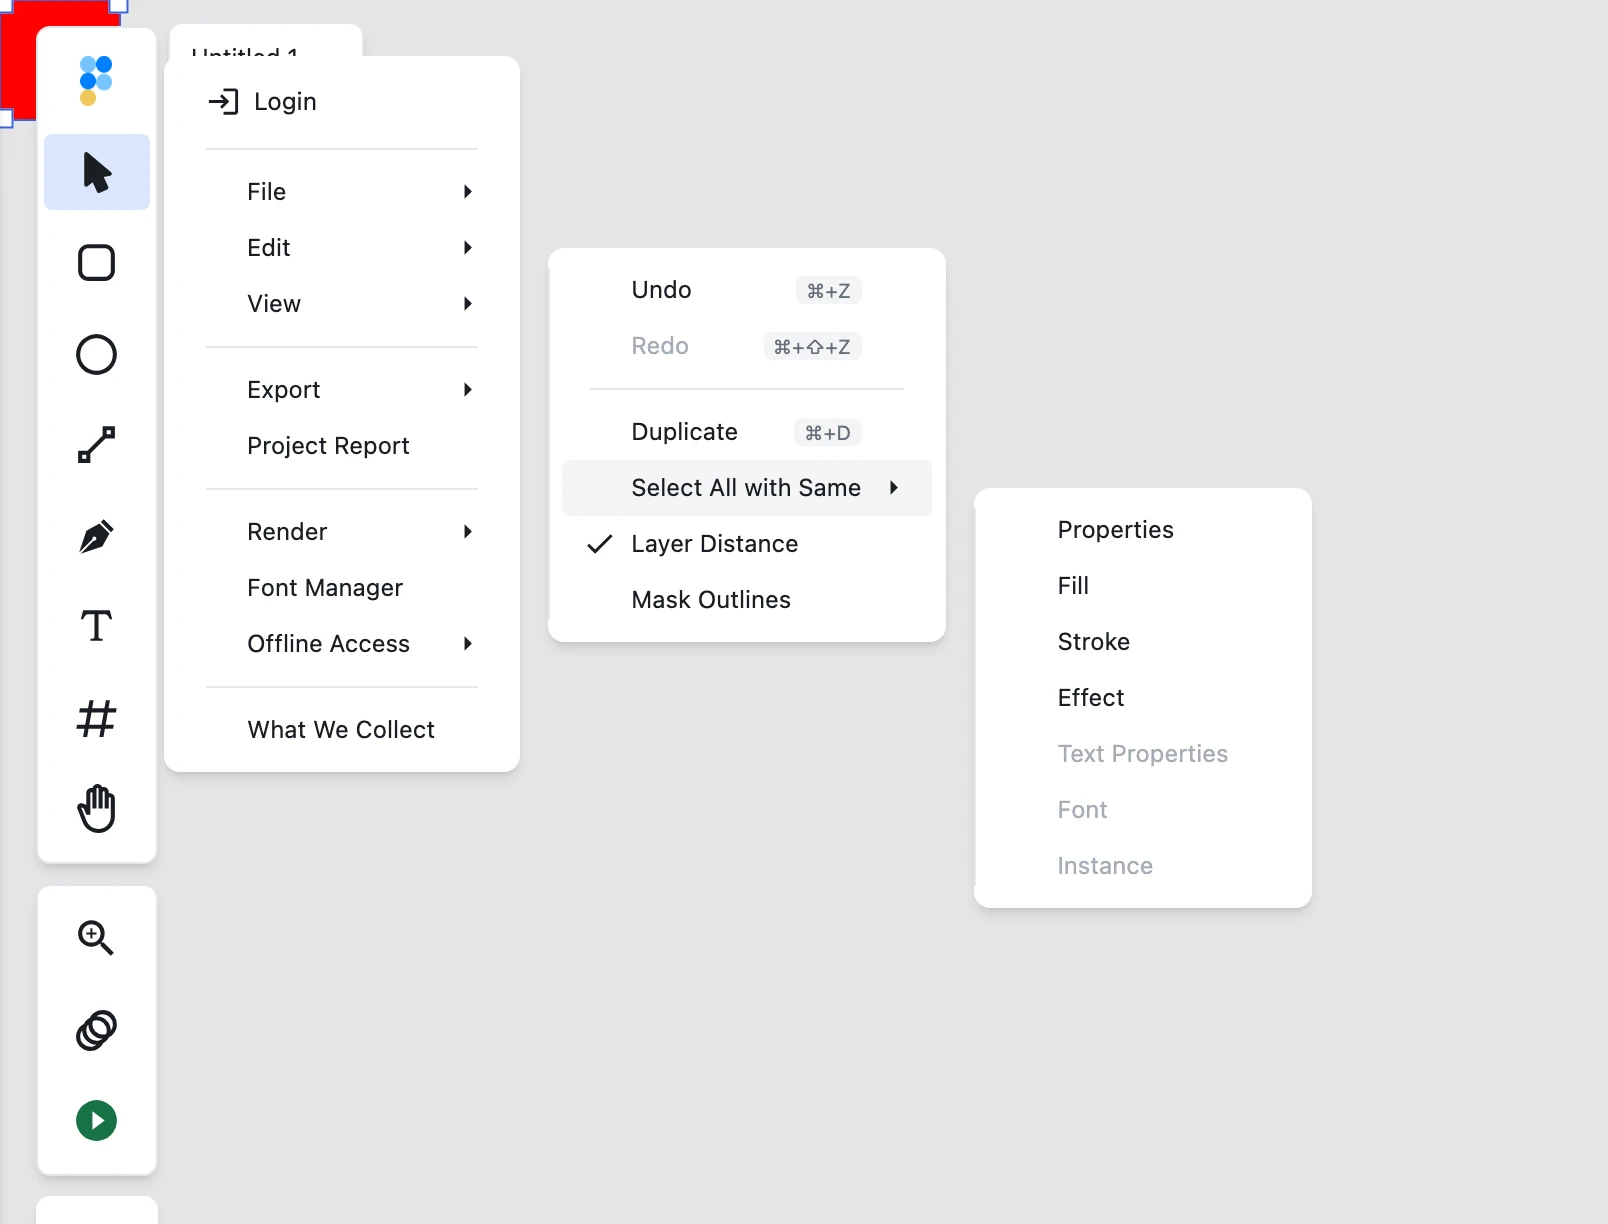

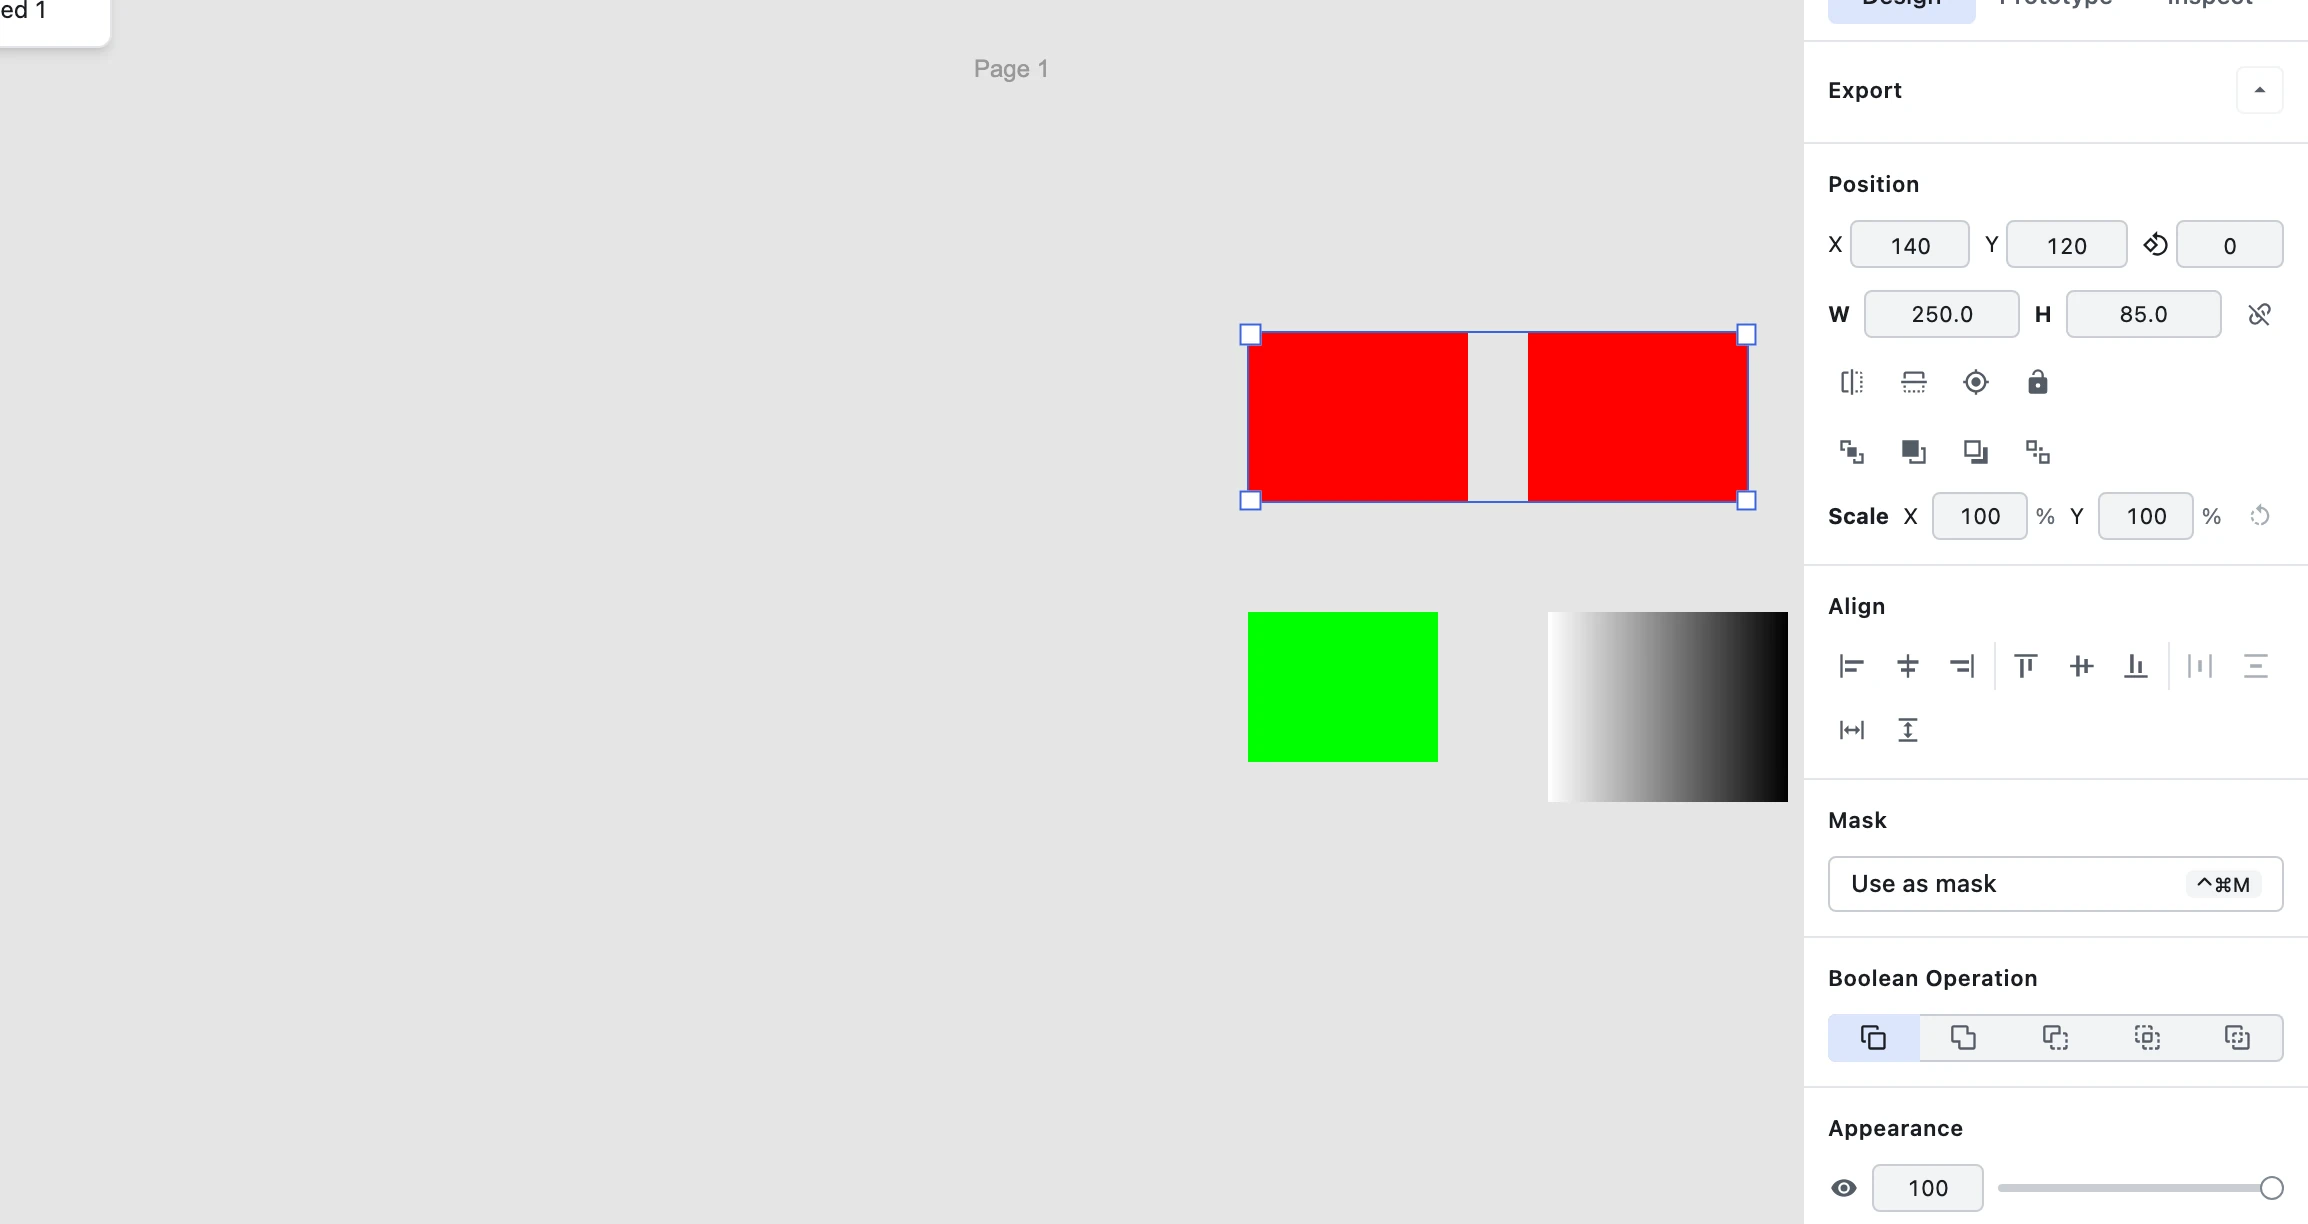
Agents get the same capability programmatically through session.find's same*As selector keys (sameFillAs, sameStrokeAs, …), which return exactly the ids these commands select.
Pages Panel & Page Management
The Pages tab in the left rail features a clean, compact Figma-style list view replacing old thumbnail cards, packing up to 7x more pages on screen with full page management capabilities.
Header & Compact List Structure
- Page Count (
N Pages): Displays the total number of pages in your project. + Add Page: Creates a new page layer, appends it, and selects it immediately.Present: Opens active presentation mode instantly.- Search / Filter: Automatically appears when your project has more than 3 pages, filtering pages in real time as you type.
Page Actions & Management
- Selection & Framing: Clicking any page row selects it and fits the viewport to its bounds.
- Inline Rename: Double-click any page name (or choose Rename from the context menu) to edit the name inline; press Enter or blur to commit, or Escape to cancel.
- Duplicate: Hover over a row and click the duplicate icon (or choose Duplicate from the context menu) to clone the page adjacent in the list.
- Delete: Click the delete icon or context menu item to remove a page (hidden or disabled when only 1 page remains).



Frequently Asked Questions
- How do I add or duplicate a page in Figpea? Click
+ Add Pagein the Pages panel header, or click the Duplicate icon on any page row (or right-click and choose Duplicate). - How do I search or filter pages in Figpea? When your project has more than 3 pages, type in the search bar at the top of the Pages panel to filter pages in real time.
- How do I delete a page in Figpea? Click the delete icon on a page row or choose Delete from its context menu. Deletion is available when your project has more than 1 page.
Managing PSD Adjustment Layers
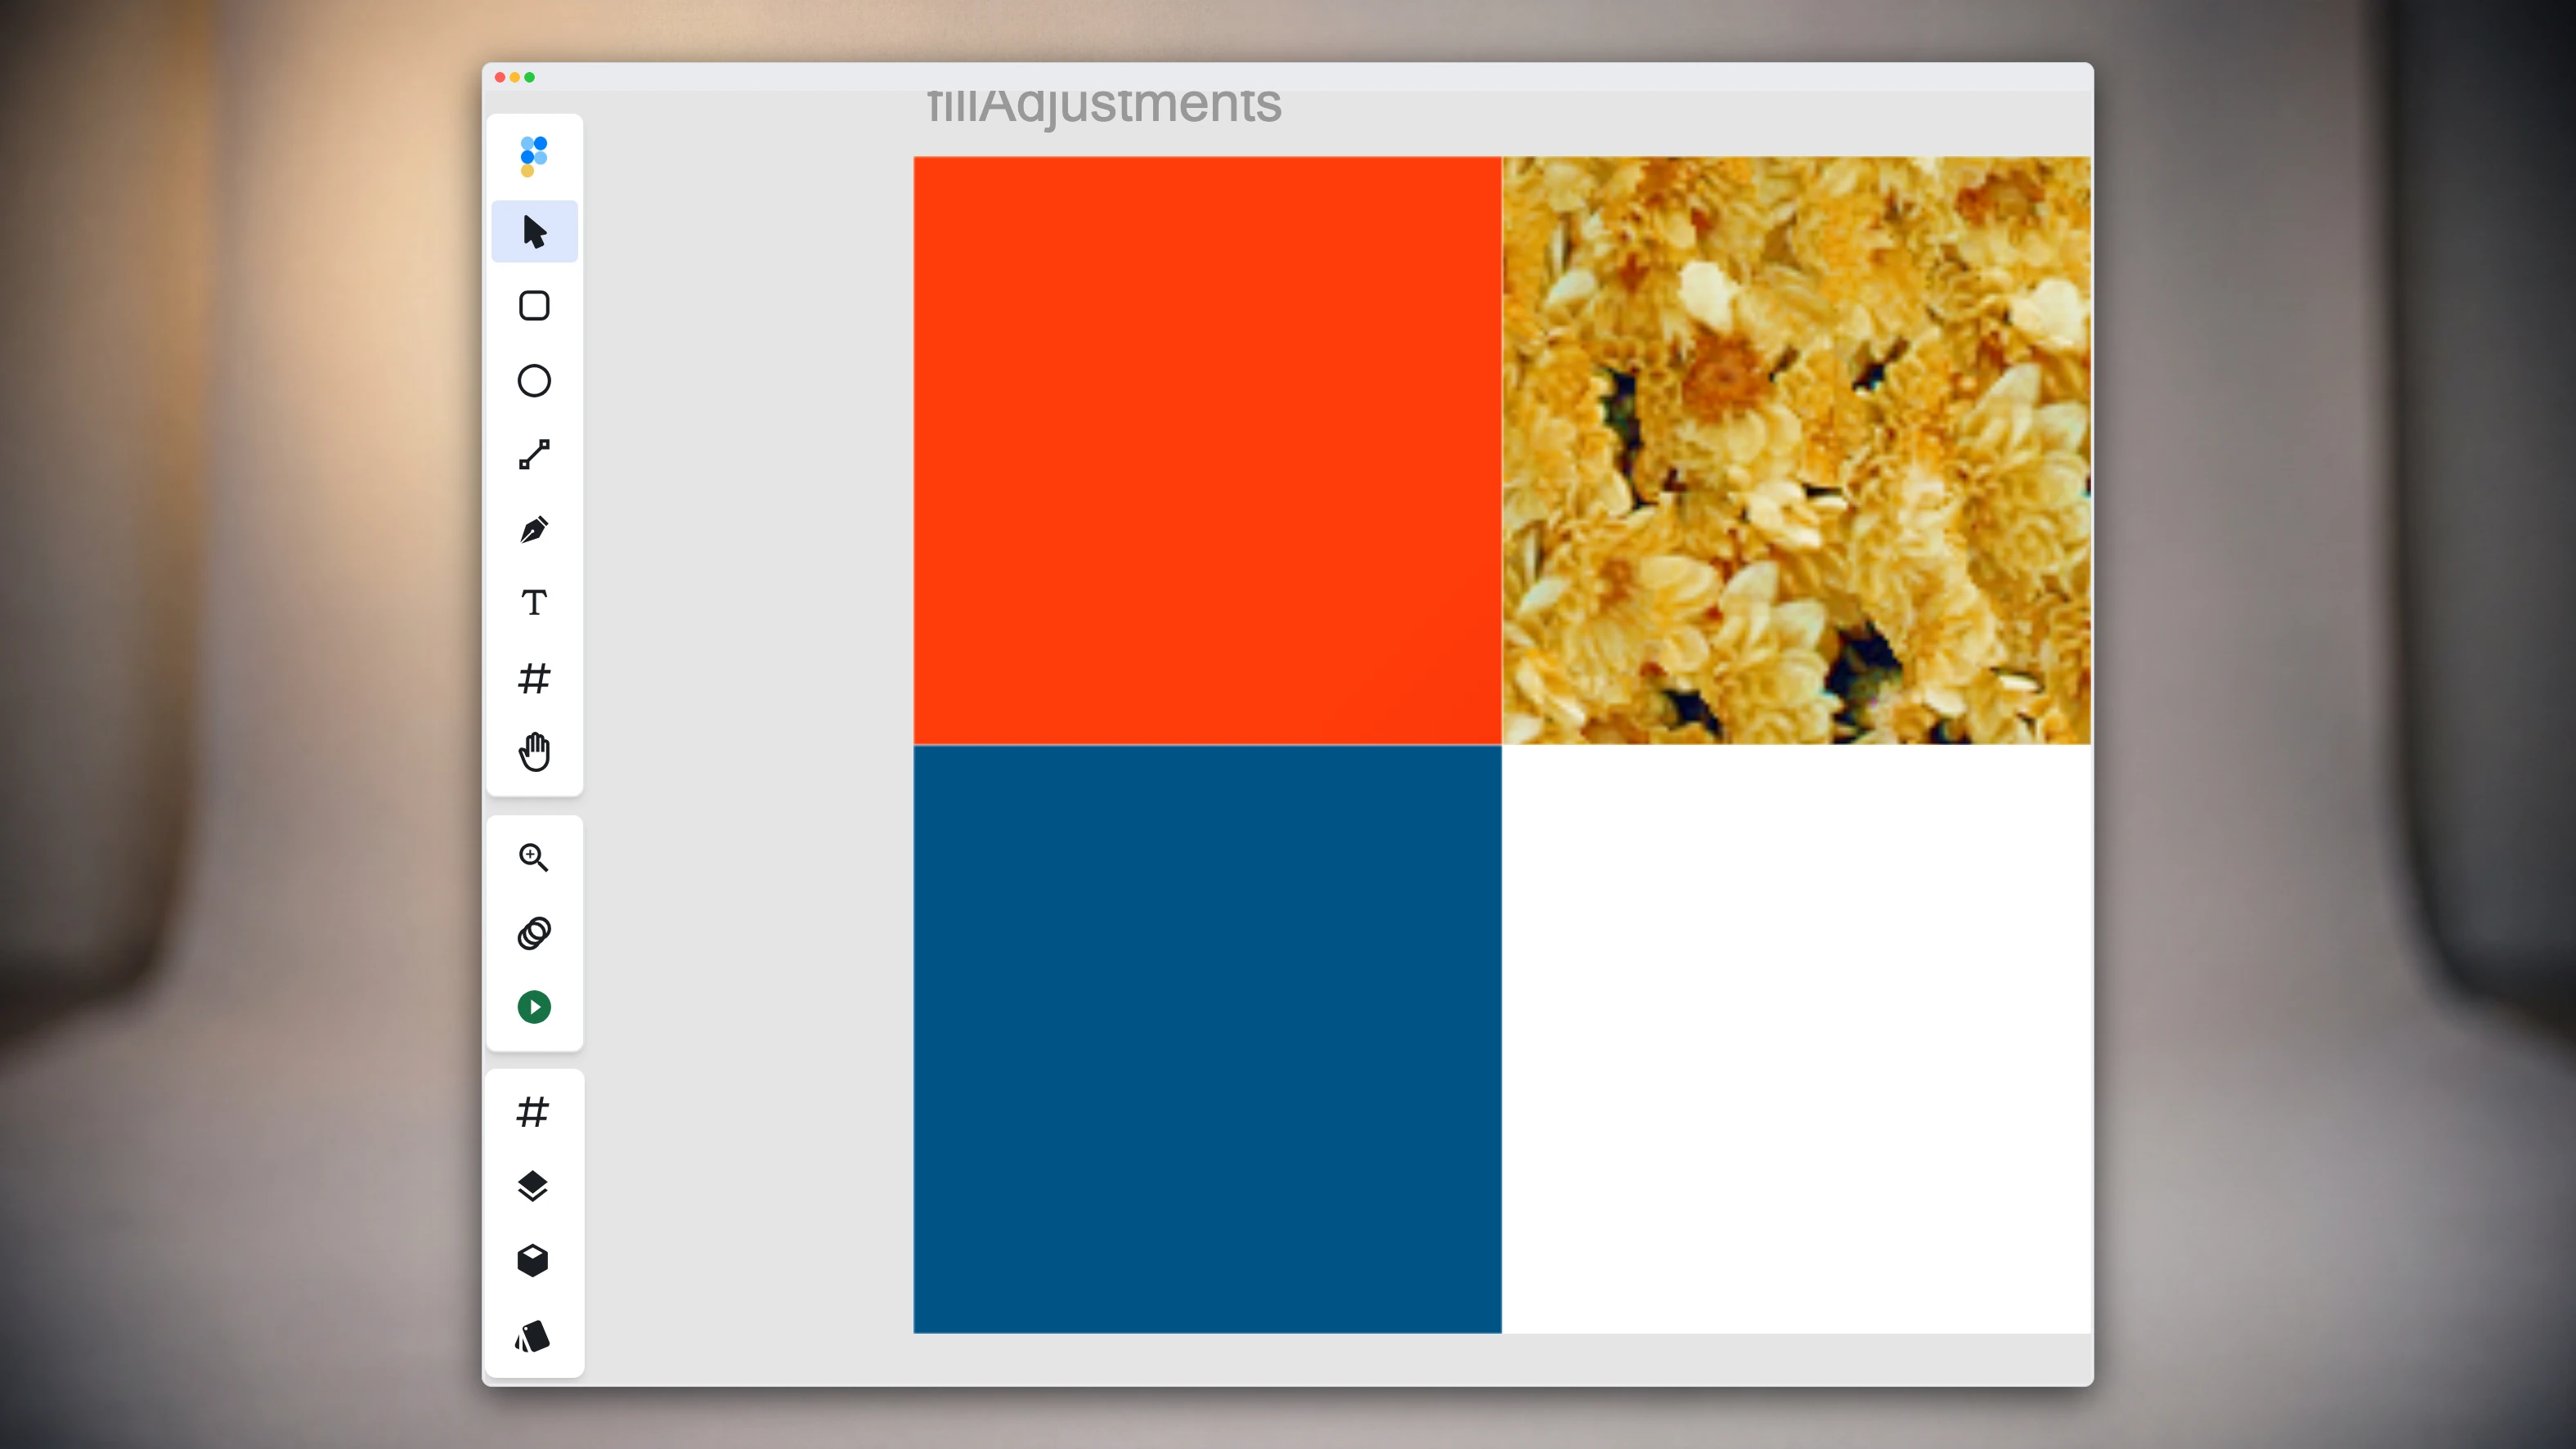
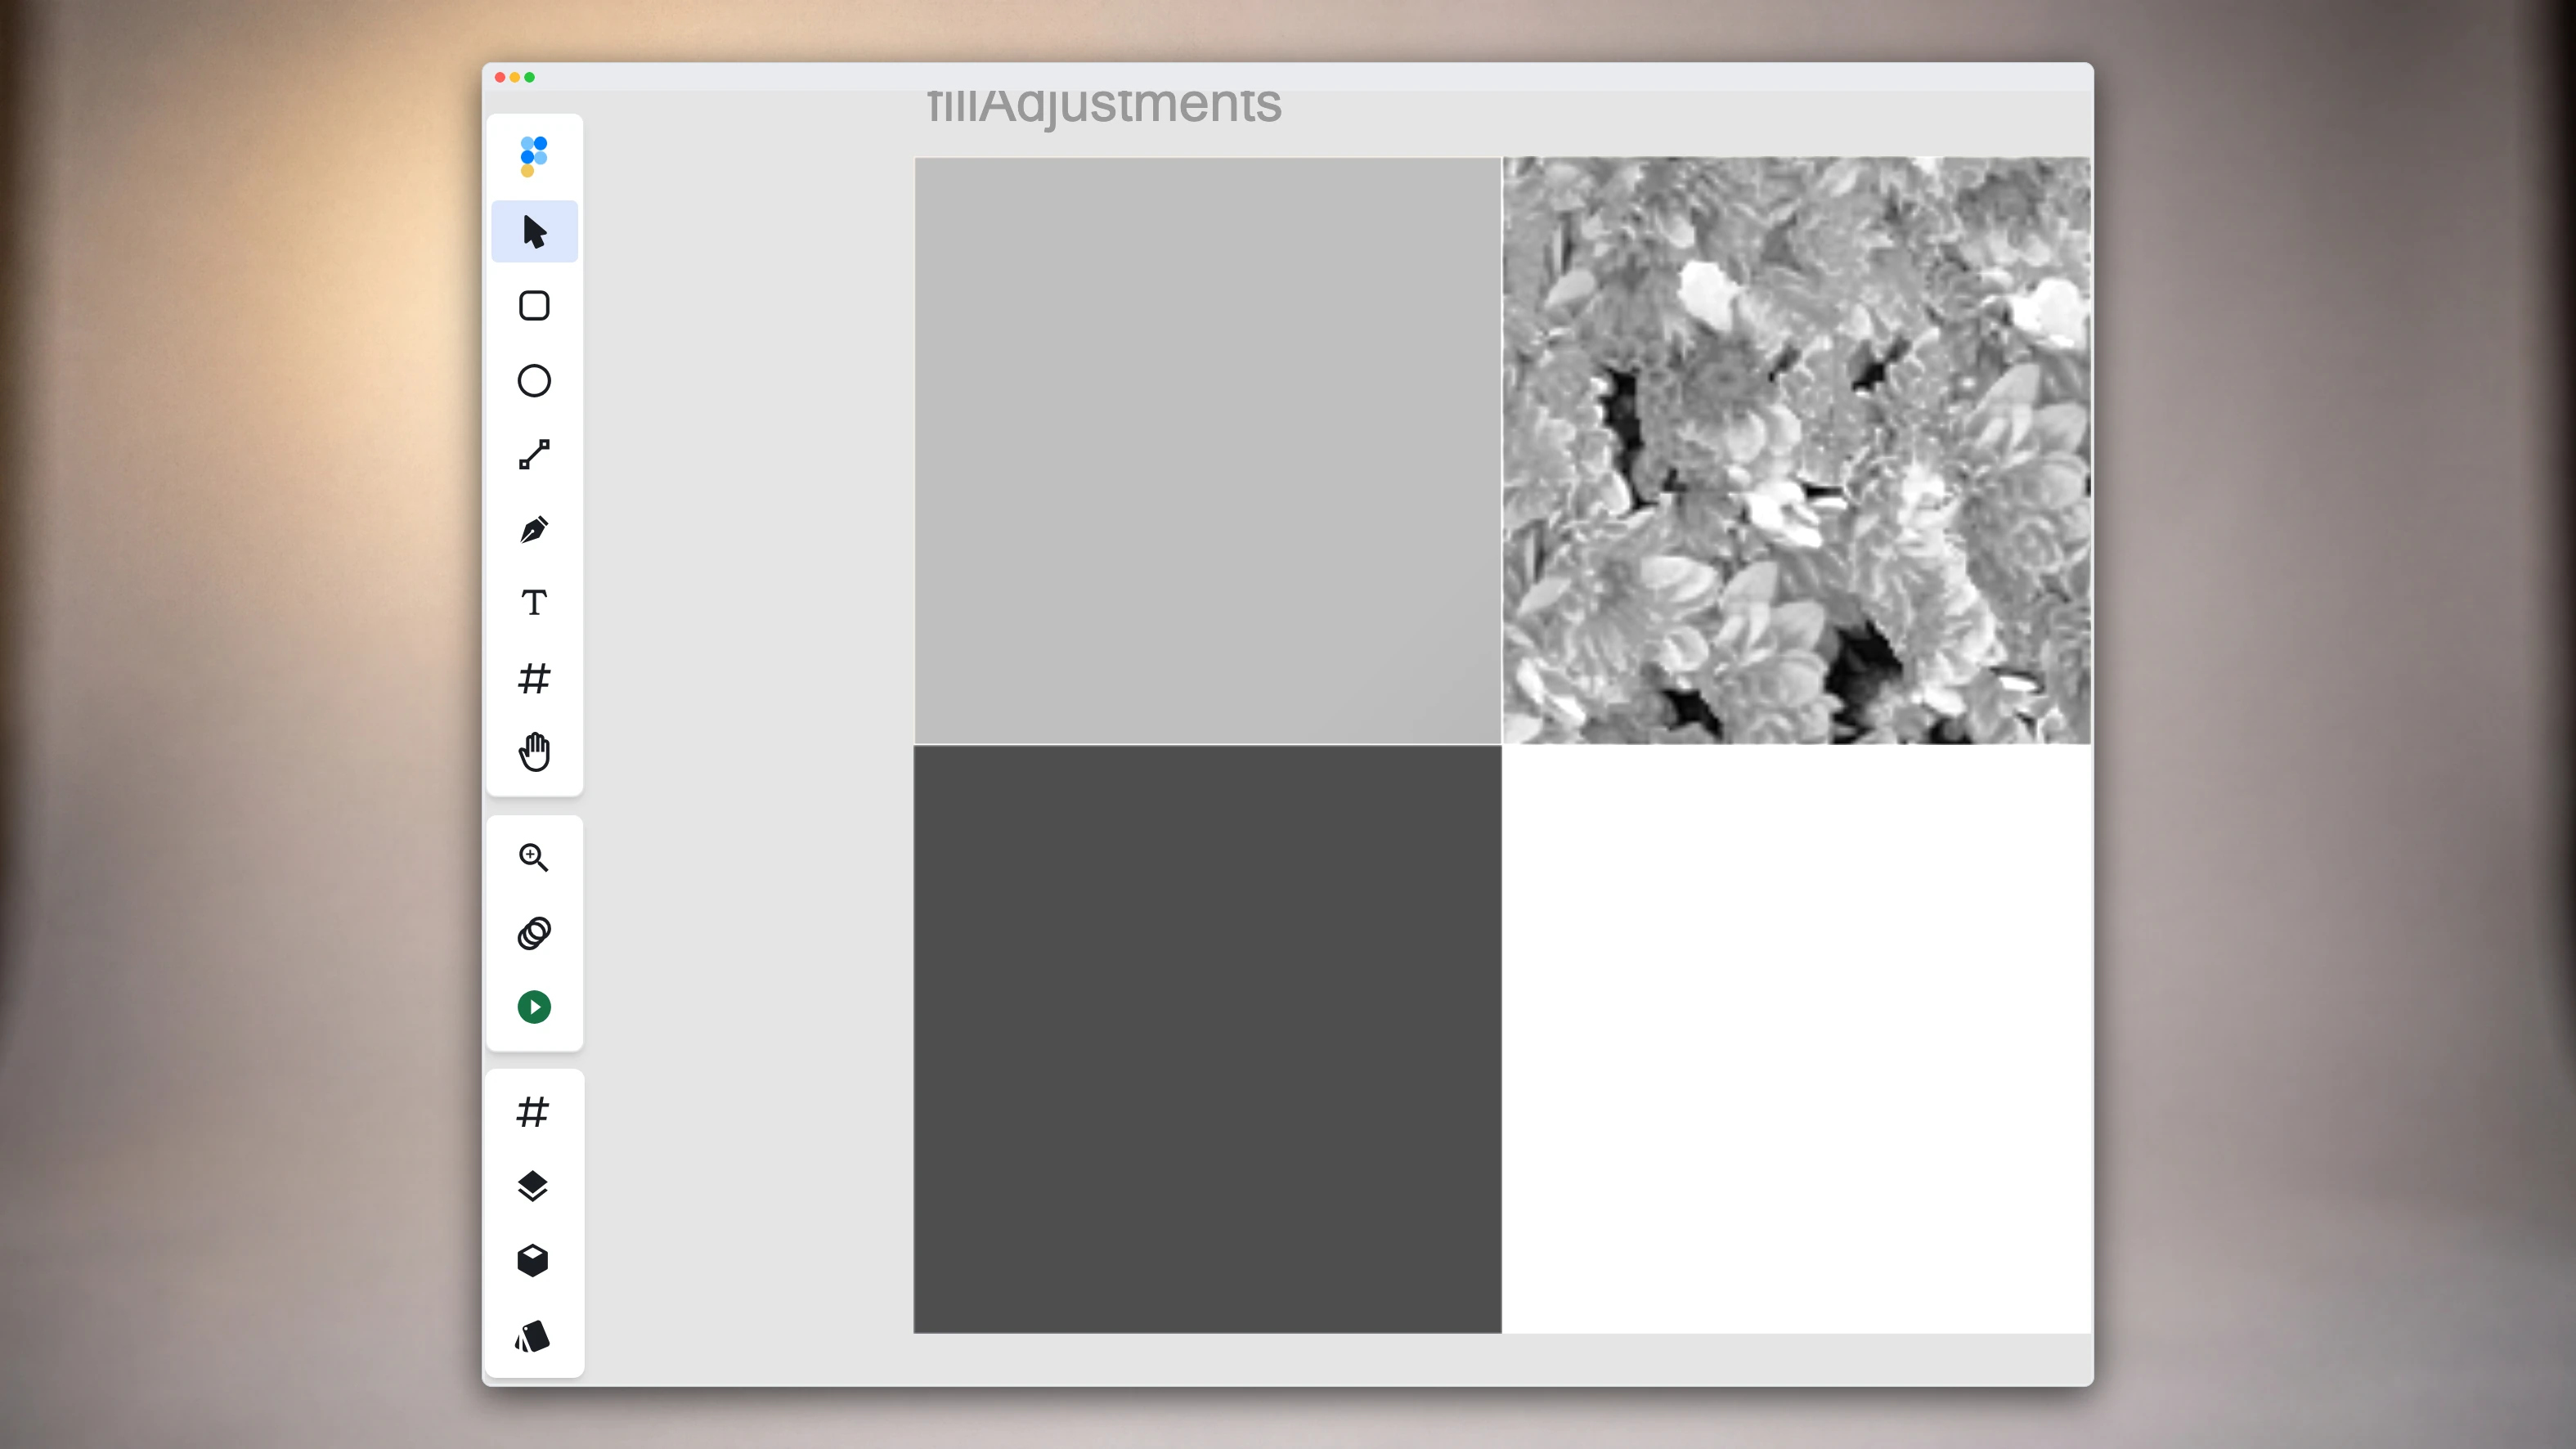

Figpea supports full 16-type import and non-destructive rendering for all Photoshop adjustment layers (brit, levl, curv, expA, vibA, hue2, hue , blnc, blwh, phfl, mixr, clrL, nvrt, post, thrs, grdm, selc).
Photoshop-exact math parity for Hue/Saturation and Black & White. Two of the most commonly used adjustment types render with exact Photoshop formula parity, not a simplified approximation:
- Hue/Saturation (
hue2) uses Photoshop's own non-additive saturation and lightness curves — positive saturation scales toward the gamut boundary and negative saturation scales toward grey; positive lightness scales toward white and negative lightness scales toward black. There's no additive-HSL clipping artefact and no hue shift at the extremes: exact color tones are preserved across the full slider range. - Black & White (
blwh) uses Photoshop's documented 6-channel (Reds/Yellows/Greens/Cyans/Blues/Magentas) channel mix, so custom channel percentages produce the same grayscale tones Photoshop itself would.
Non-destructive canvas renders closely match Photoshop's native output for these two types, without additive-clipping artefacts or hue shifts, whether you're inspecting, hiding, or reordering layers.
Key Capabilities
- Non-Destructive Toggle: Show or hide any adjustment layer in the layer panel to instantly reveal the underlying artwork.
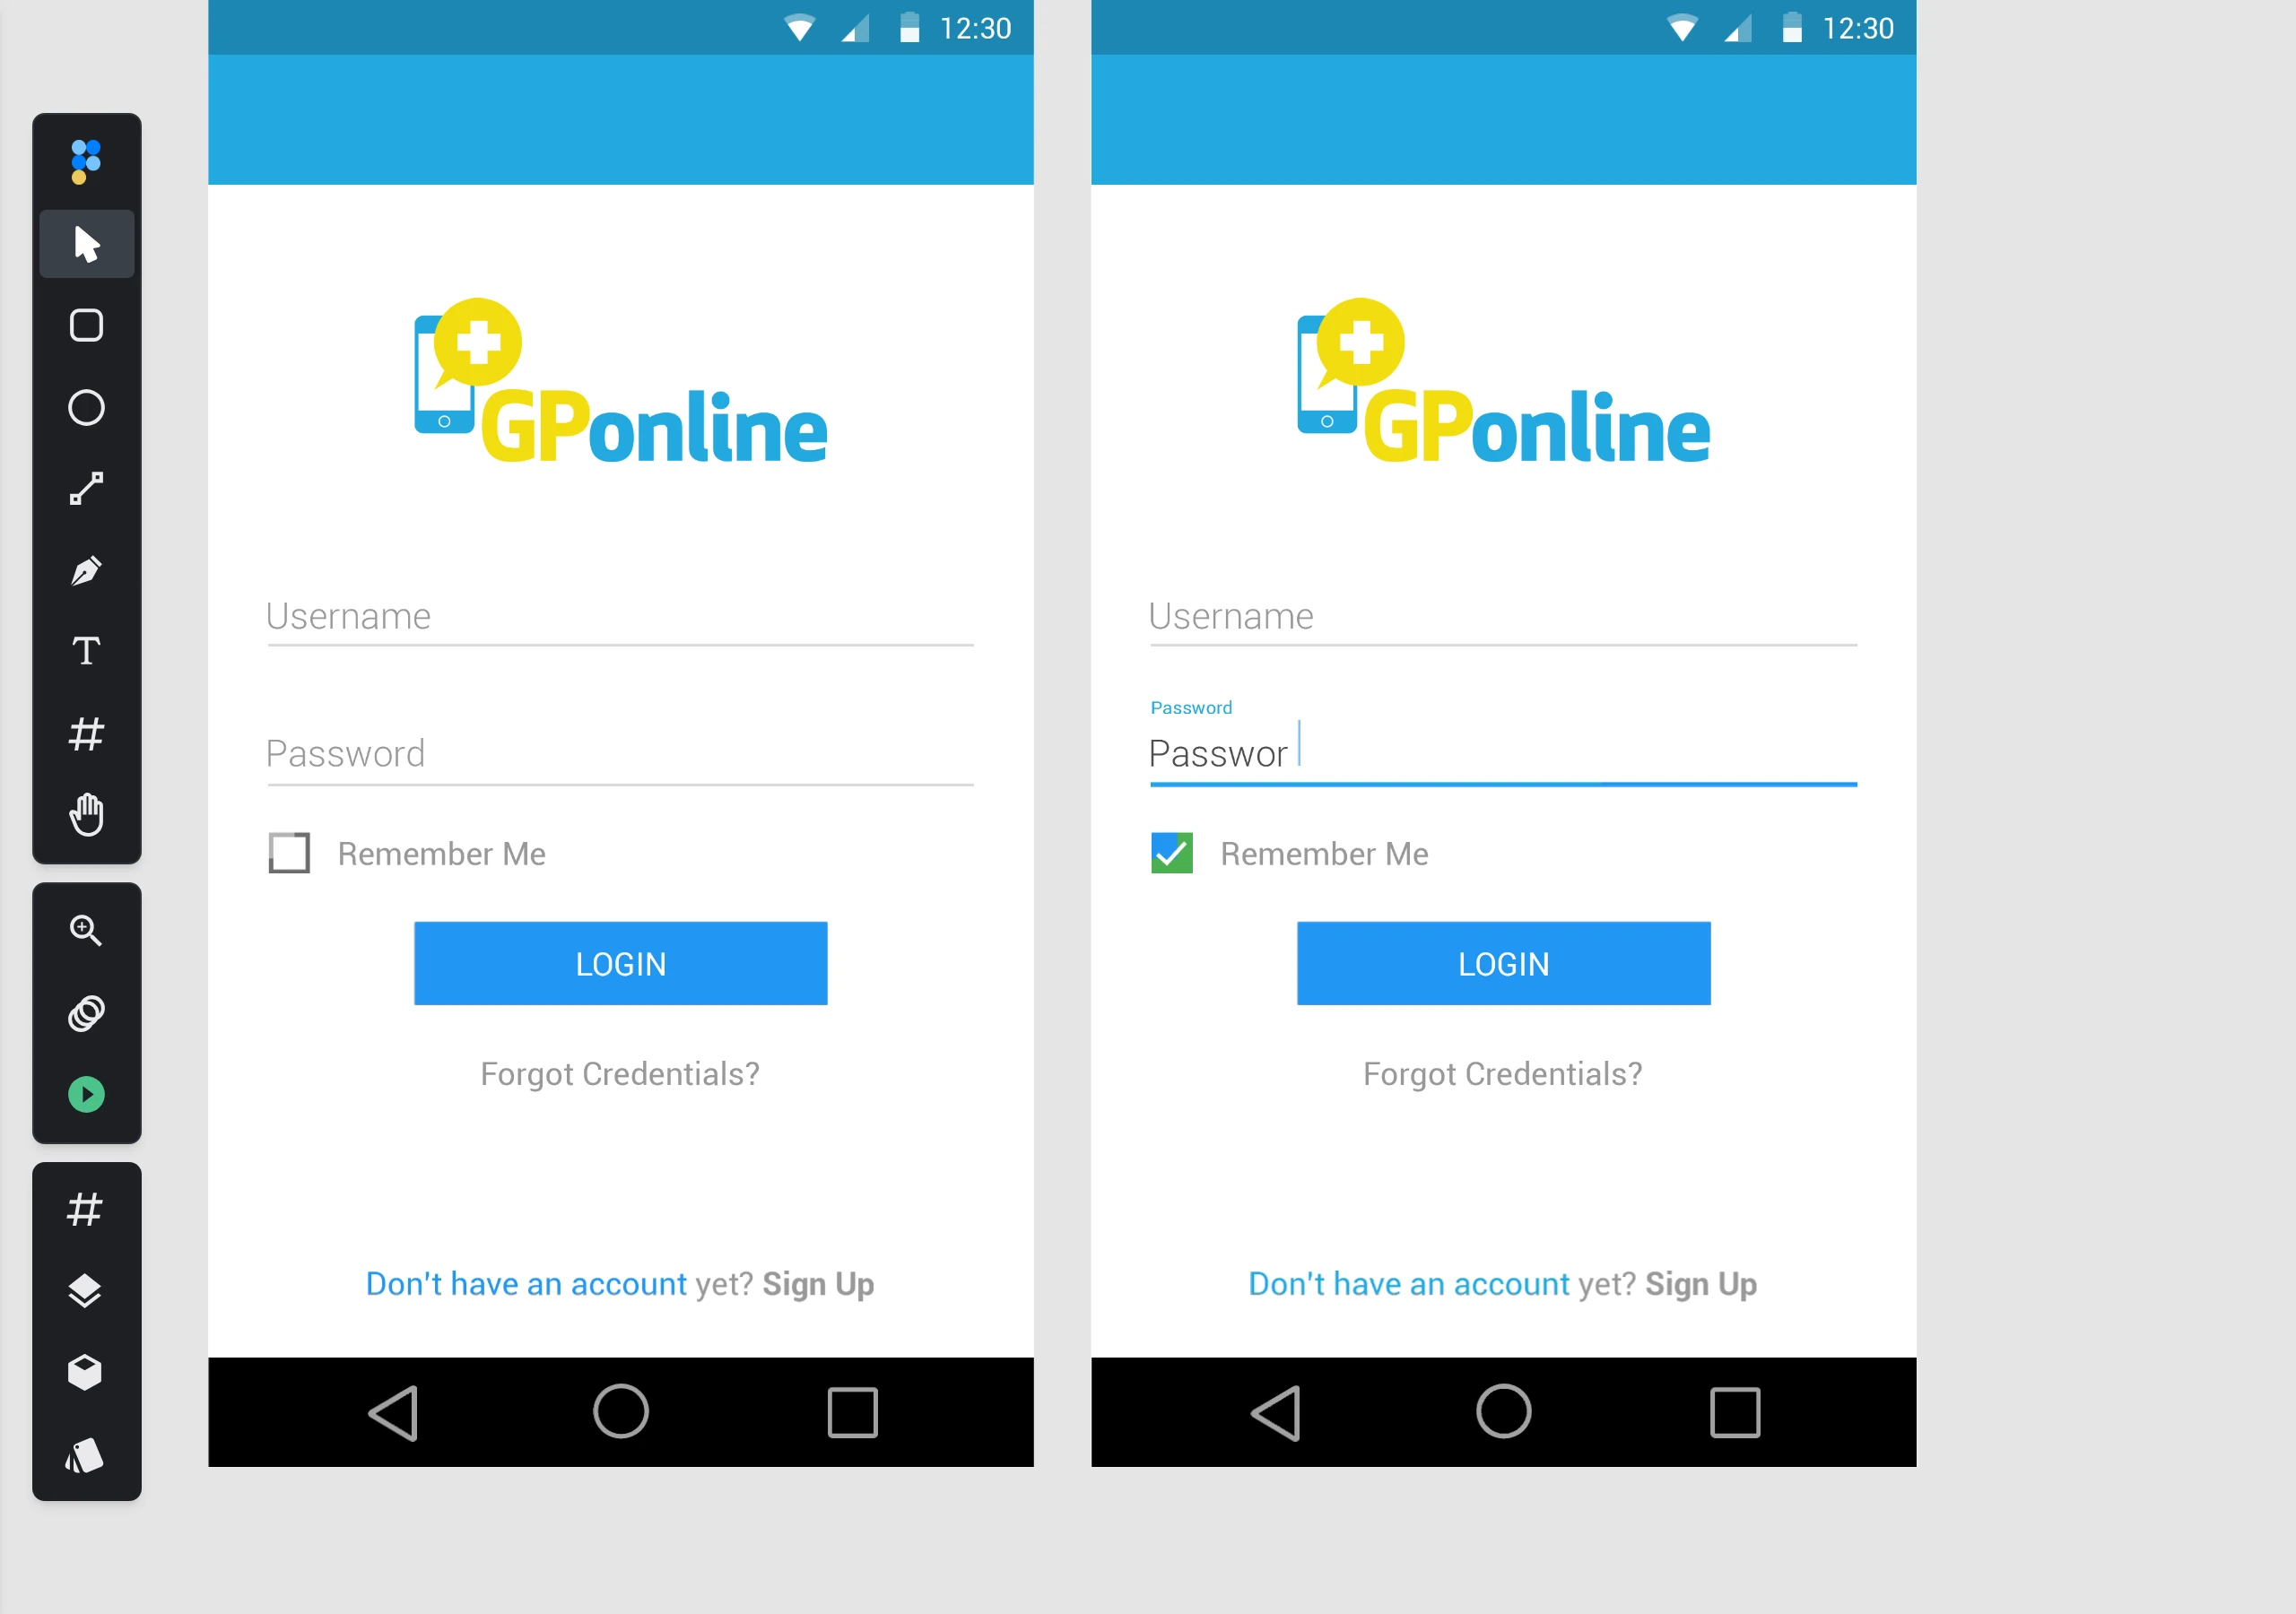
- Scoping & Clipping: Adjustments respect clipping masks, isolated groups, and layer mask partial alpha.
Scoping follows the layer stack: a clipped adjustment affects only the layer below it; an adjustment inside a group is scoped by group isolation; where a layer mask is partly transparent, partial alpha modulates the adjustment strength.
Adjustment parameters render as decoded with no inspector slider authoring — the visibility toggle, clipping, and layer order are the controls.
Frequently Asked Questions
- How do I hide an adjustment layer? Click the eye icon next to the adjustment layer in the layer list.
- Do adjustment layers modify original pixels? No, adjustments render non-destructively on the canvas without altering underlying source layers.
- How do I tell which adjustment a layer is? Each adjustment layer shows a per-type icon with a tooltip naming the type in the layer panel.
Essential Layer Controls
Visibility
- Toggle layer visibility with the eye icon
- Hide/show multiple layers at once
- Quick isolation mode for focused editing
- Temporarily hide other layers
Layer Order
- The list reads front-to-back: the layer at the top of the list is the one drawn in front. Drag a row above another to bring it in front of that layer, below to send it behind, and onto the middle of a folder row to nest it inside.
- A mask sits behind what it masks, so it appears below its targets in the list — see Masks for how a mask row and its affected rows are marked.
- Drag and drop to reorder layers
- Move layers between groups
- Keyboard shortcuts:
Cmd/Ctrl + ]brings a layer one step forward andCmd/Ctrl + [sends it one step back; add Shift —Cmd/Ctrl + Shift + ]/Cmd/Ctrl + Shift + [— to bring it all the way to the front or send it all the way to the back - The same four commands sit as buttons next to Flip, Locate, and Lock in the Position panel
- Right-click a selected layer on the canvas for the same four commands at the cursor; press Esc or click away to close the menu without changing anything
- Ordering moves a layer among its siblings — a layer inside a group is restacked within that group, not in front of the whole page
- Already at the front or back? The command does nothing and its control greys out
- How do I bring a layer to the front in Figpea? Use the
Cmd/Ctrl + Shift + ]shortcut, the Bring to Front button in the panel, or right-click the layer and choose it from the menu
Grouping
- Create groups to organize layers (Cmd/Ctrl + G)
- Nest groups for complex hierarchies
- Ungroup when needed (Cmd/Ctrl + Shift + G)
- Groups help organize related elements
- Groups maintain layer relationships while moving
- Groups can be nested for complex structures
- To turn any group or layer into a reusable template across your project, see Components and Instances.
Basic Transformations
Move Tool
- Drag layers on canvas
- Hold a drag still over a page for about a second to move the layer into that page — or over empty canvas to move it back to the top level. The layer keeps its position.
- Arrow keys for precise movement
- Snap to other elements
- Align to guides
- Align and distribute multiple layers for precise arrangement

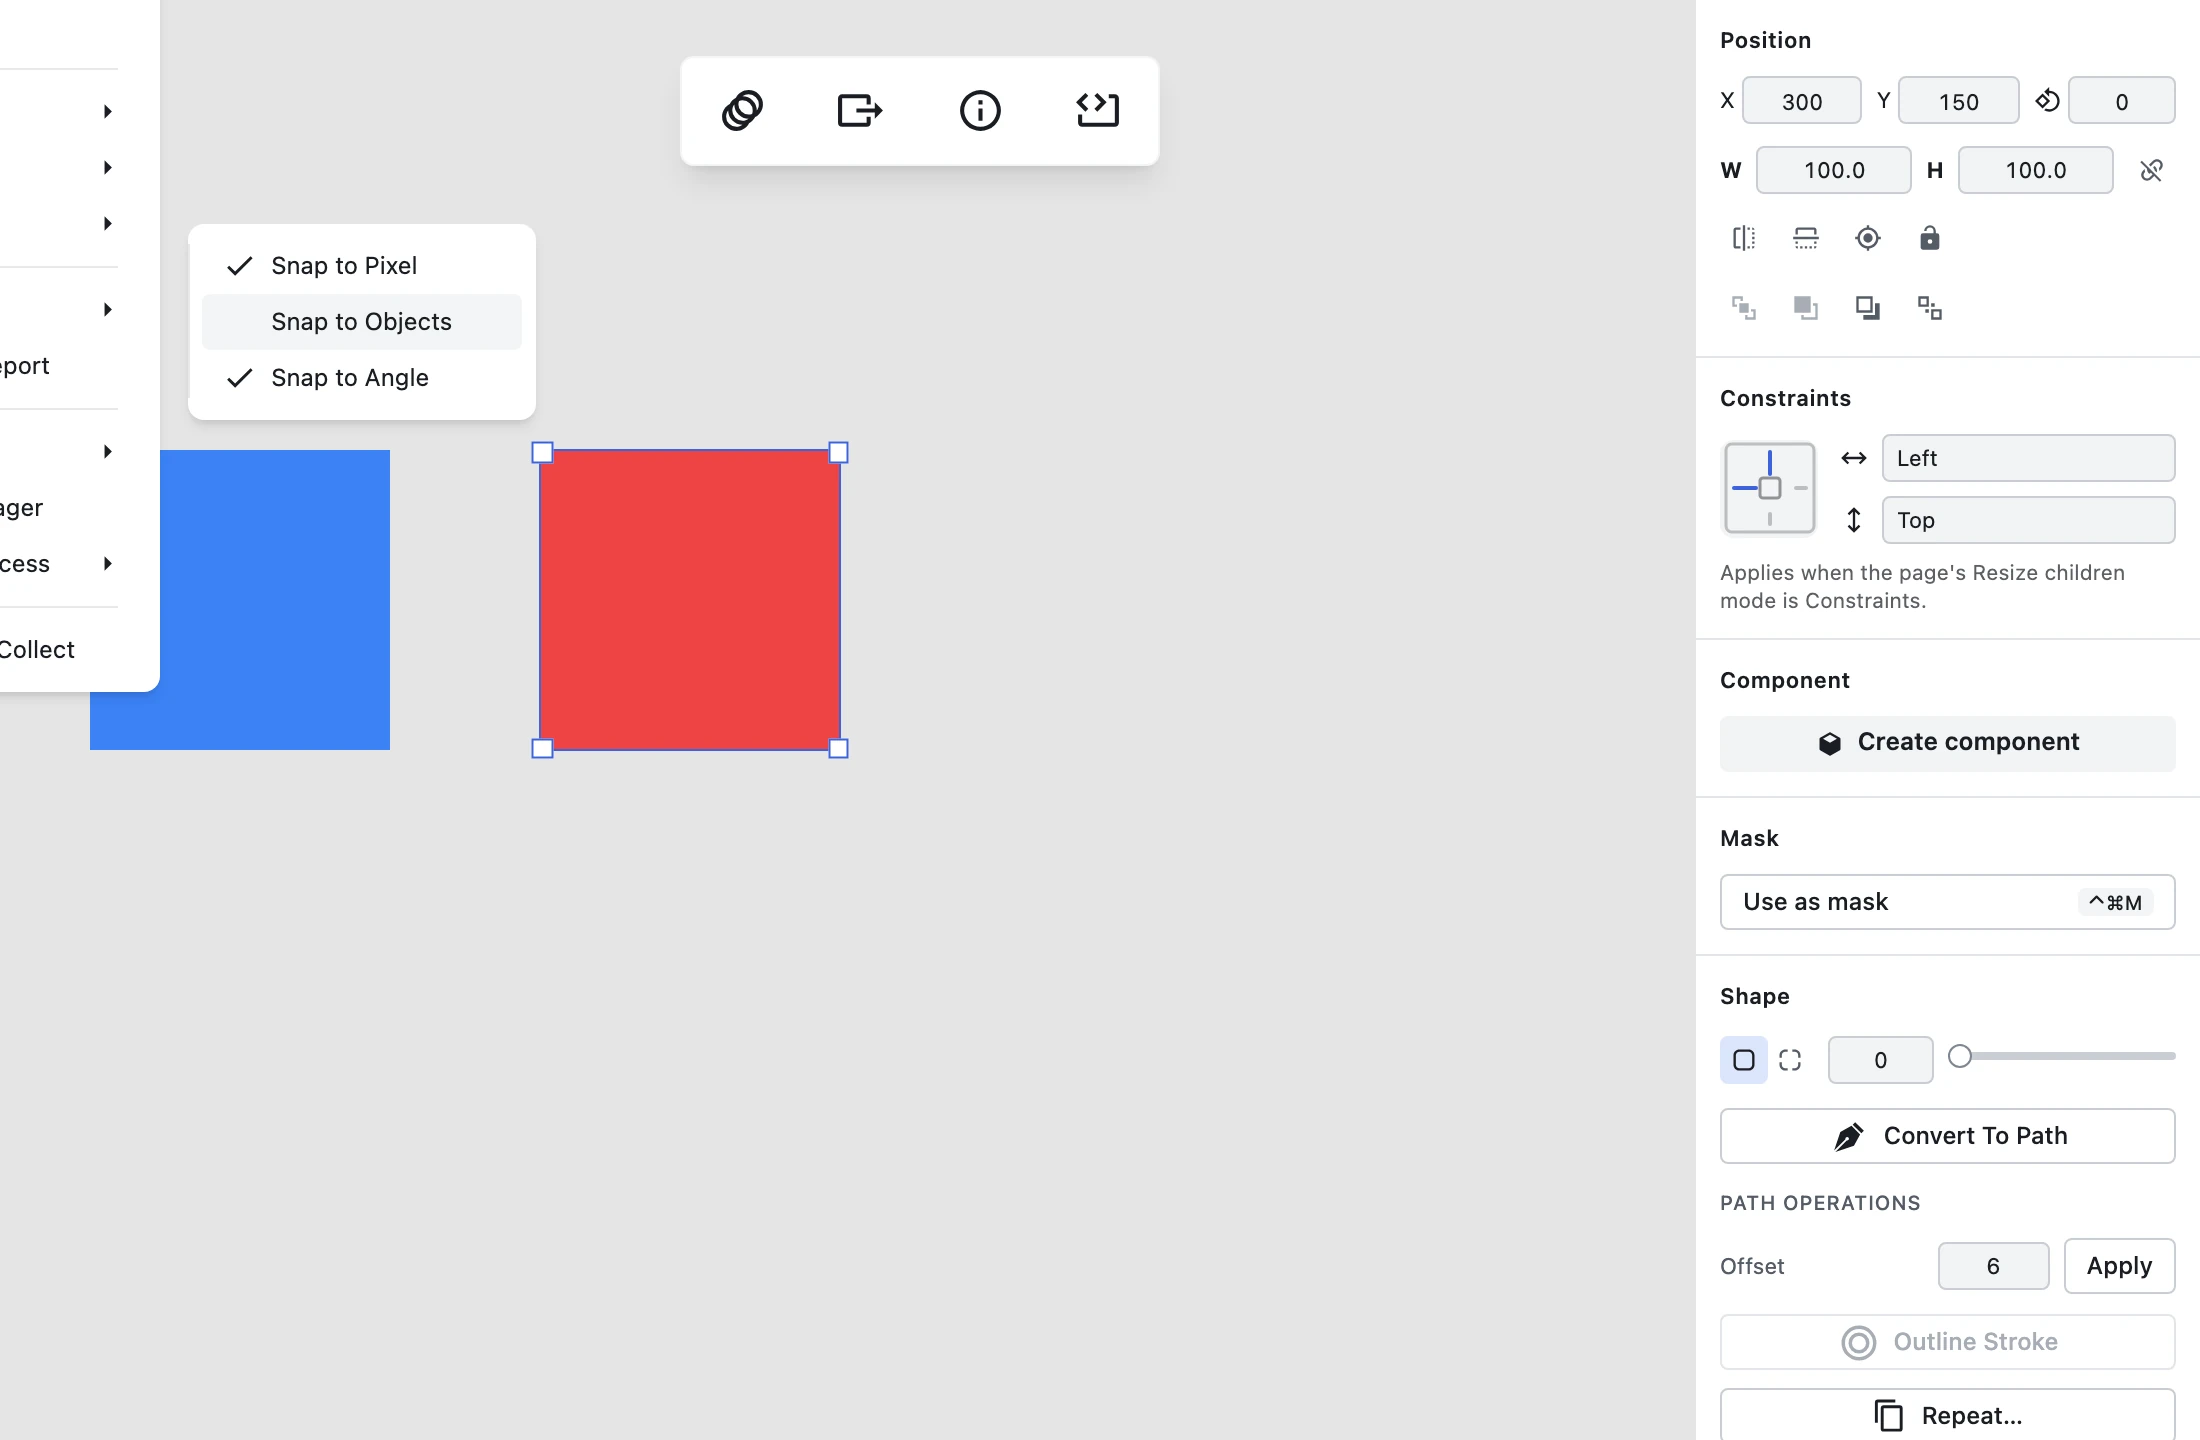
- Snap controls: Toggle Snap to Pixel (whole-pixel positions and sizes), Snap to Objects (alignment guides and sibling layer edges), and Snap to Angle (15° rotation increments) on or off from the main menu's View submenu. All three are on by default.
- Hold Alt while dragging or resizing to temporarily bypass snapping without changing your View menu settings.
How do I turn off snapping or alignment guides in Figpea? Open the main menu's View submenu and uncheck Snap to Pixel or Snap to Objects.
Resize Operations
- Drag handles to resize
- Maintain aspect ratio (hold Shift)
- Scale from center (hold Alt)
- Numeric input for exact dimensions
- Lock proportions with the chain toggle next to Width/Height — resizing one dimension (by field or drag) scales the other to match.
The lock only ever links Width and Height — not corner radius, padding, or other paired fields.
This is an editor setting — it stays on as you switch between layers until you turn it off.
To control how a layer behaves when its page or group is resized, see Constraints & Resizing. That page describes how child layers reflow when their container resizes — a different feature from locking a single layer's own aspect ratio. To set a page itself to a standard size — A4, an iPhone screen, an Instagram post — see Page Sizes & Presets.
How do I resize a layer in Figpea without distorting it? Use the chain toggle next to the Width and Height fields to lock proportions.
- Type numeric X and Y in Position to place the layer at exact dimensions without dragging.
- Type numeric Width and Height in Position for exact dimensions — see Precision transform below for the fine print.
- Nudge the selection precisely with the arrow keys when a handle drag would overshoot.
Group Scale & Reset Scale
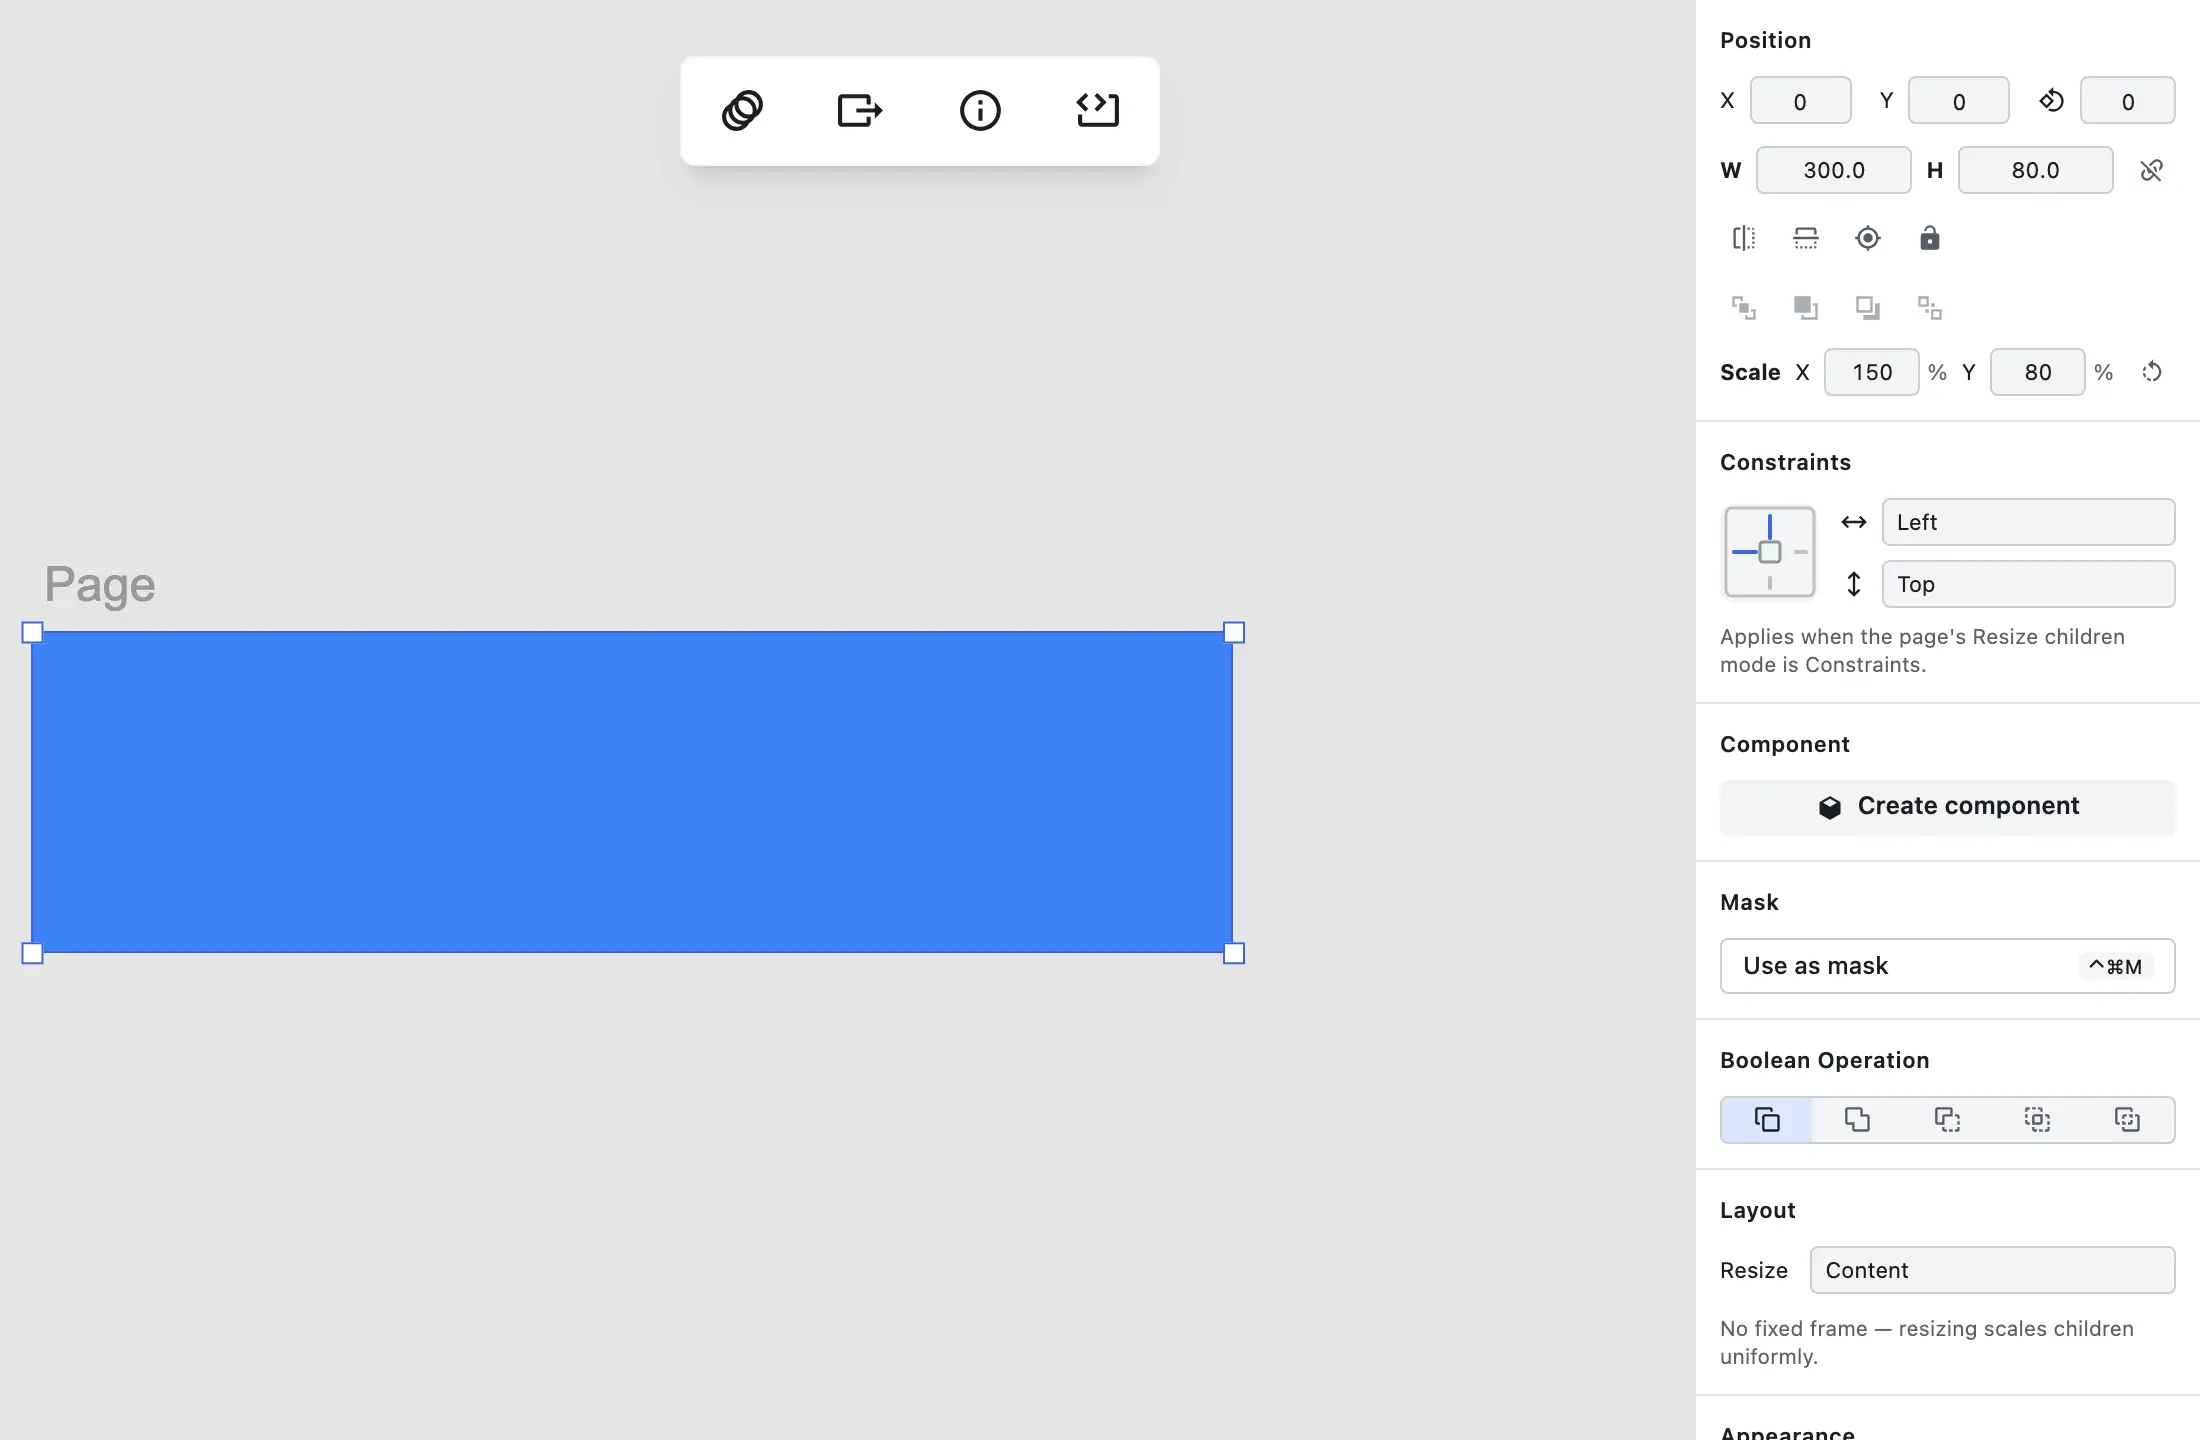

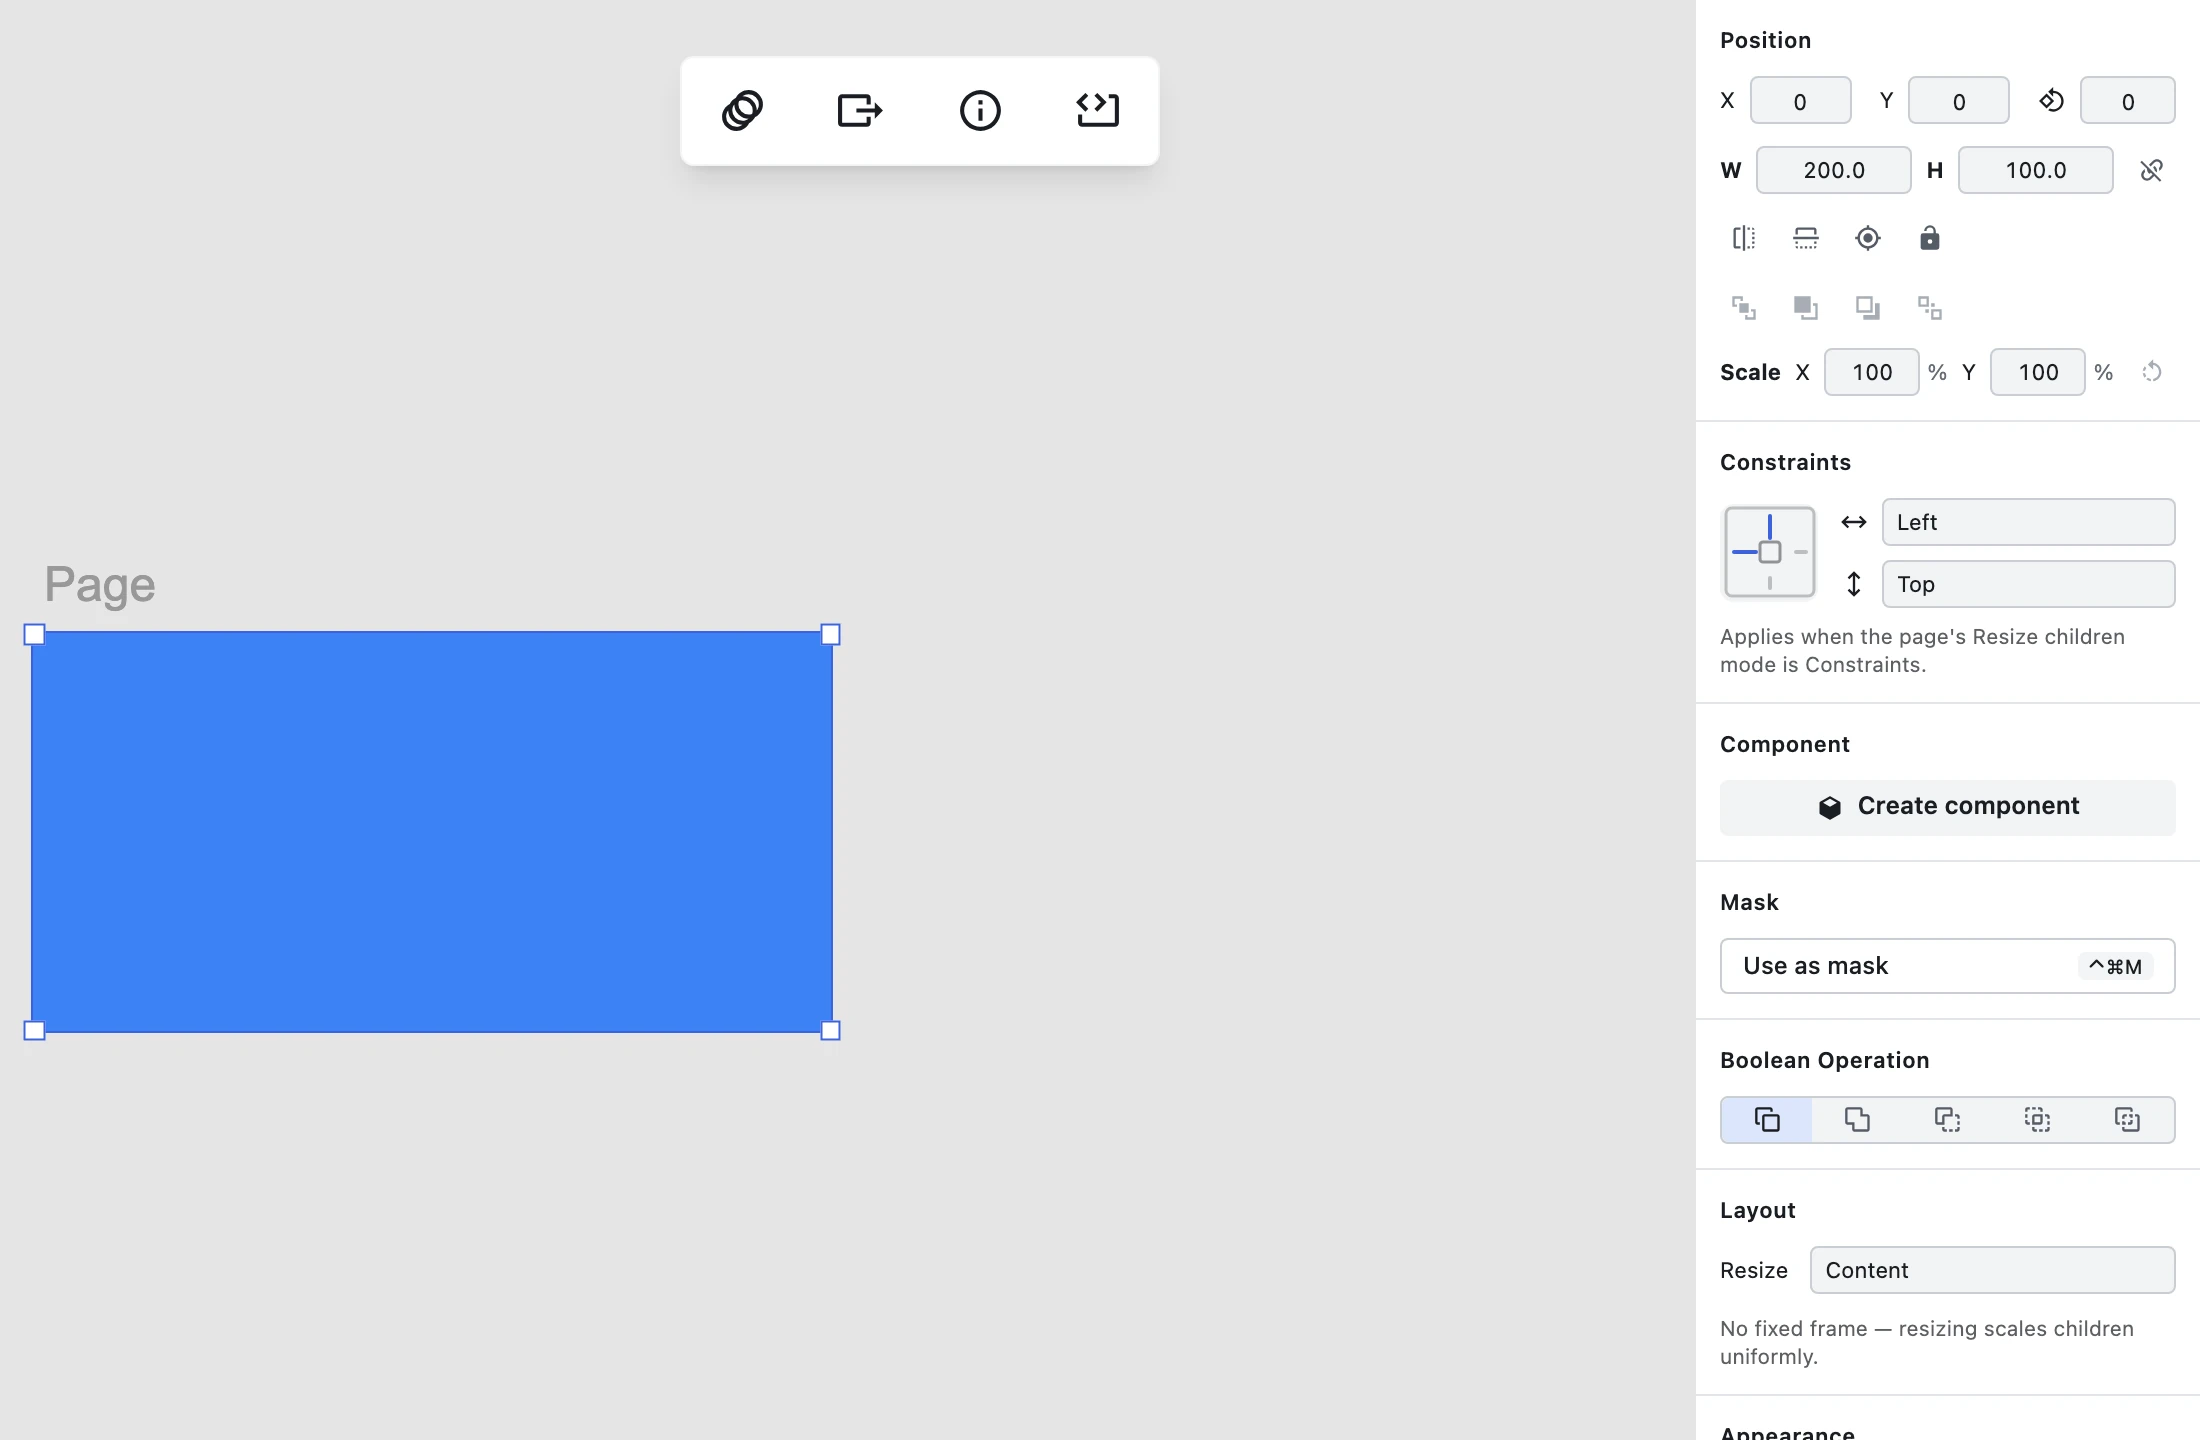
When a group (folder) is selected in content mode, the inspector Position section displays its accumulated matrix scale as Scale X and Scale Y percentage fields alongside a Reset Scale button.
- Scale X and Scale Y: View and edit the group's scale factors directly in percent (e.g.
150%width x80%height). Typing a target percentage resizes the group relative to its parent-space top-left. - Reset Scale: Click the Reset Scale button (
⟲) to reset both scale factors back to 100%. This snaps the group back to its natural content dimensions while leaving child local geometry untouched and preserving rotation. - Disabled State: The Reset Scale button automatically disables at exactly 100% x 100% scale.
Math in numeric fields
Can I type calculations into Figpea's size and position fields? Yes — numeric fields in the inspector accept arithmetic expressions using the operators +, -, *, /, ^ (power), and parentheses for grouping. This applies to the X and Y position fields, width and height, rotation, corner radius, font size, stroke width and offset, drop-shadow and blur parameters, and prototype timing.
For example: 1920/2 evaluates to 960, 100+50 to 150, (1440-16)/2 to 712, 2^3 to 8. Note that 2^3 is how you write a power — 2**3 isn't valid.
Relative inputs: begin with an operator to work from the current value. *2 doubles, +50 adds 50, /2 halves. A leading - is read as an absolute negative number (so -10 still sets the value to -10), not relative. To subtract relatively, type +-10.
What isn't supported: no percentages (50%), no units (20px), no named values or functions (pi, min()). If what you typed isn't valid arithmetic, the field snaps back to its previous value and nothing moves — the one exception is the two blur radius fields (Blur and Background Blur), which reset to 0 instead.
Note on limits: a field with a limit still clamps the evaluated result. A corner radius can never go below 0, so committing 0-5 — which works out to -5 — lands at 0, not -5.
Learn more: Transform Tool in Figpea
Label scrubbing
Drag horizontally on any numeric field label — X, Y, Width, Height, or the rotation icon — to adjust its value directly with your mouse, without typing. Drag right to increase, left to decrease. Hold Shift for 10× coarse steps, or Alt/Option for 0.1× fine steps.
The entire drag commits as a single undo step, so pressing Undo (Cmd/Ctrl+Z) reverts the whole gesture at once.

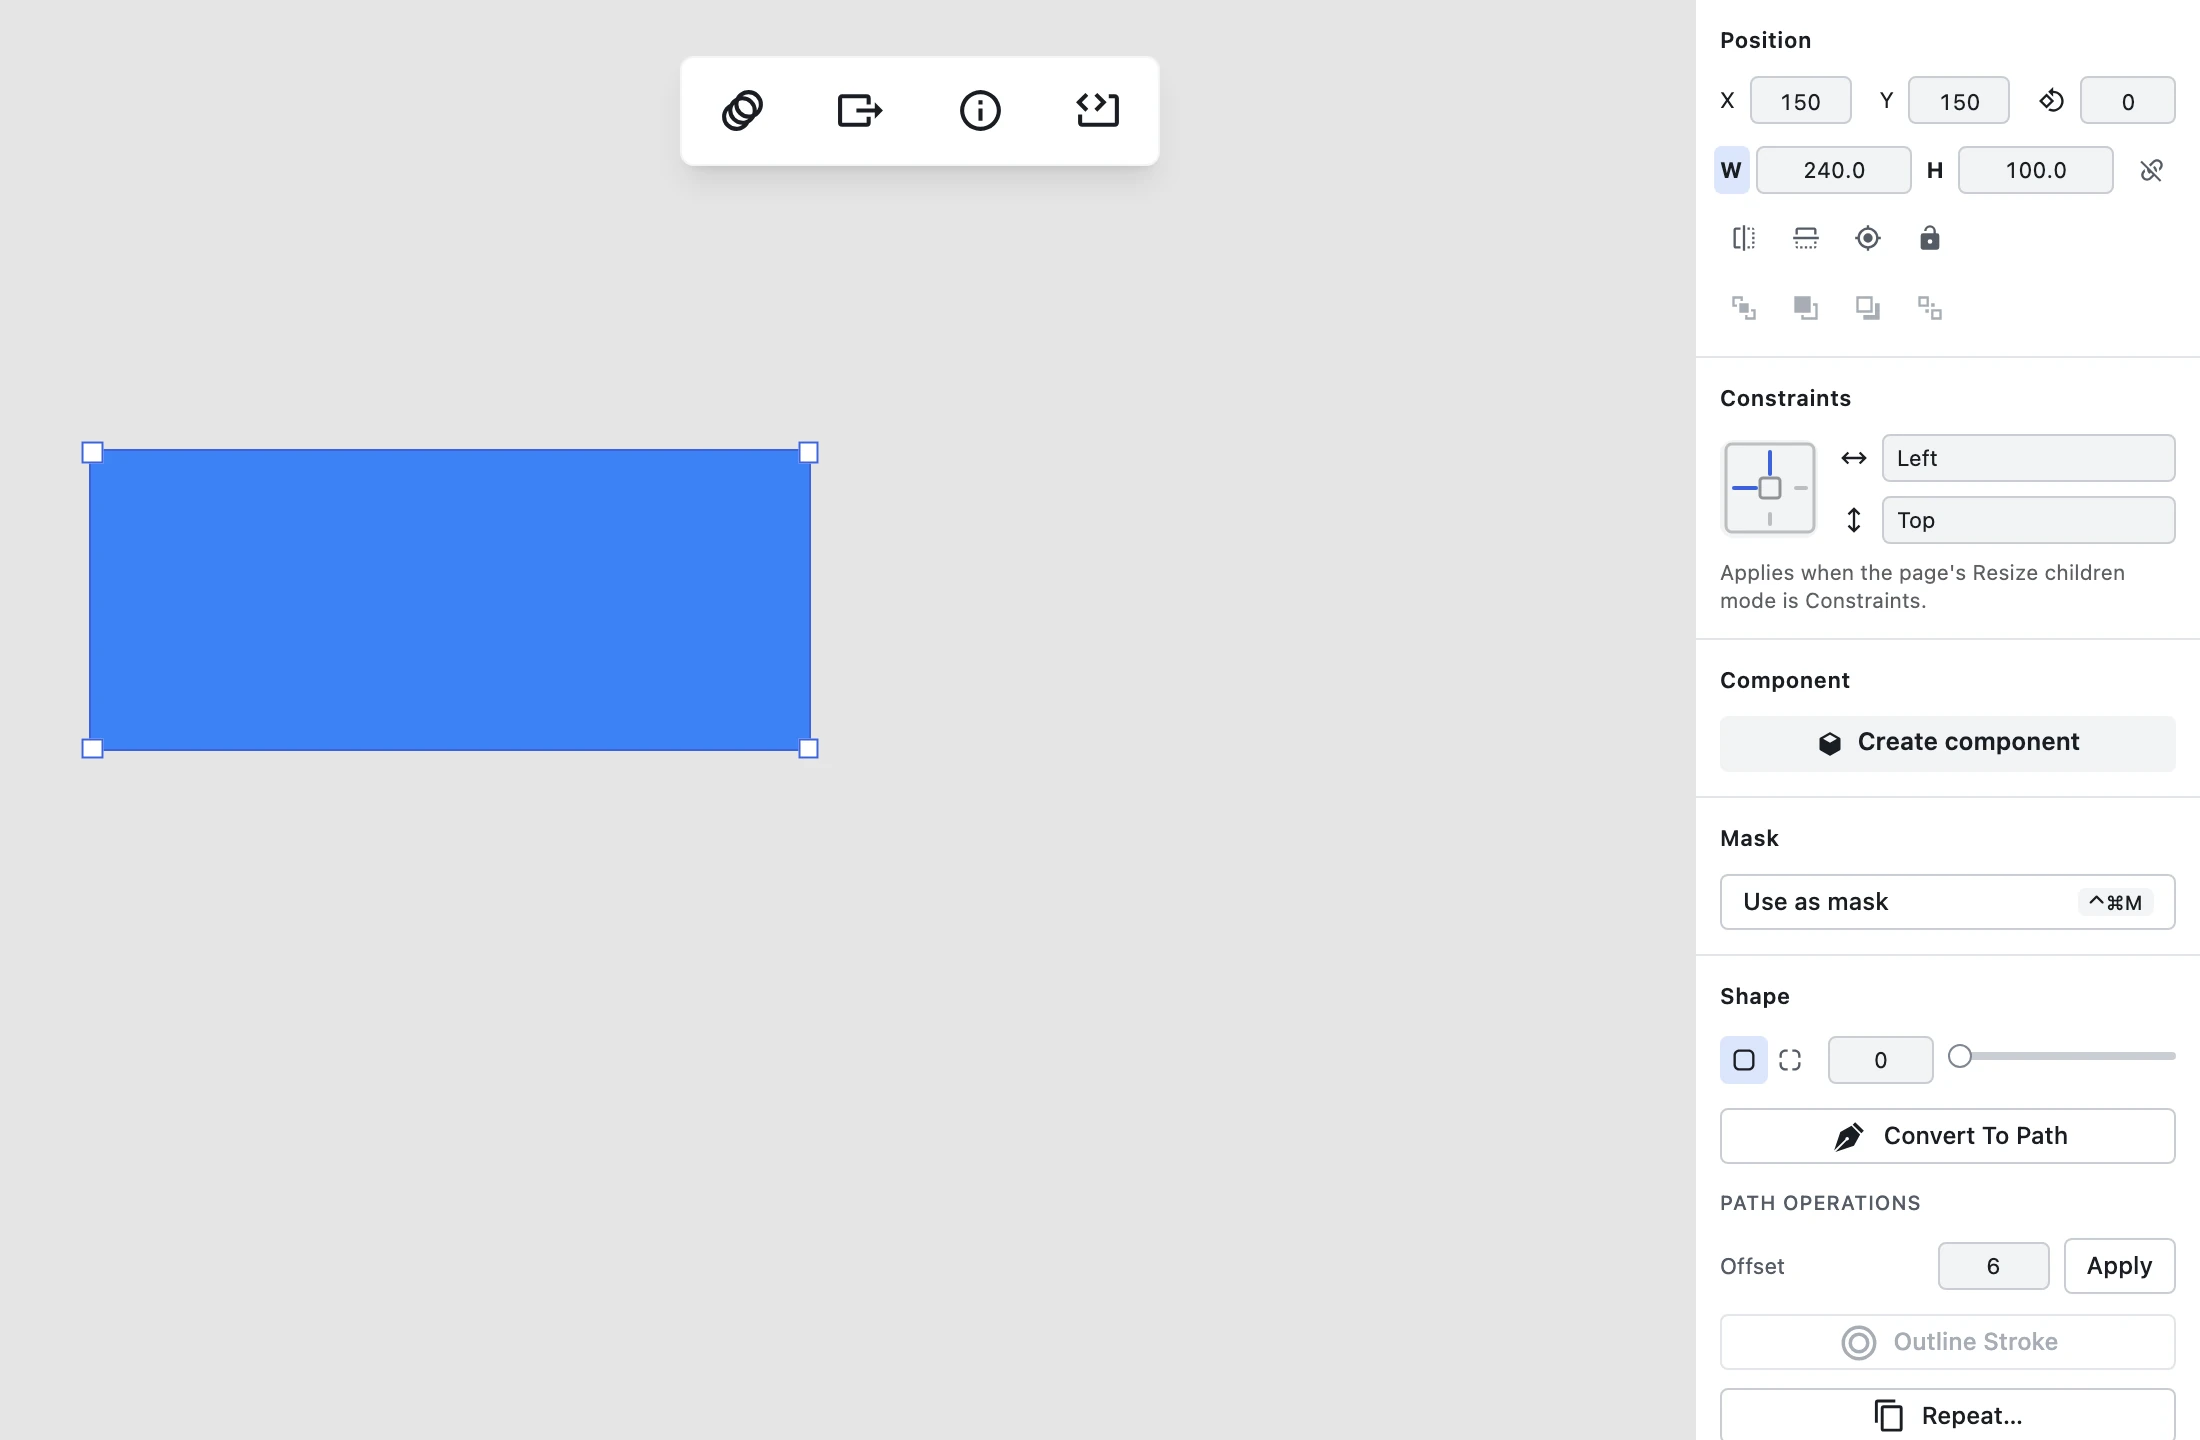
How do I drag or scrub numeric field values in Figpea? Click and drag horizontally on the field's label (e.g., X, Y, W, H).
Flip shortcuts
Press Shift+H to flip the selected layer horizontally, or Shift+V to flip it vertically — instant, keyboard-driven mirroring without reaching for the transform panel's Flip buttons.
Multi-layer selections flip as a group around their collective bounding box, matching the button's own behavior on a multi-select. Shortcuts are ignored while typing in text layers or input fields.

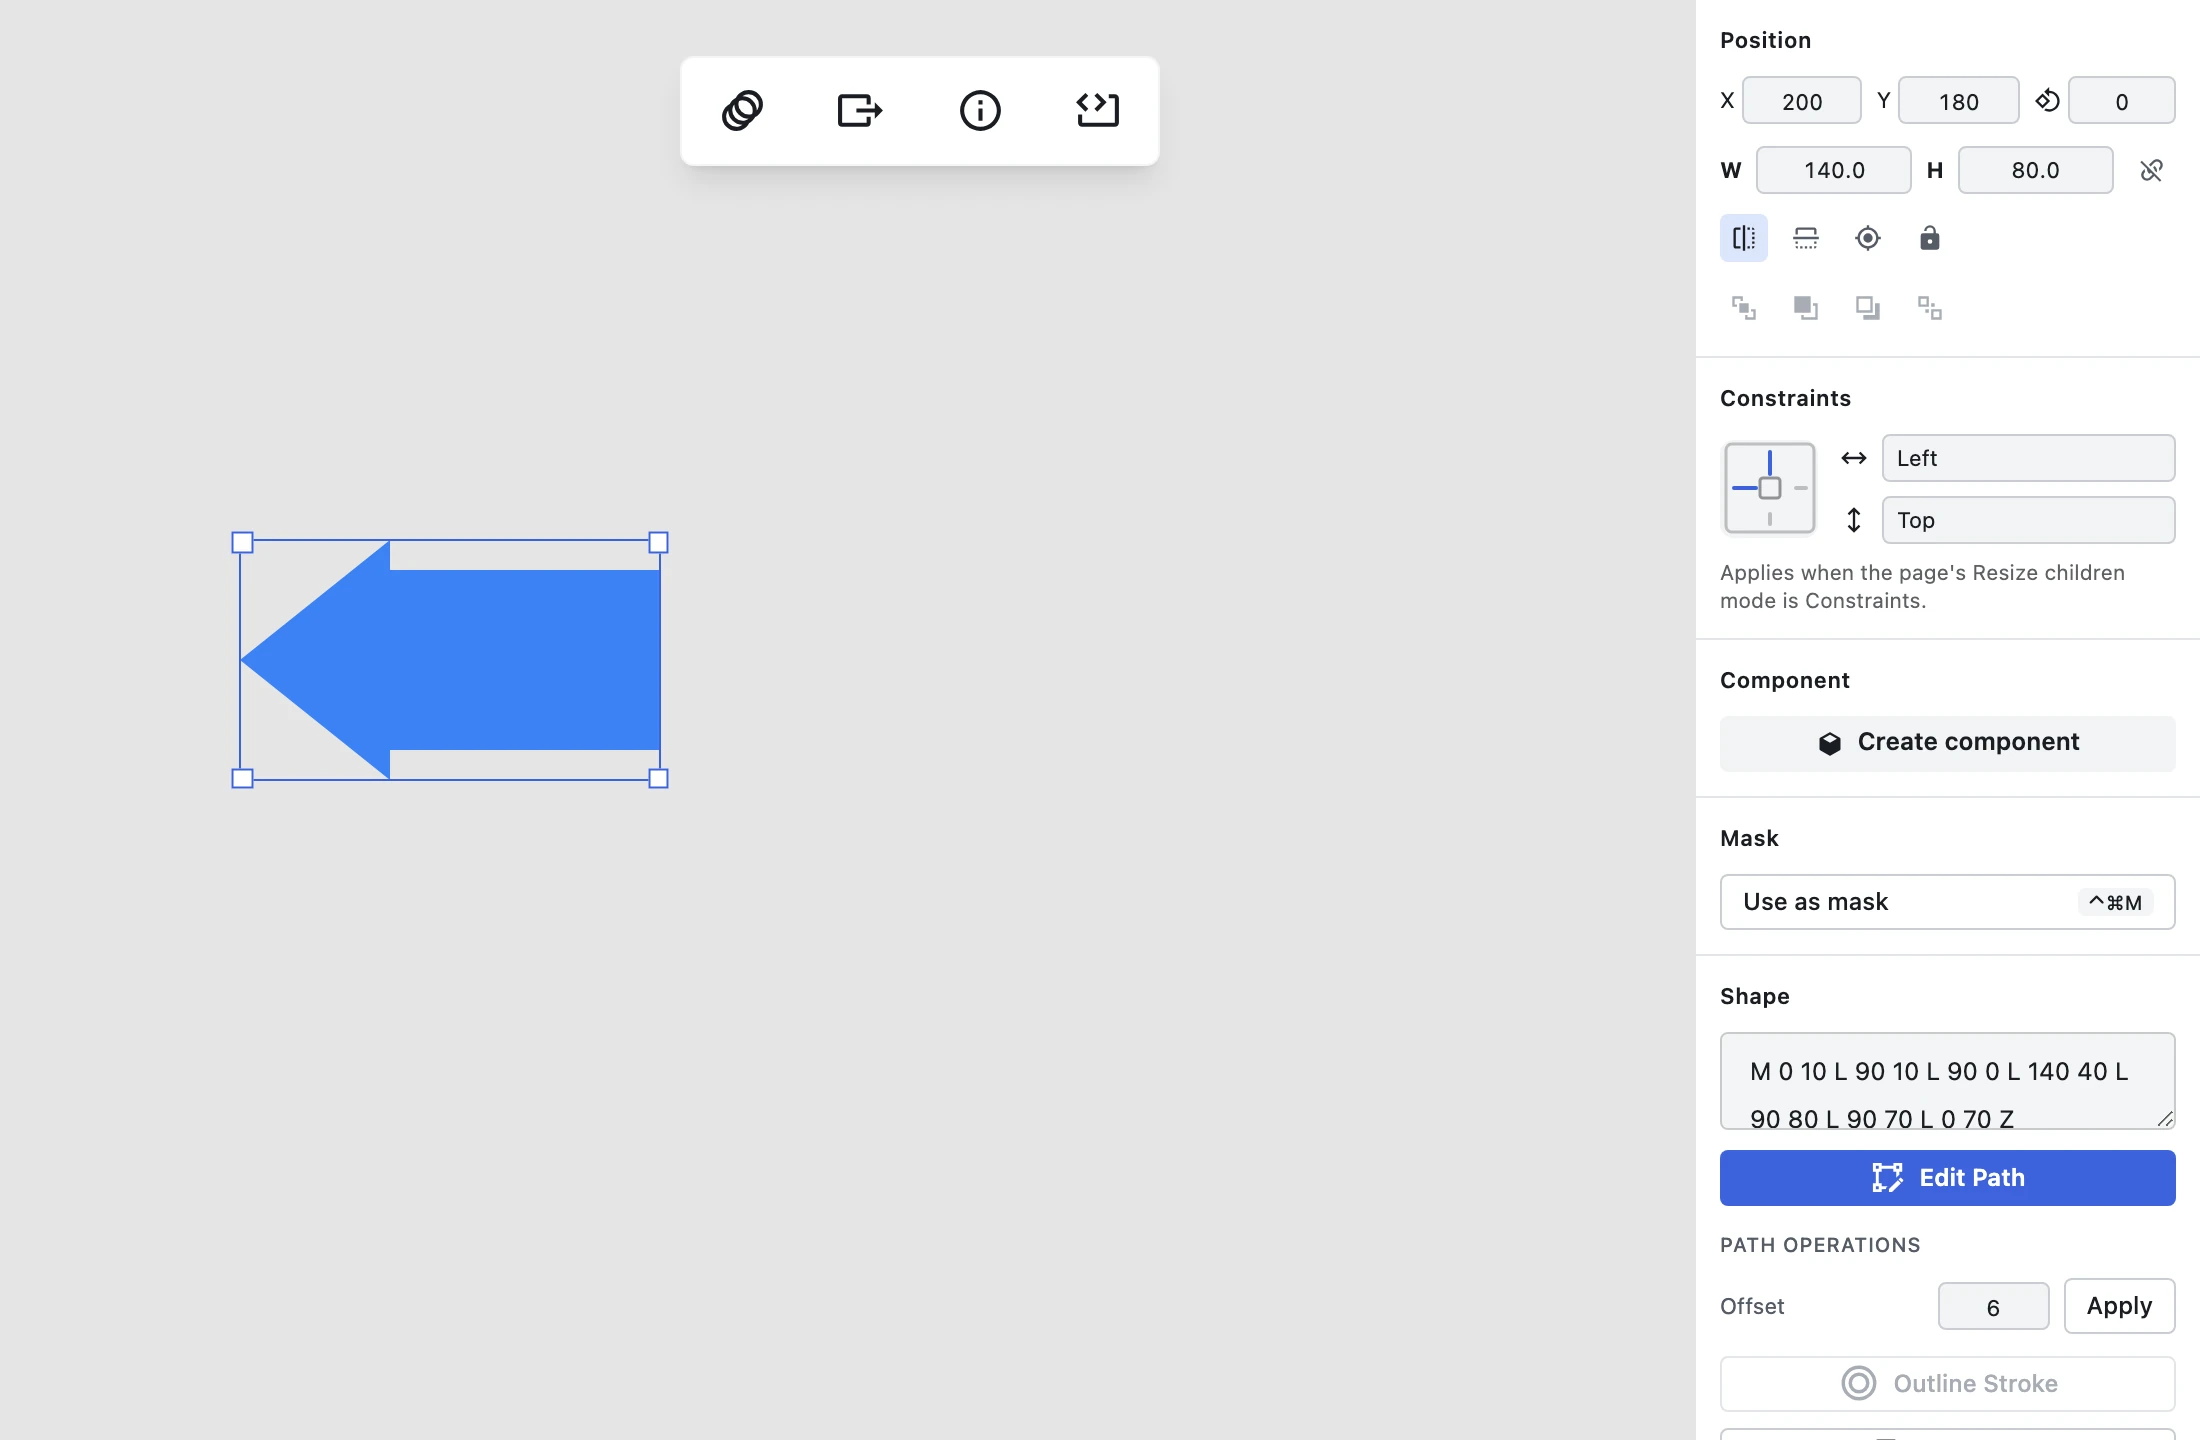
How do I flip a layer in Figpea using the keyboard? Press Shift+H to flip horizontally or Shift+V to flip vertically.
Precision transform: numeric fields and nudging
Select a layer and type into X, Y, Width, Height, or the rotation field in Position to set exact dimensions without dragging. X and Y are page-local; W/H commit at 0.1 precision; the chain toggle links Width and Height only.
For arithmetic use Math in numeric fields above; to drag a value with your mouse use Label scrubbing above. Nudge the selection precisely with the arrow keys, and hold Alt while dragging or resizing to bypass snapping without changing your View menu settings — see Snap controls above.
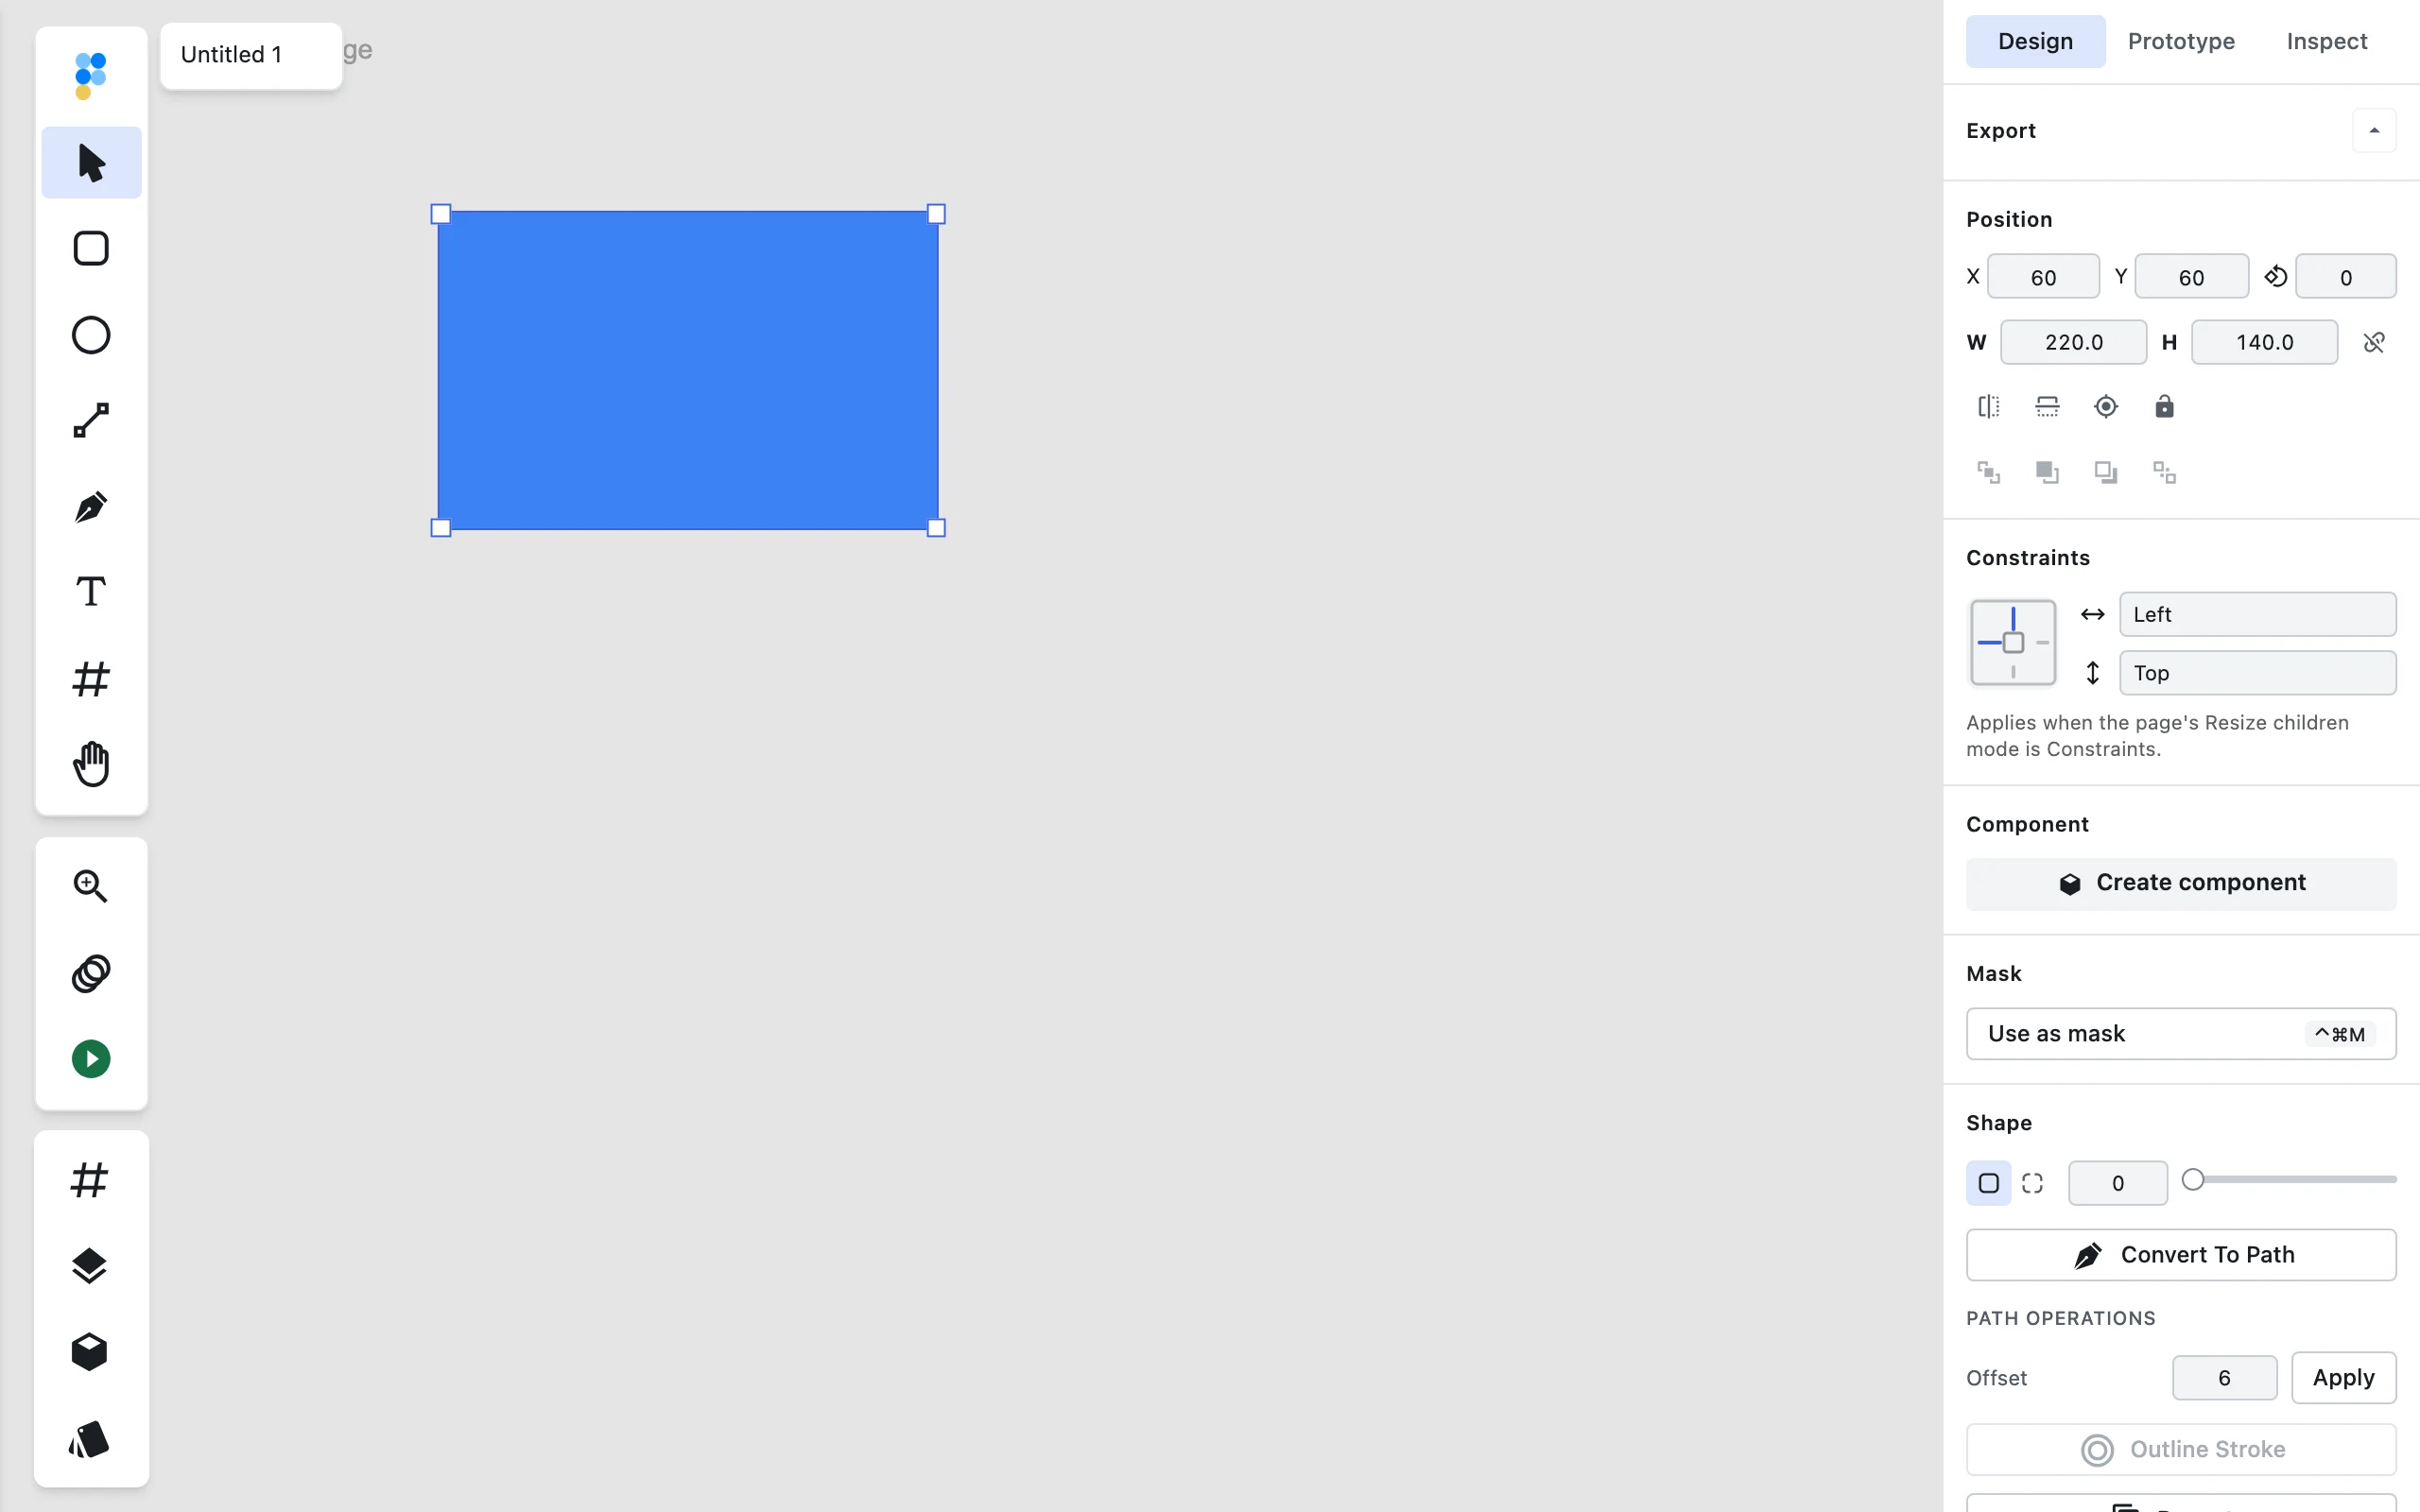
How this differs from Constraints reflow
Locking a layer's own proportions with the chain toggle is a different feature from container-driven reflow: the lock keeps a single layer's own ratio as you resize that layer itself, while Constraints reflows each child when you resize its container. To pin, stretch, or center children on container resize, see Constraints & Resizing.
Layer Properties
Inspector panel tabs
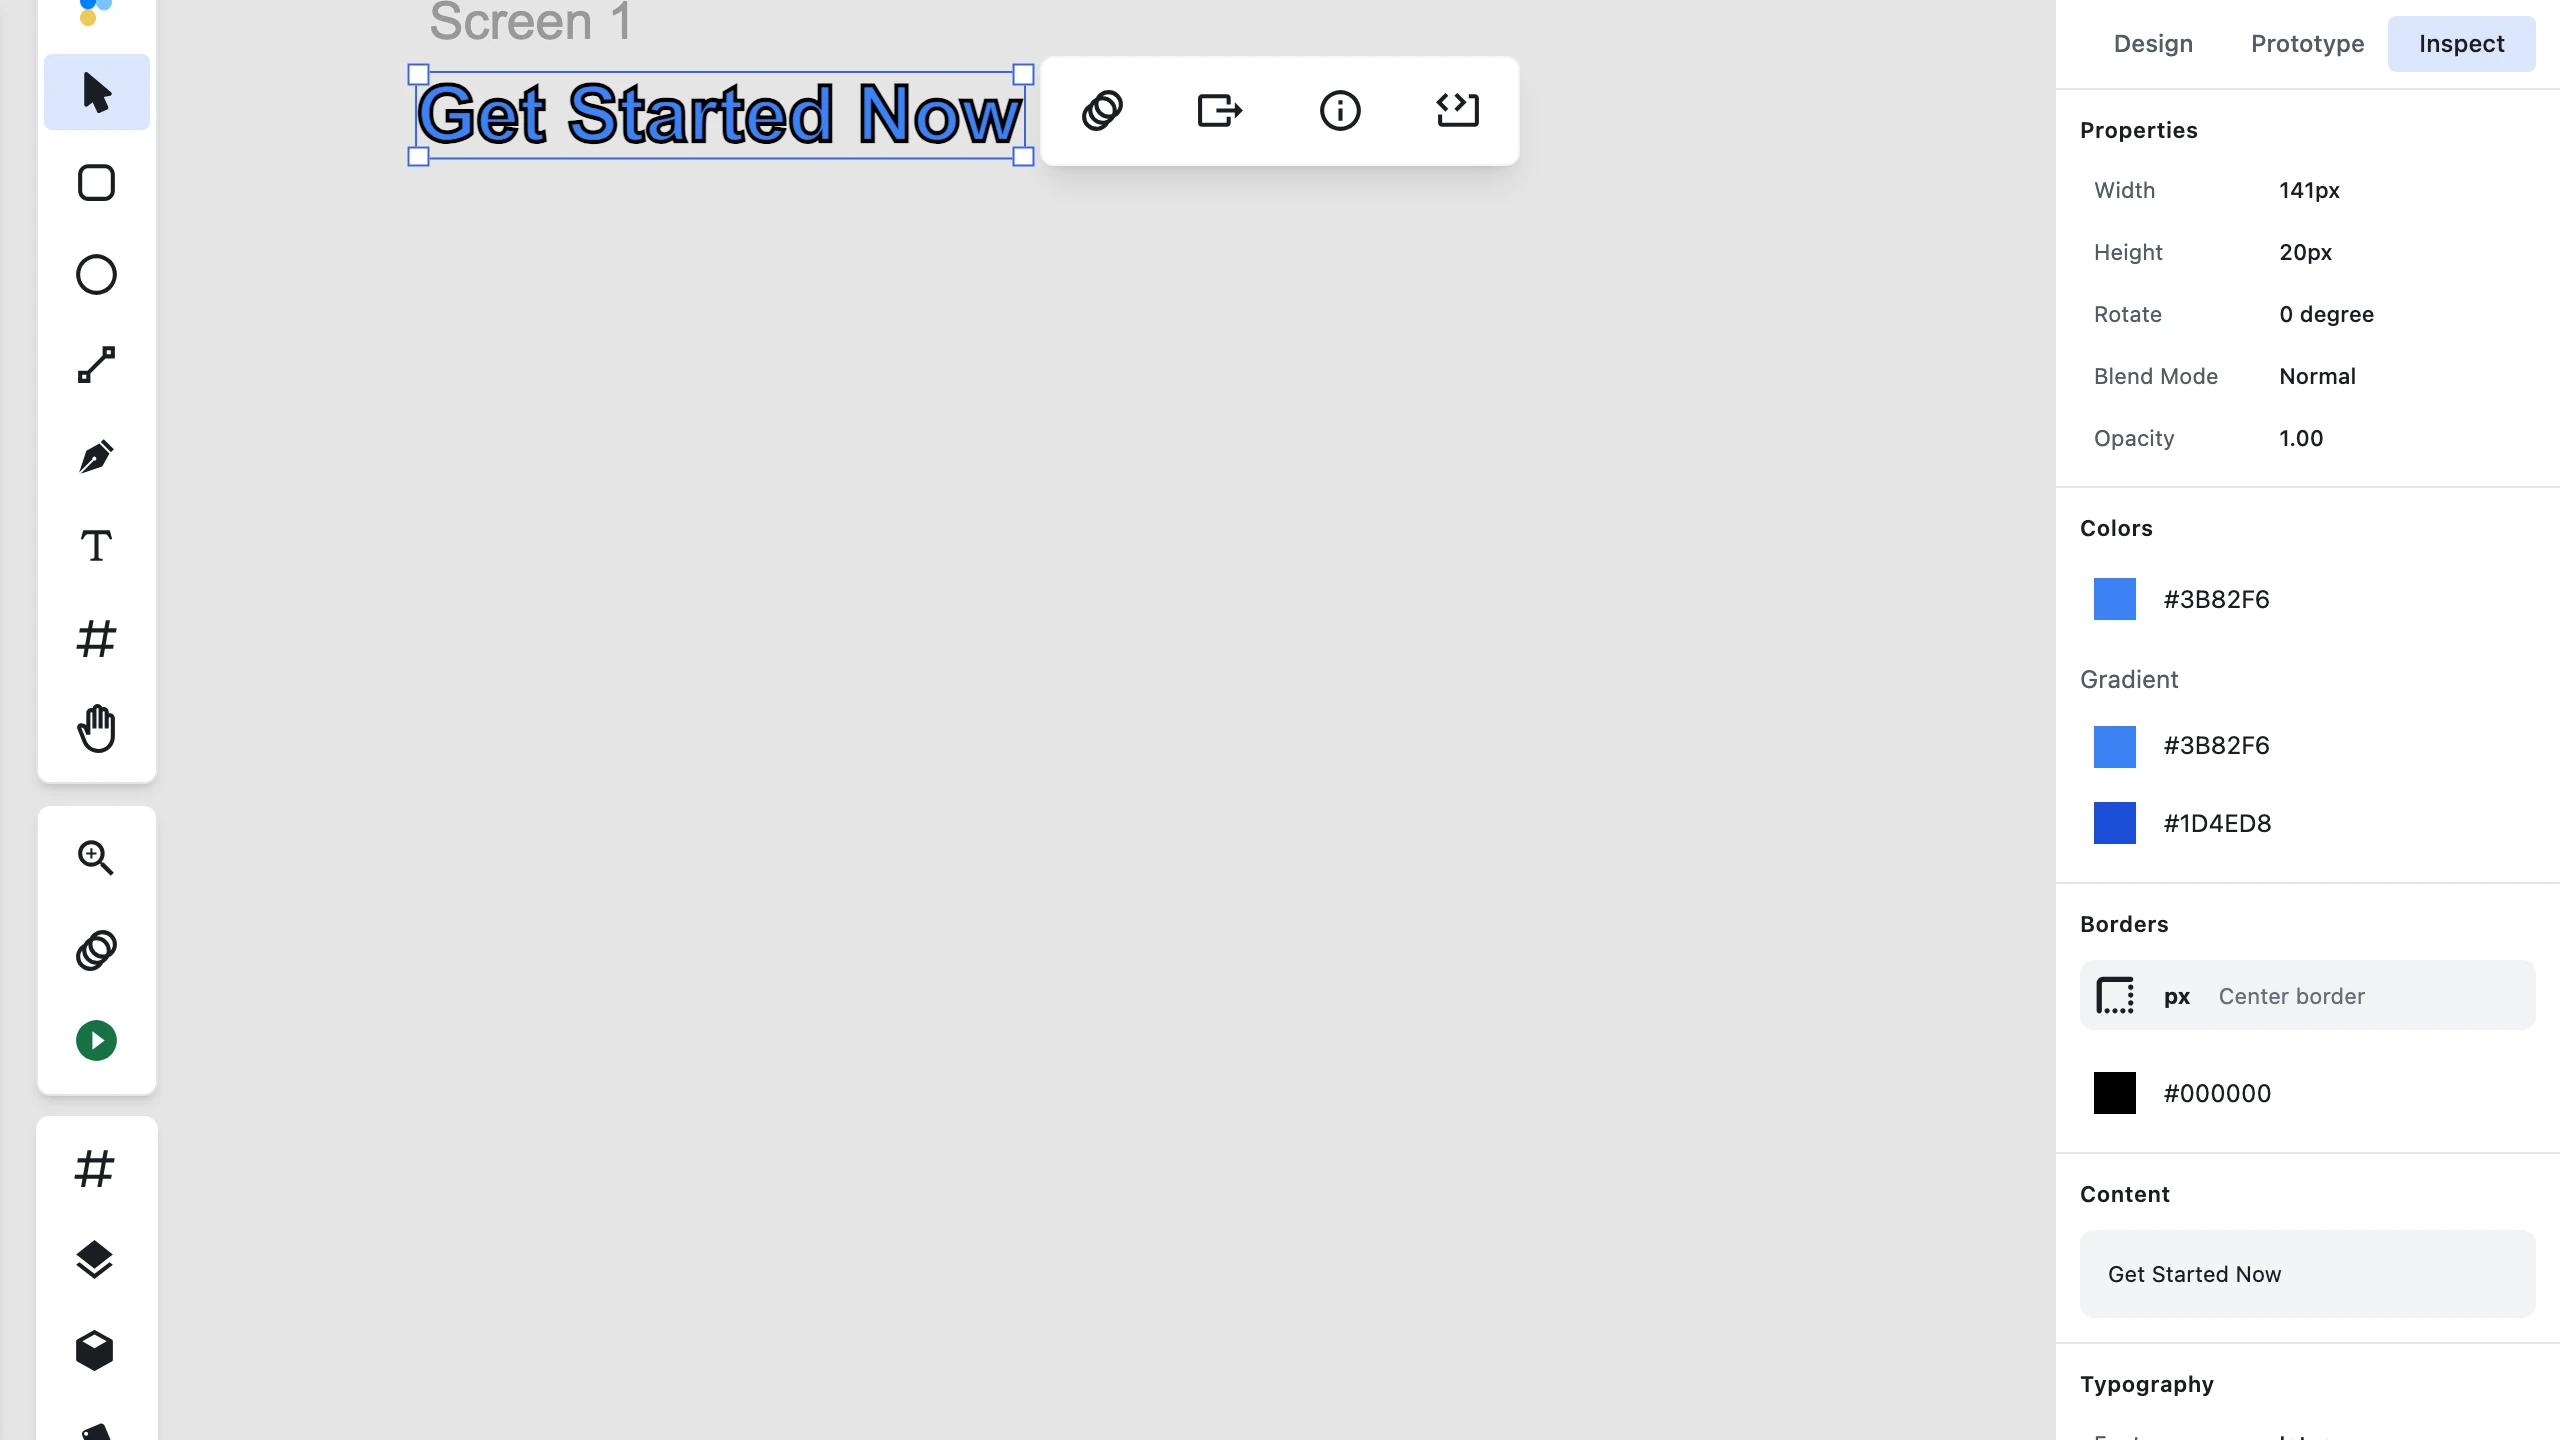
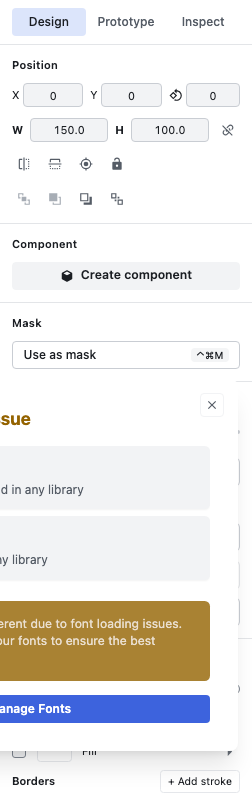

The inspector panel features a sticky 3-tab strip across the top of the panel — Design, Prototype, and Inspect.
- Design (active by default) houses the 13 core property sections: Page, Position, Align, Constraints, Component/States, Mask, Boolean, Layout, Shape, Appearance, Text, Effects, and Export (a collapsed-by-default section at the bottom for per-layer preview and asset export).
- Prototype hosts the complete interaction authoring surface (triggers, action types, artboard transitions, auto-animate, overlays, hyperlinks, scroll, and state transitions) with an enabled-interaction badge indicator on the tab.
- Inspect serves as a dedicated destination for developer handoff, mounting the 8 read-only handoff panels (Properties, Colors, Borders, Shadows, Content, Typography, Gradients, and Interactions with its Present button) plus per-layer CSS generation with a one-click copy button.
Opacity
- Adjust layer transparency
- Quick opacity presets
- Keyboard shortcuts
- Group opacity settings
Blend Modes
See Opening Design Files for the PSD viewer capability summary.
Figpea supports all 27 Photoshop blend modes, rendered client-side with complete visual fidelity using per-pixel compositing. All 27 modes use full W3C-compliant sub-pixel compositing algebra, so a layer's own partial opacity, soft masks, and semi-transparent backdrops all render with complete accuracy — no background alpha distortion and no double-composite artifacts, even in complex multi-layer Photoshop mockups with masked overlays, soft glows, and semi-transparent panels. This is what genuine Photoshop blend mode layer mask opacity rendering in browser looks like: correct compositing math, not an approximation.
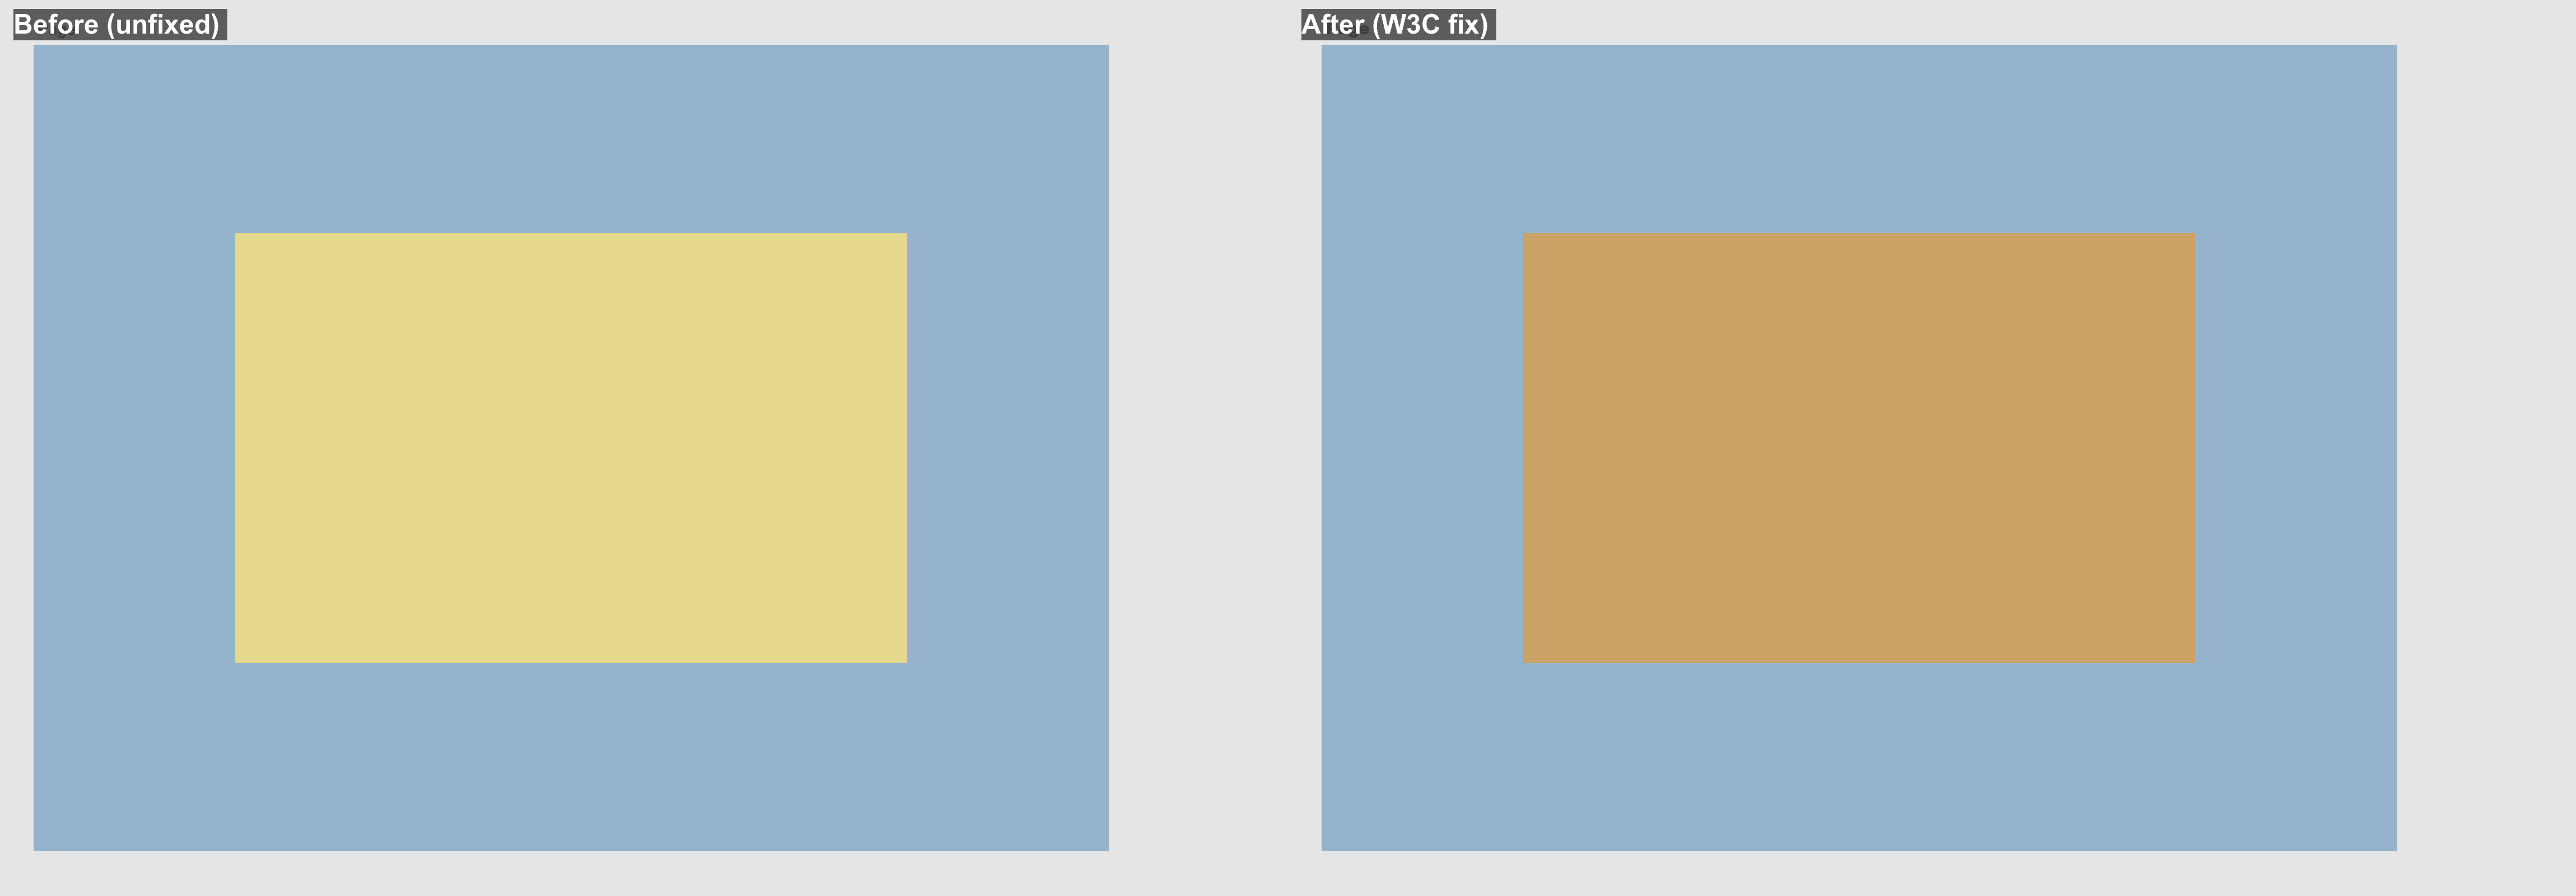
Dragging a layer's opacity while it uses a non-native blend mode over a semi-transparent background stack blends smoothly at every step, with no dark fringe or alpha inflation:

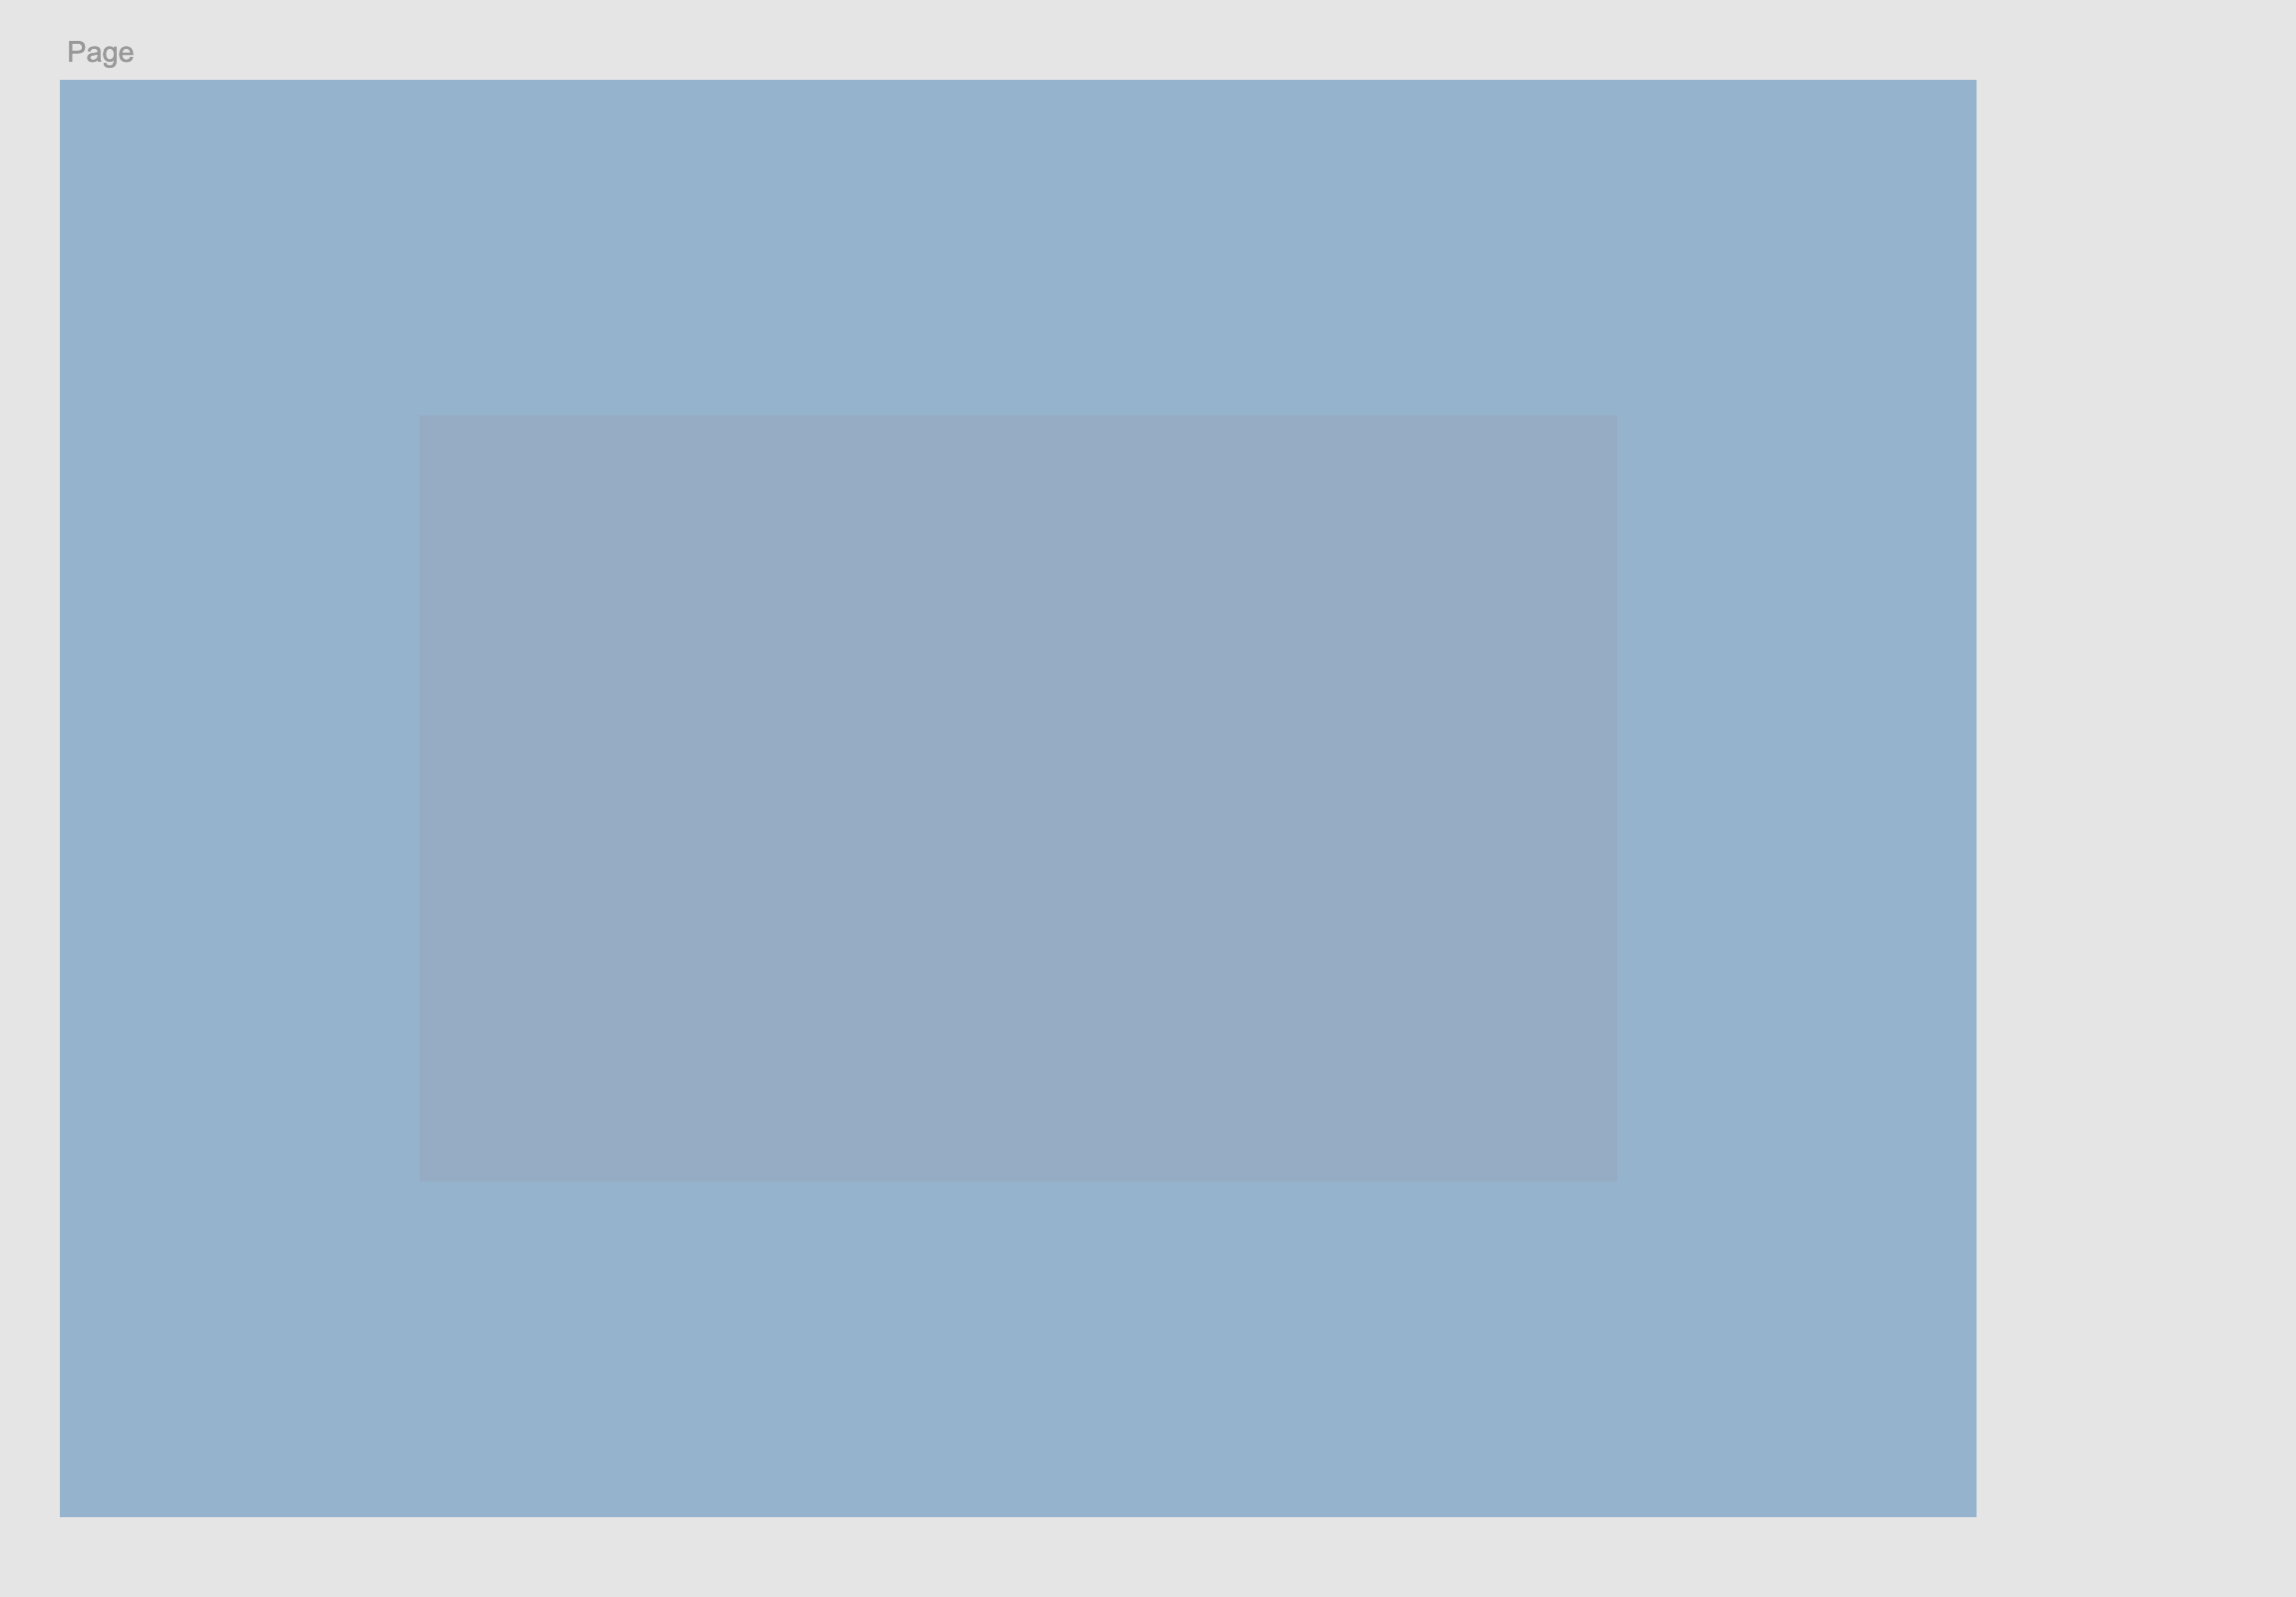
Blend modes are organized into standard categories:
- Normal: Normal, Dissolve
- Darken: Darken, Multiply, Color Burn, Linear Burn, Darker Color
- Lighten: Lighten, Screen, Color Dodge, Linear Dodge (Add), Lighter Color
- Contrast: Overlay, Soft Light, Hard Light, Vivid Light, Linear Light, Pin Light, Hard Mix
- Inversion: Difference, Exclusion, Subtract, Divide
- Component: Hue, Saturation, Color, Luminosity
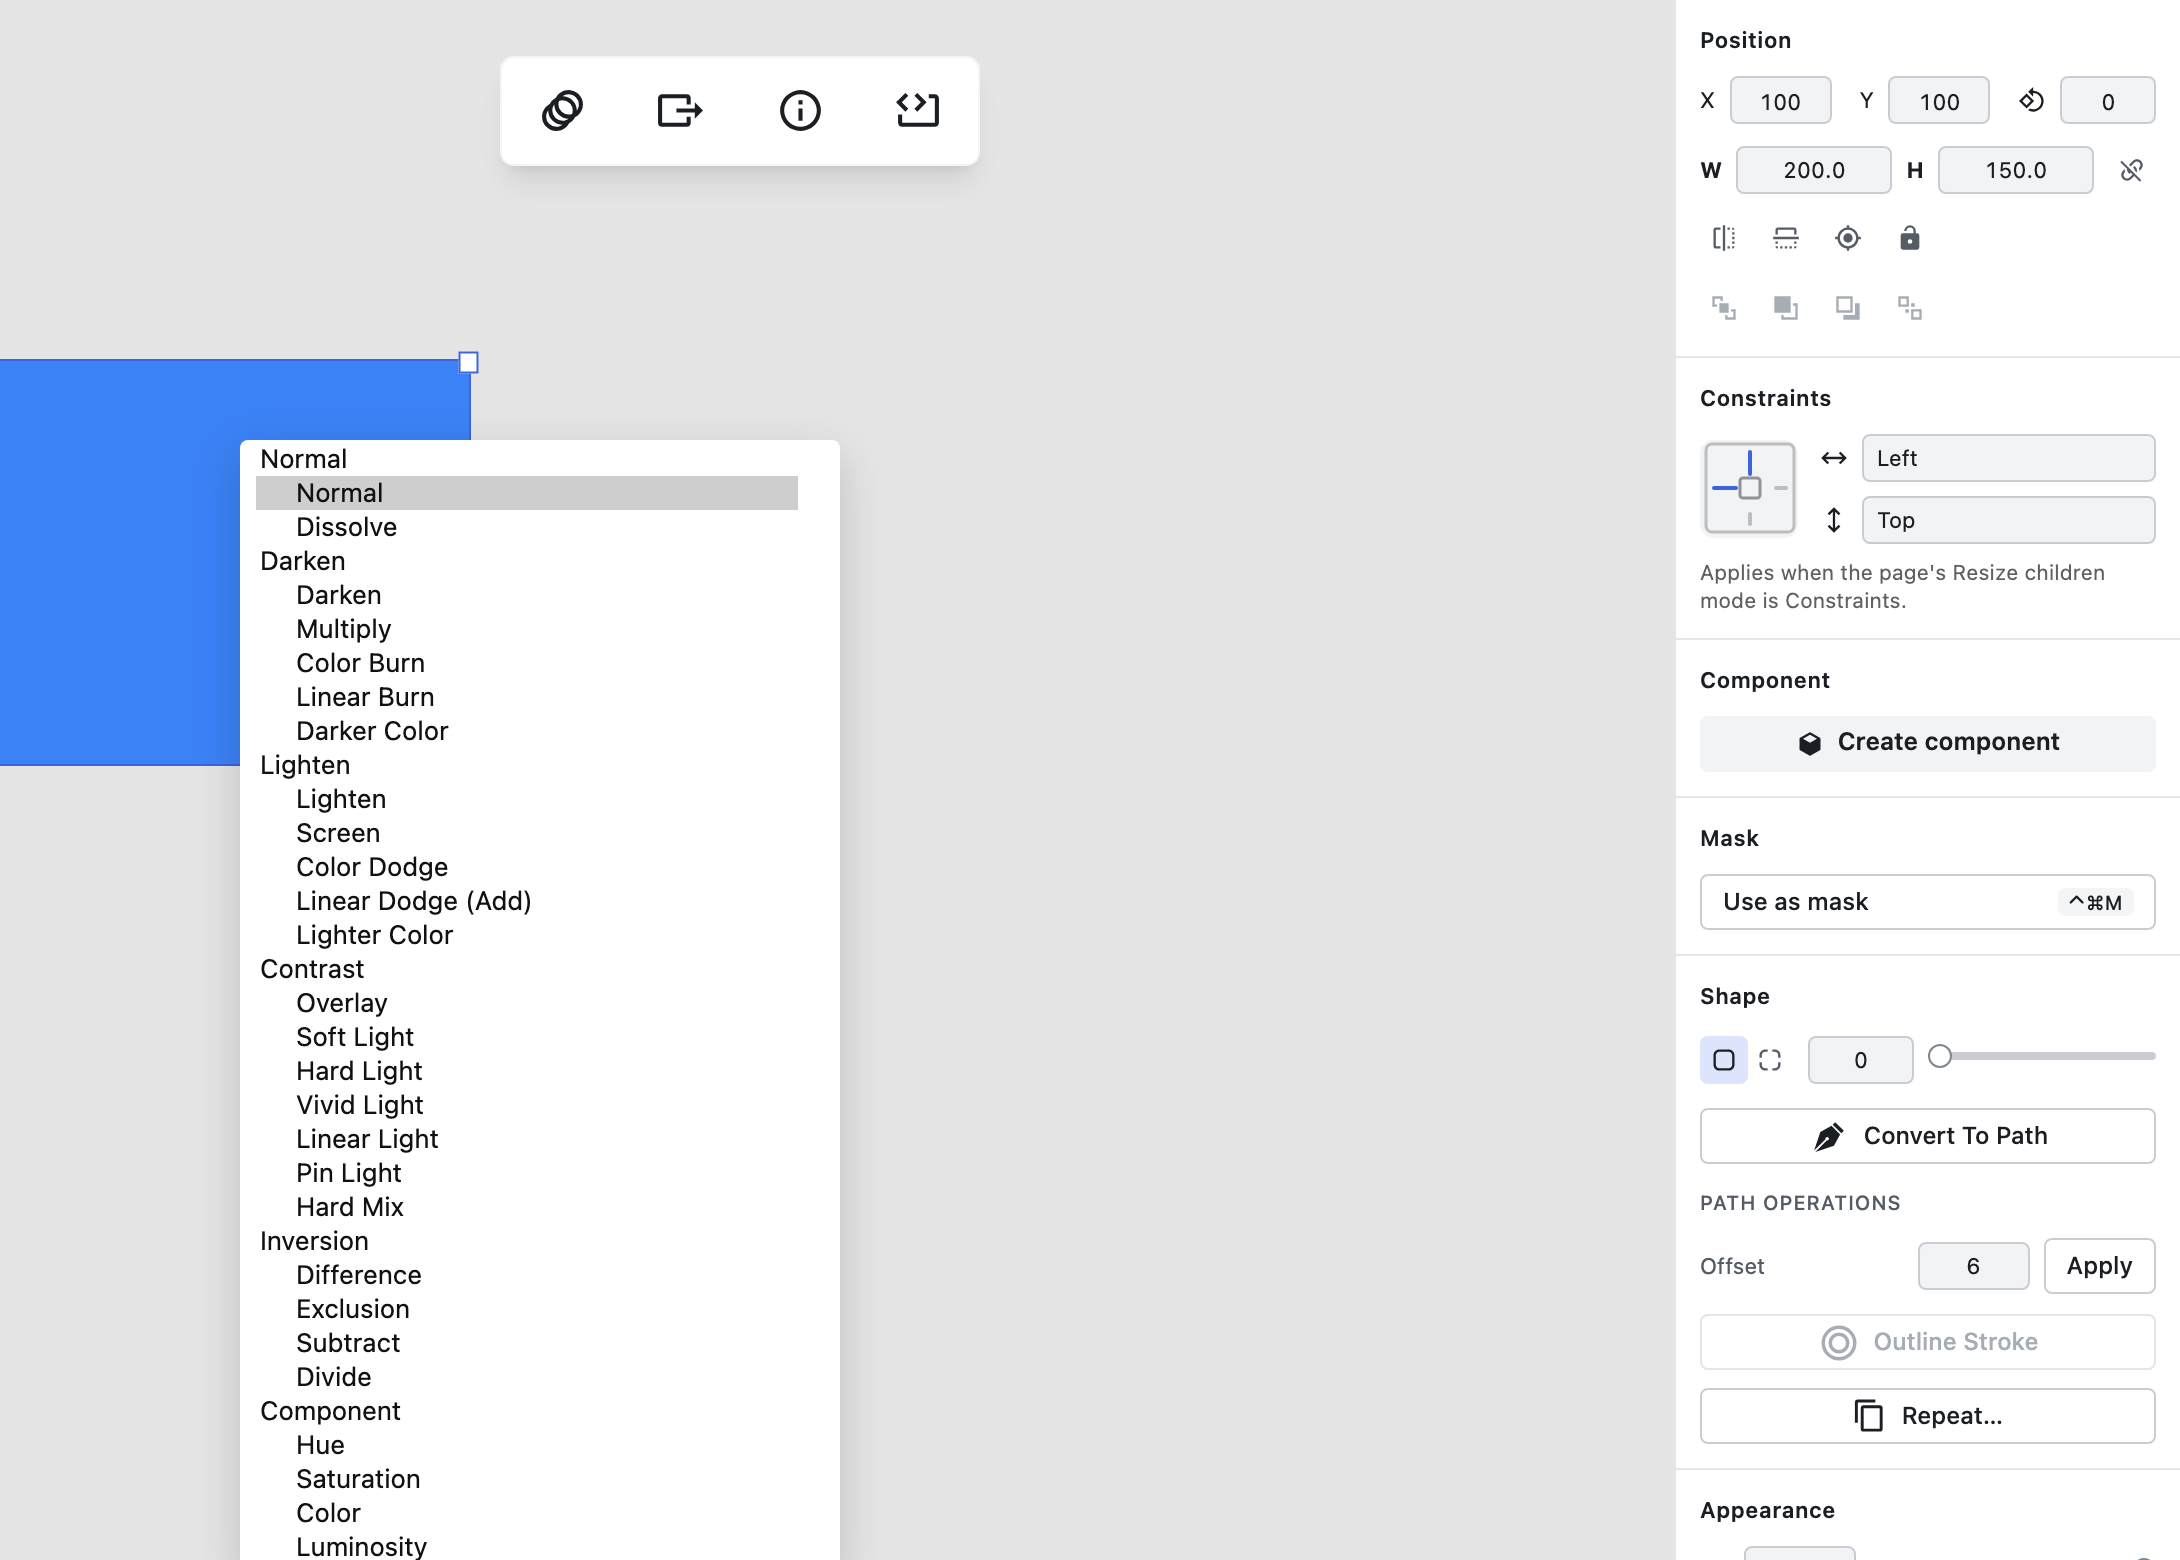
Change it in the inspector's blend-mode dropdown (grouped as above); the canvas recomposites in place. Agents can set the same mode programmatically via the Agent API's figpea.layer.stylePatch() using blendMode.
SVG & CSS Export Warning & Rasterisation
When exporting layers to SVG or CSS, blend modes that cannot be natively represented using standard CSS mix-blend-mode or SVG filter primitives are automatically rasterised into image fills to preserve exact visual fidelity, and a non-blocking warning is recorded on the project's warnings channel and surfaced via the Agent API's figpea.report.diagnostics() as a rasterized_fallback diagnostic.
Switching a layer's Blend Mode recomposites the canvas instantly — pick a different mode in the inspector and every affected pixel redraws in place:

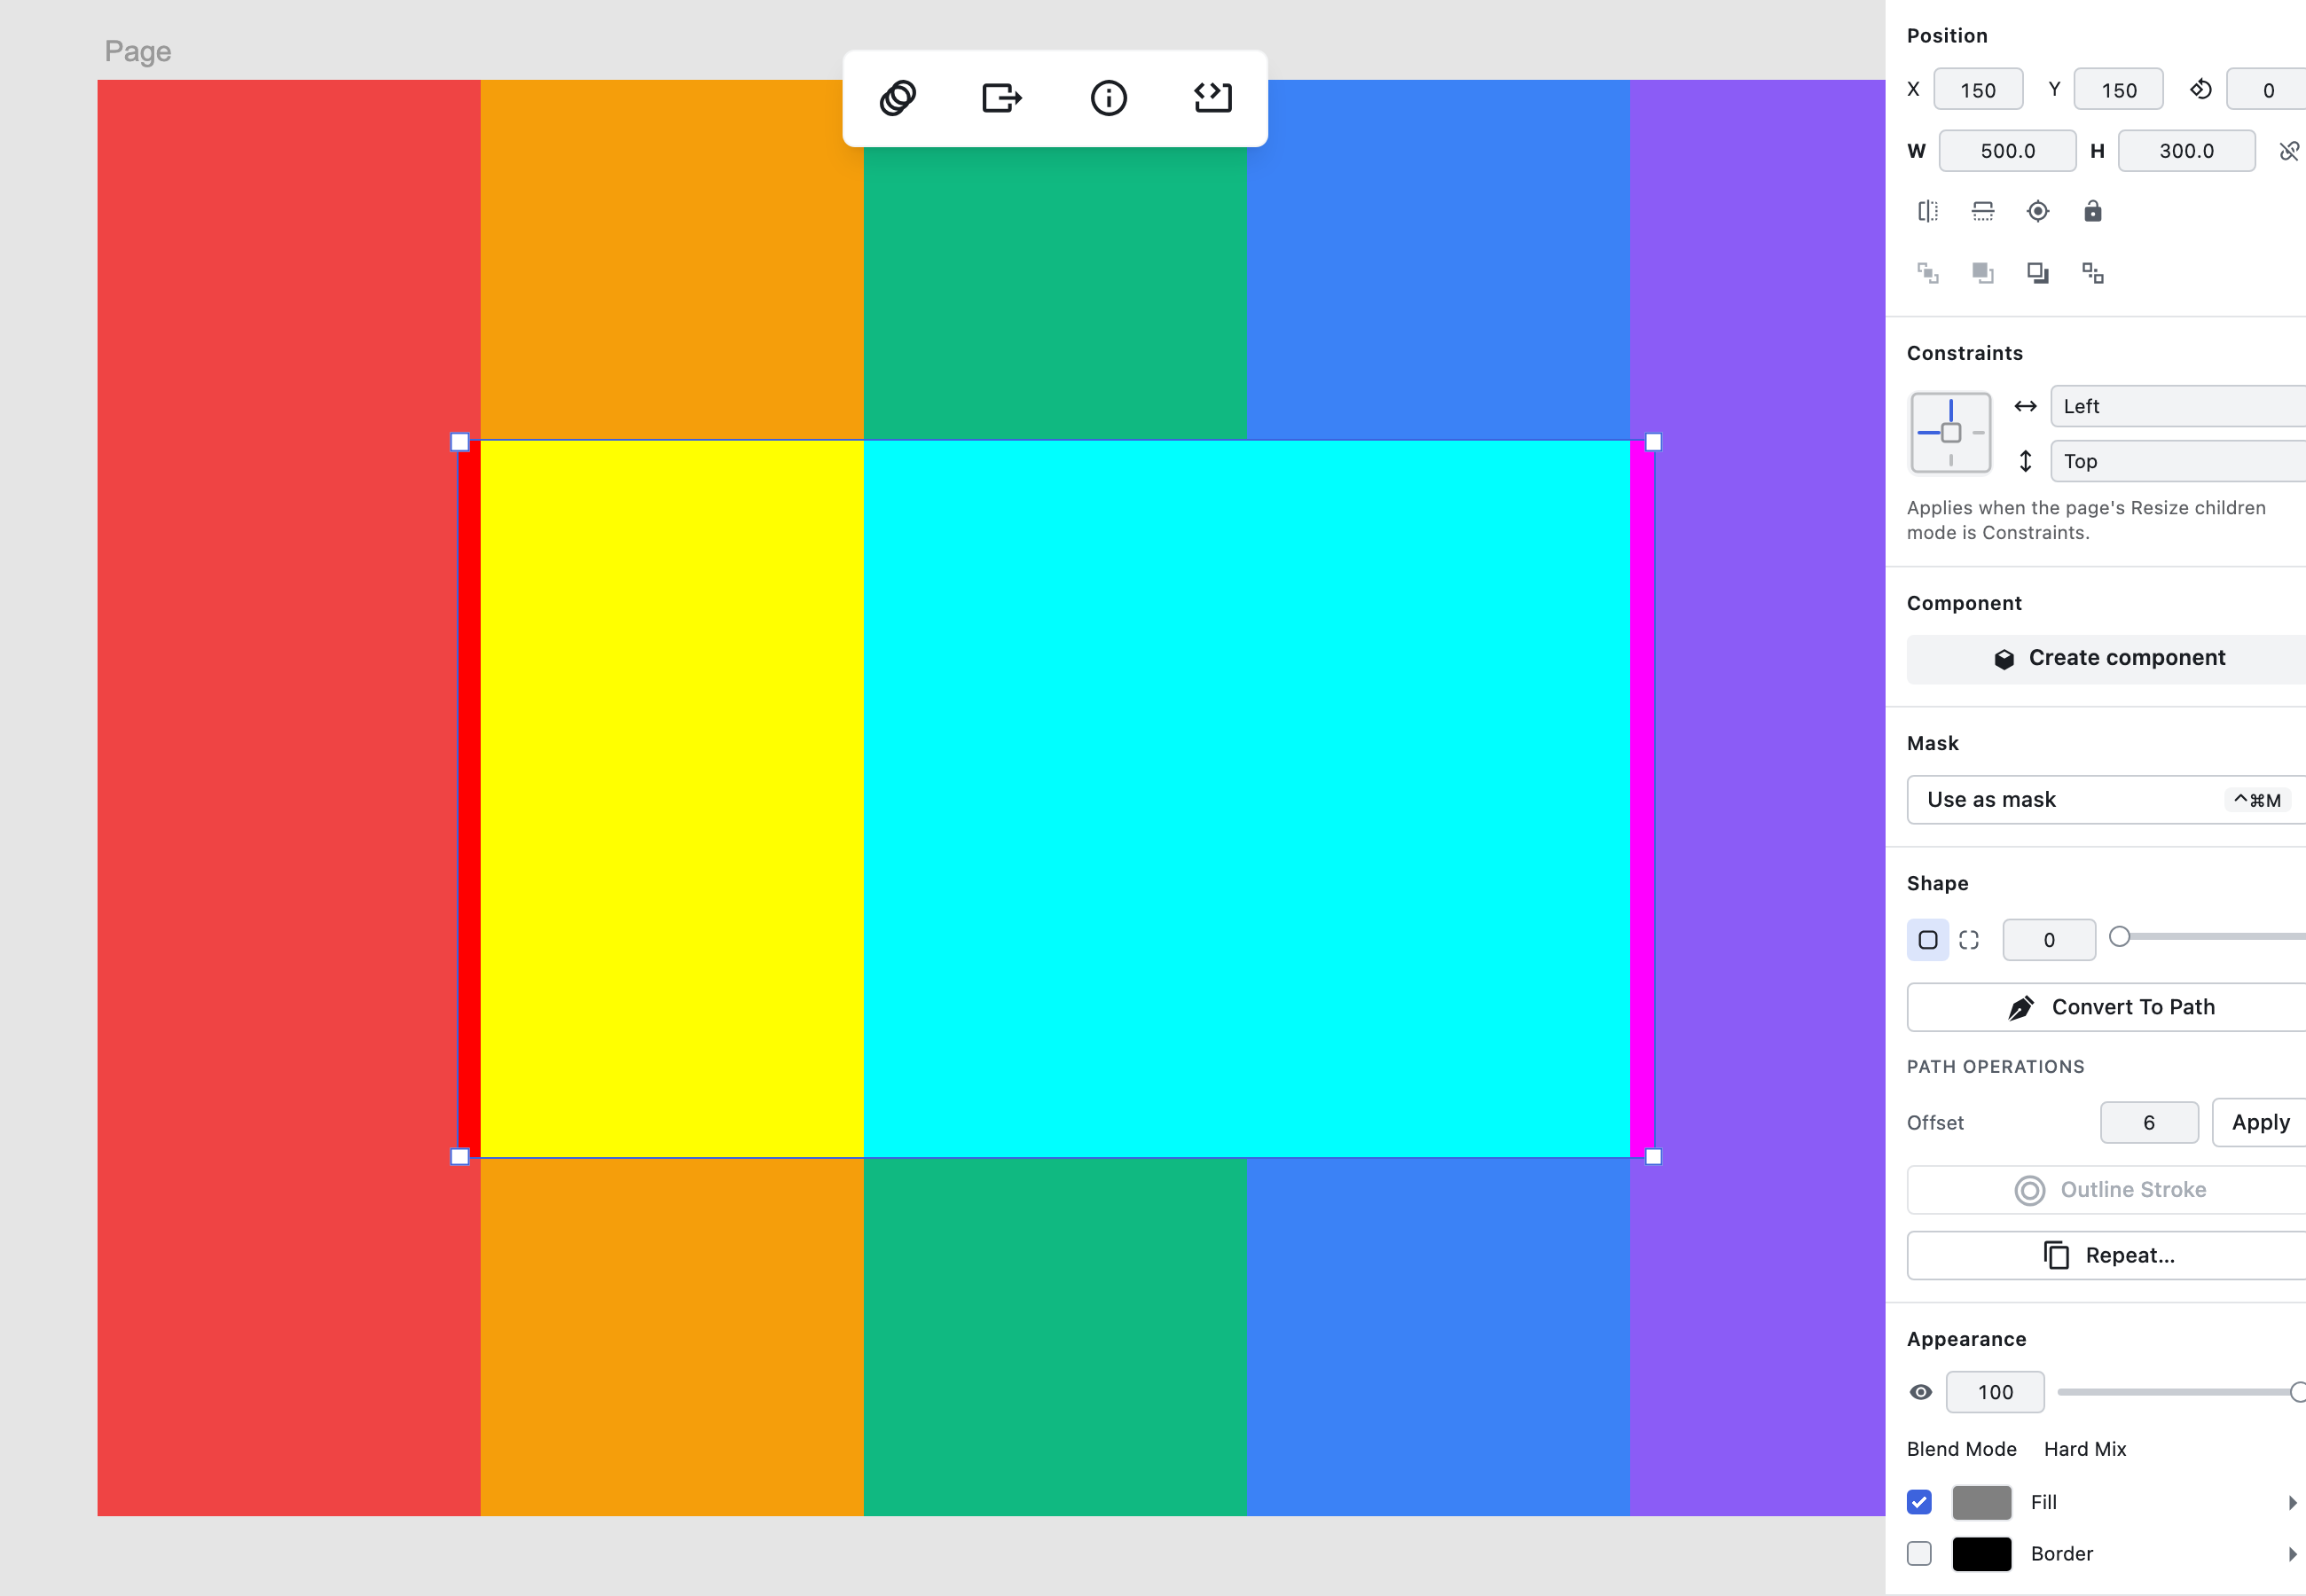
How do I change a layer's blend mode in Figpea? Pick a mode in the inspector's blend-mode dropdown — the canvas recomposites in place with no extra step.
Do blend modes survive SVG/CSS export? Not always — modes with no native CSS/SVG equivalent are rasterised into image fills to preserve fidelity; see the rasterisation warning above.
Layer Effects
- Drop Shadows & Inner Shadows: Configure dx/dy offsets, blur radius, color, opacity, and blend modes for realistic shadow depth.
- Gradient Overlay (
gradientOverlay), Pattern Overlay (patternOverlay), Outer Glow (outerGlow) & Inner Glow (innerGlow): Decoded from Photoshop'slfx2layer style data and rendered faithfully on canvas. In the inspector, each of these 4 effects shows as a read-only summary row — a color/gradient/pattern swatch, its key parameters, and an enable/disable toggle — rather than editable sliders or color pickers. Full parameter authoring (gradient stops and reverse, pattern scale and origin, glow size/spread/choke/source, blend mode, opacity) is available today via the Agent API'sfigpea.layer.stylePatch().
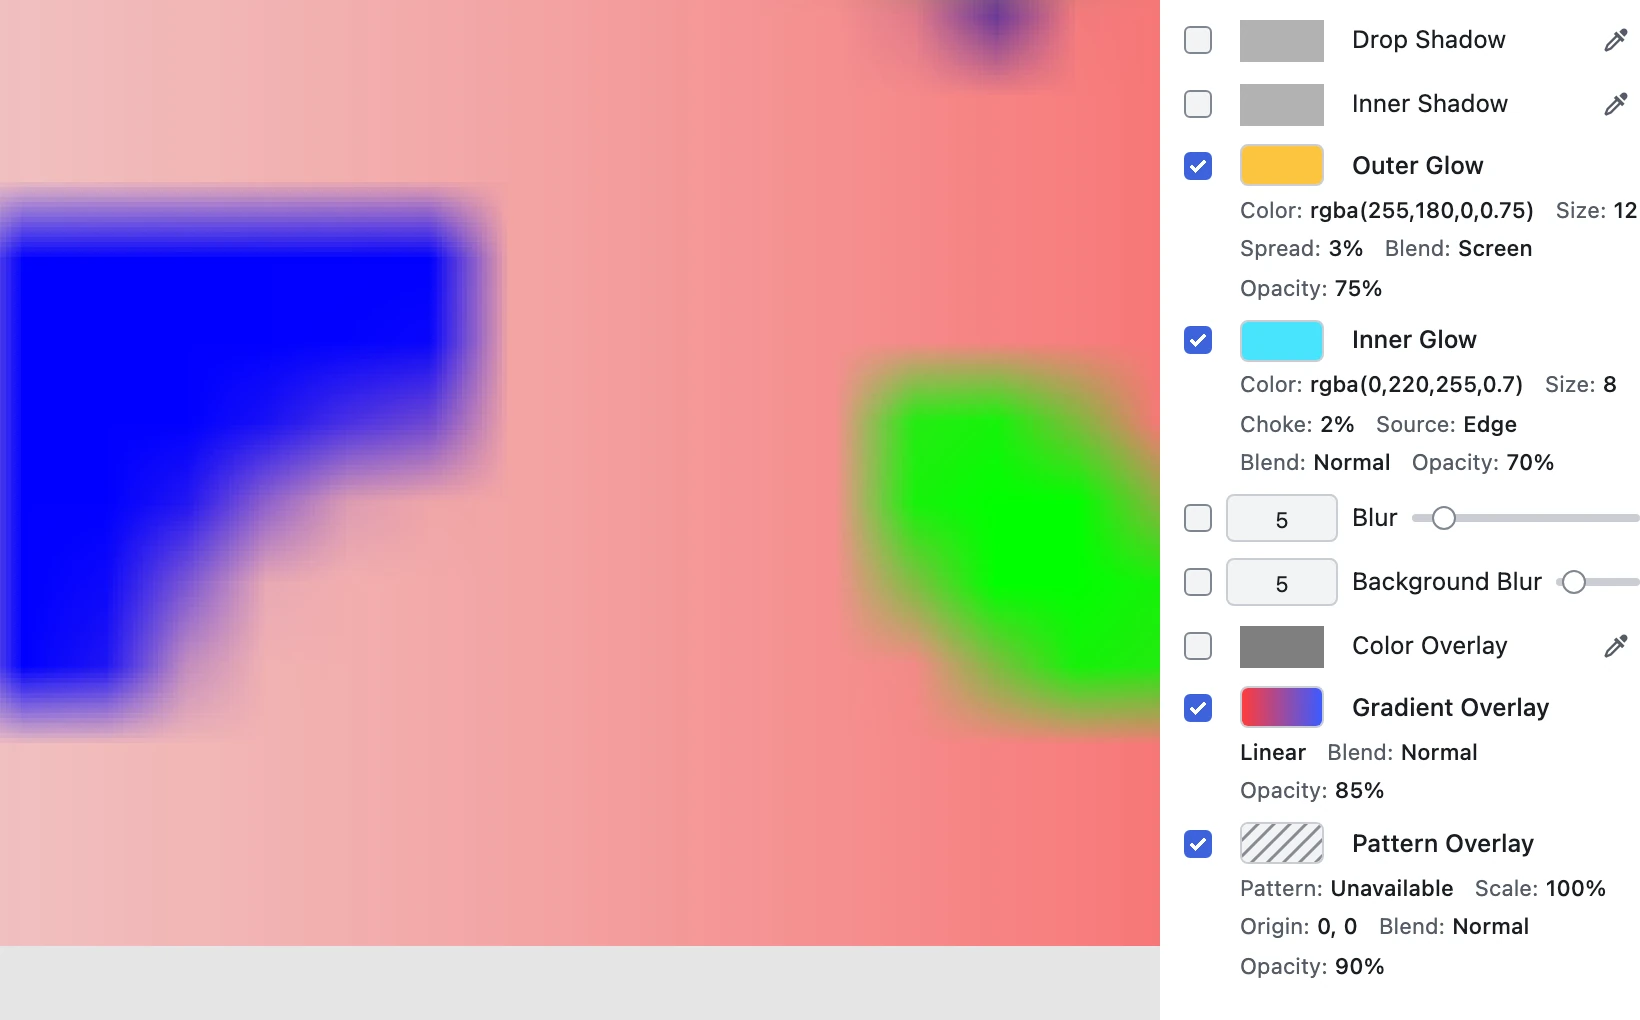
Frequently Asked Questions
How does Figpea render PSD layer styles?
Figpea decodes Photoshop's lfx2 layer style descriptors and renders effects in Photoshop's native layer-style stacking order (Drop Shadow → Outer Glow → Overlays → Inner Shadow → Inner Glow → Stroke) completely in your browser without uploading files.
Why can't I edit glow/gradient/pattern values in the inspector?
These four effects are read-only by design — each inspector row shows a summary swatch plus an enable/disable toggle. Full parameter authoring is available via the Agent API's figpea.layer.stylePatch().
Learn more: Layer Operations in Figpea
Working with Text
Text Editing
- Double-click to edit text
- Basic formatting options
- Font selection
- Size adjustments
Text Properties
- Alignment controls
- Line height
- Letter spacing
- Color settings
Shape Operations
Basic Shapes
- Rectangle
- Ellipse
- Line
- Polygon
Shape Properties
- Fill color
- Border style (supports multiple stacked strokes and gradient/image stroke paints)
- Corner radius
- Path operations
Quick Actions
Common Operations
- Copy/Paste (Cmd/Ctrl + C/V)
- Copy and paste layers with properties
- Default component paste: Pasting a copied component master defaults to creating a linked instance (
Cmd/Ctrl + V). - Paste a Copy (Cmd/Ctrl + Shift + V): Pressing
Cmd/Ctrl + Shift + V(or choosing from the canvas context menu) creates an independent master copy. - Pasting ordinary non-component layers or component instances remains unaffected.
- Paste images directly from clipboard
- Paste images from other applications
- Support for various image formats
- The page under your cursor determines which page receives the pasted content; your selection determines the container within that page
- Duplicate (Cmd/Ctrl + D)
- Delete (Delete/Backspace)
- Undo/Redo (Cmd/Ctrl + Z/Shift + Z)
For many copies at once — along a path, around a ring, or in a grid — see Repeat.
Learn more: Copy & Paste Feature in Figpea
Selection Shortcuts
- Select All (Cmd/Ctrl + A)
- Select Matching (Opt+Cmd+A / Alt+Ctrl+A) — selects every same-looking layer on the page (see Select Matching Layers)
- Select Child (Enter)
- Select Parent (Shift + Enter)
- Select Next Sibling (Tab) — wraps to first at end
- Select Previous Sibling (Shift + Tab) — wraps to last at start
- Deselect (Escape) — clears the selection; if a text/vector/rename widget is active, the first press ends editing and the next press clears
Tips for Efficiency
-
Organization:
- Name layers clearly
- Use logical grouping
- Maintain clean hierarchy
- Delete unused layers
-
Selection:
- Learn keyboard shortcuts
- Use search effectively
- Master multiple selection
- Utilize isolation mode
-
Transformations:
- Use snap guides
- Learn modifier keys
- Practice with handles
- Master numeric input
-
Visibility:
- Use isolation mode
- Toggle groups efficiently
- Manage complex hierarchies
- Quick show/hide techniques
For more detailed information about specific layer operations, check our blog posts or move on to Advanced Layer Operations.
How do I navigate layers with the keyboard in Figpea? Press Enter to select the first child of a group, Shift+Enter to go back to its parent, Tab / Shift+Tab to cycle siblings (wrapping), and Escape to clear the selection. If text editing is active, Escape ends editing first.
Mobile Viewing & Touch Gestures
Below 768px wide the panels give way to a bottom action bar with five slots — Pages, Layers, Inspect, Present and Share — each a 44×44 touch target.
- Pinch to zoom: a two-finger pinch on the canvas zooms about the midpoint of the gesture, so the point between your fingers is the point you zoom into.
- Touch gestures, no modes: tap a layer to select it; drag with one finger to draw a marquee that selects the top-level layers it crosses (to pick individual layers inside groups, use the Layers drawer); navigate with two fingers (drag pans, pinch zooms) without disturbing your selection. A quick Unselect button appears whenever anything is selected, and tapping empty canvas clears the selection too. Selected layers are touch-inert: no touch gesture can nudge or resize them.
- Pages and Layers open a drawer from the left — one lists the pages or artboards in the file, the other the layer tree. Inspect opens a drawer from the right with the selected layer's position, size, fills and typography, sized to the screen so nothing is clipped.
- One at a time: opening one drawer closes the other, and tapping a slot again closes it, so the canvas is never hidden behind two panels.
Full walkthrough: Mobile Design Viewer & Touch Review Guide.