 Figpea
Gradient Editing
Opened a PSD or XD file and need to change a gradient? In Figpea you shape it on the canvas — drag the gradient line, move the center and radius, slide the color stops — instead of typing normalized coordinates. Runs in your browser, free, and nothing is uploaded.
Turning on the gradient handles
The gradient handles show up while the Fill picker is open. Select the layer, expand Fill in the right-hand panel, and choose a gradient fill type — the handles appear on the layer itself. They hide again when you close the picker or press Esc.
Linear gradients
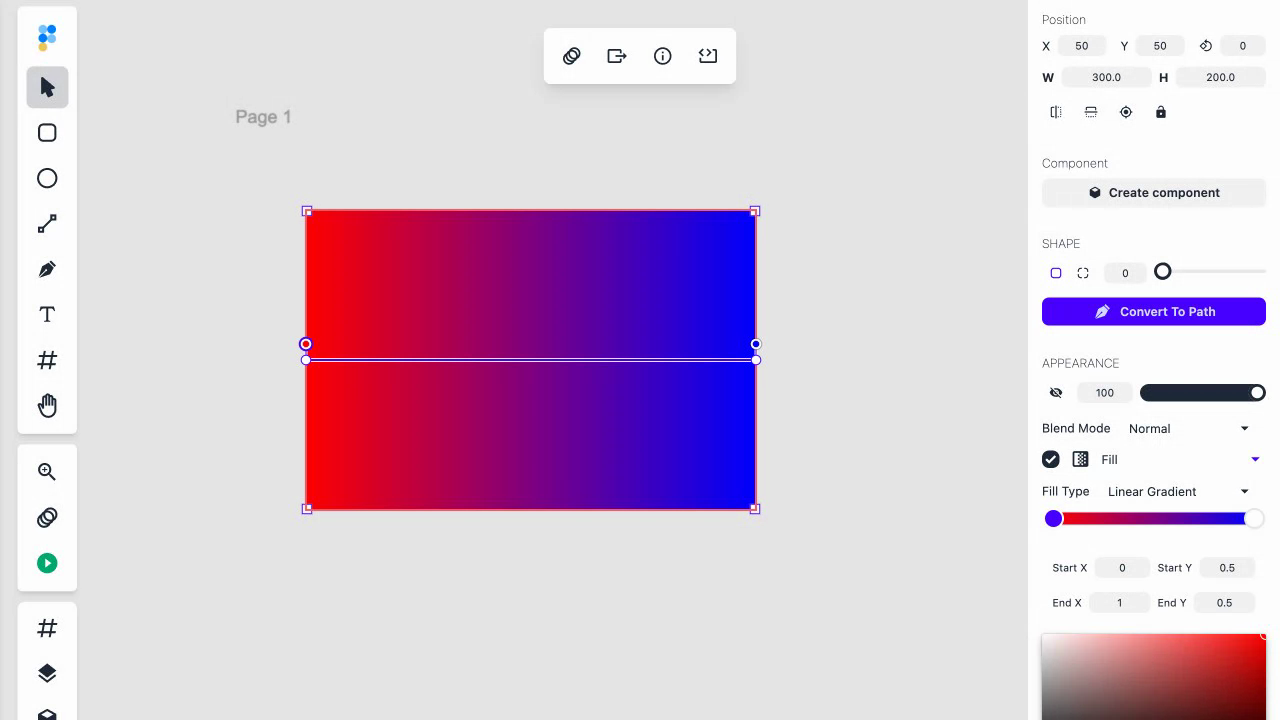
Linear gradients are defined by two endpoints — a start point and an end point — with color ramps flowing between them. Select a linear gradient fill type, and you'll see two anchor points connected by a line on your layer.
To adjust a linear gradient:
- Drag either endpoint to re-aim and re-scale the ramp. The gradient now flows along the new axis.
- The line itself shows you the full gradient direction. Color flows from the start point (first color) to the end point (last color).
- Dragging an endpoint further out makes the ramp stretch; dragging it closer compresses it.
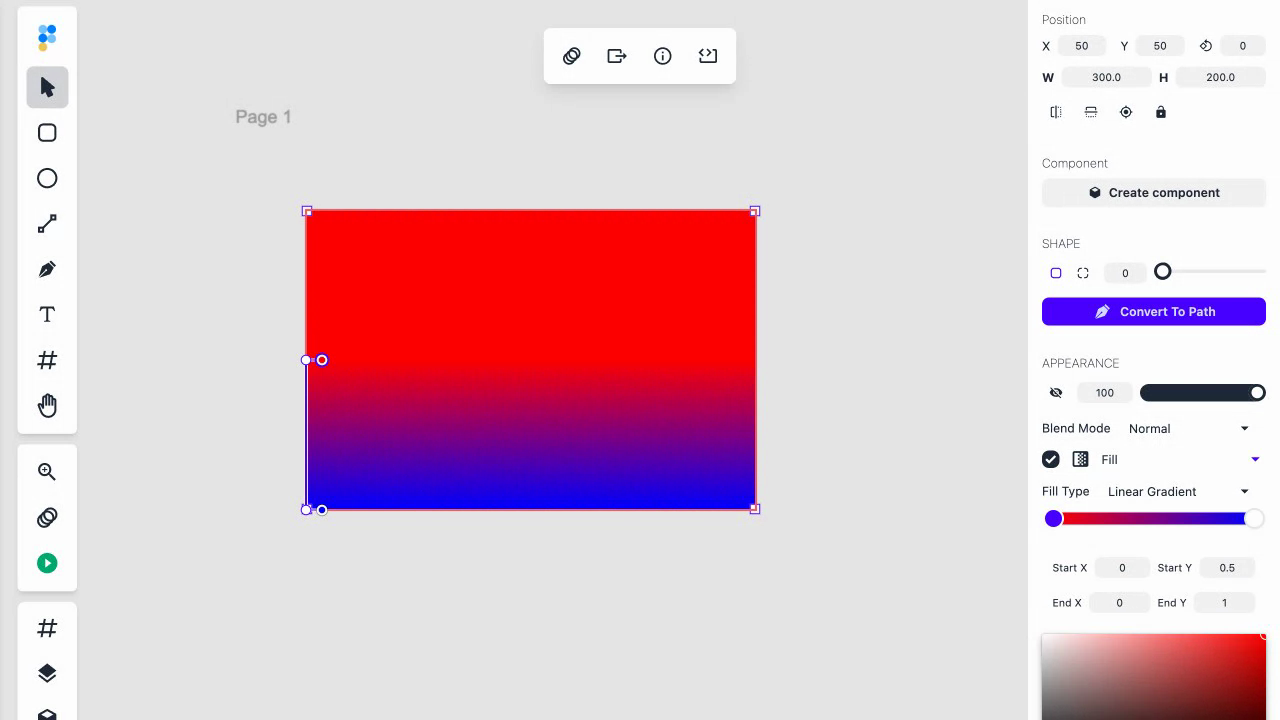
- Drag the side handle — a small square that sits just off the start anchor — to slant the color band relative to the line. The two endpoints don't move; the bands stop being square to the line and lean, which spreads or tightens the transition across the layer.
Radial gradients

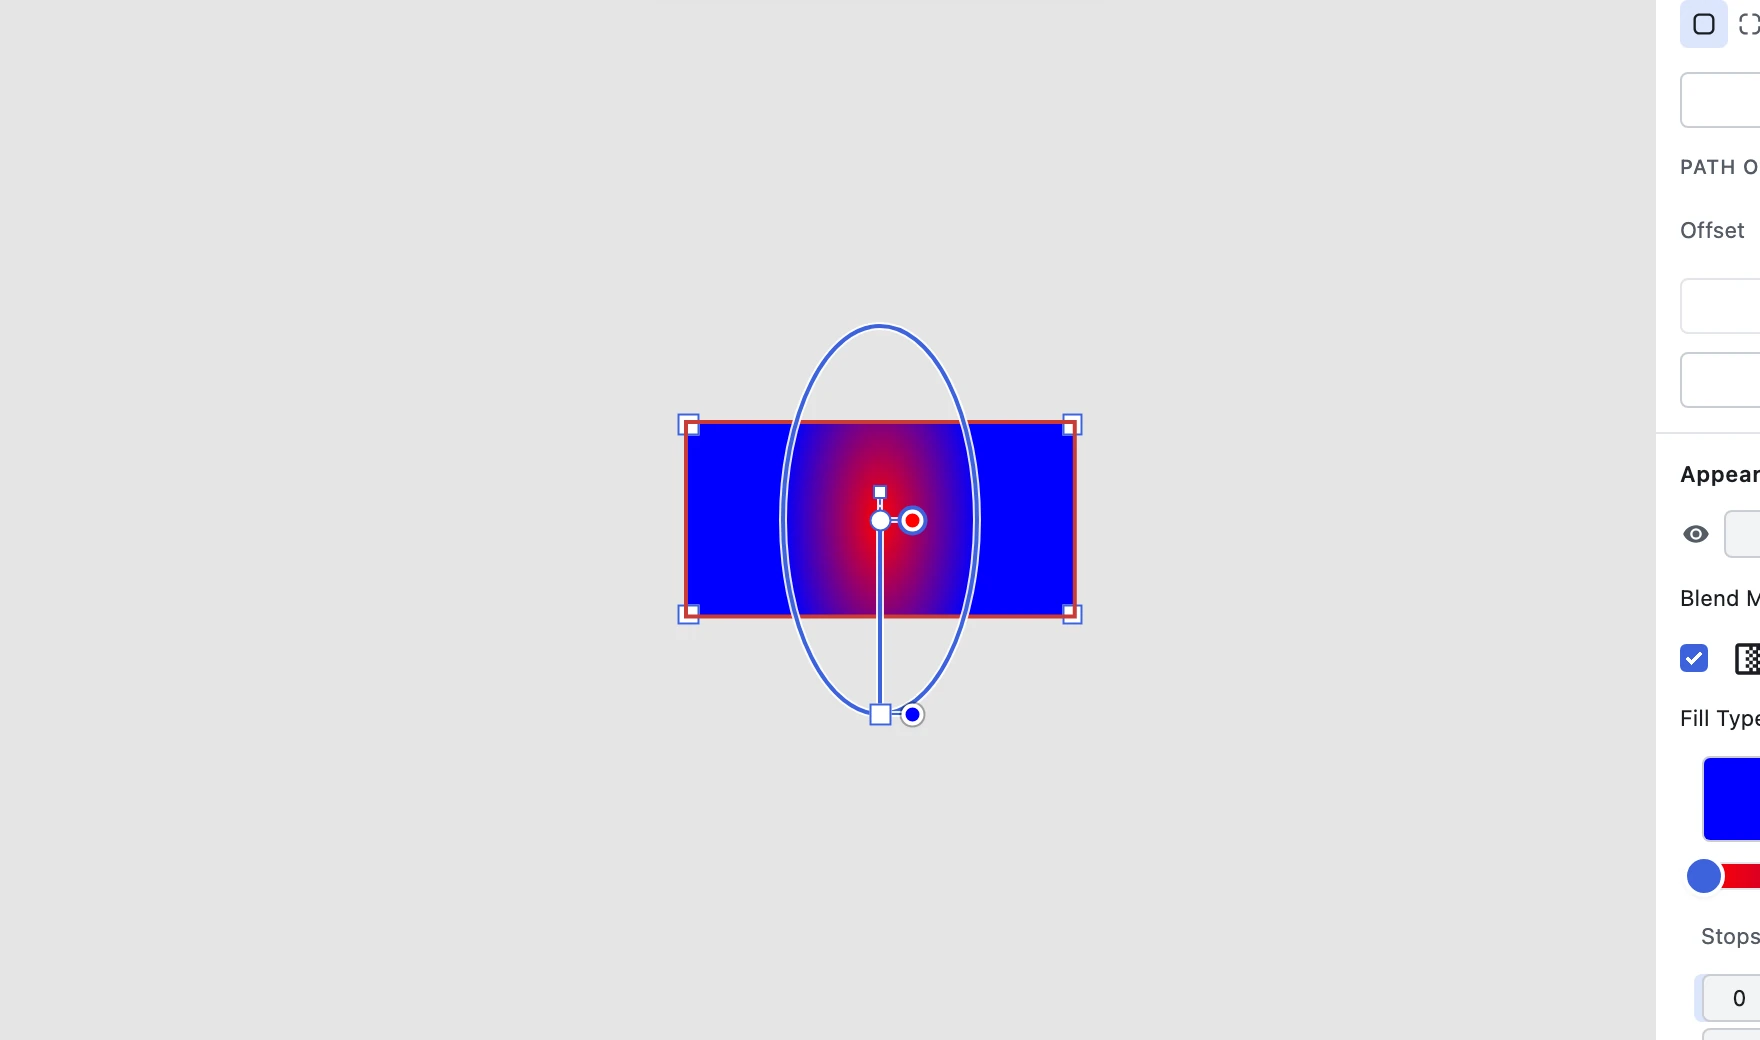
Radial gradients expand outward from a center point, with colors flowing from the inside to the outside.
To adjust a radial gradient:
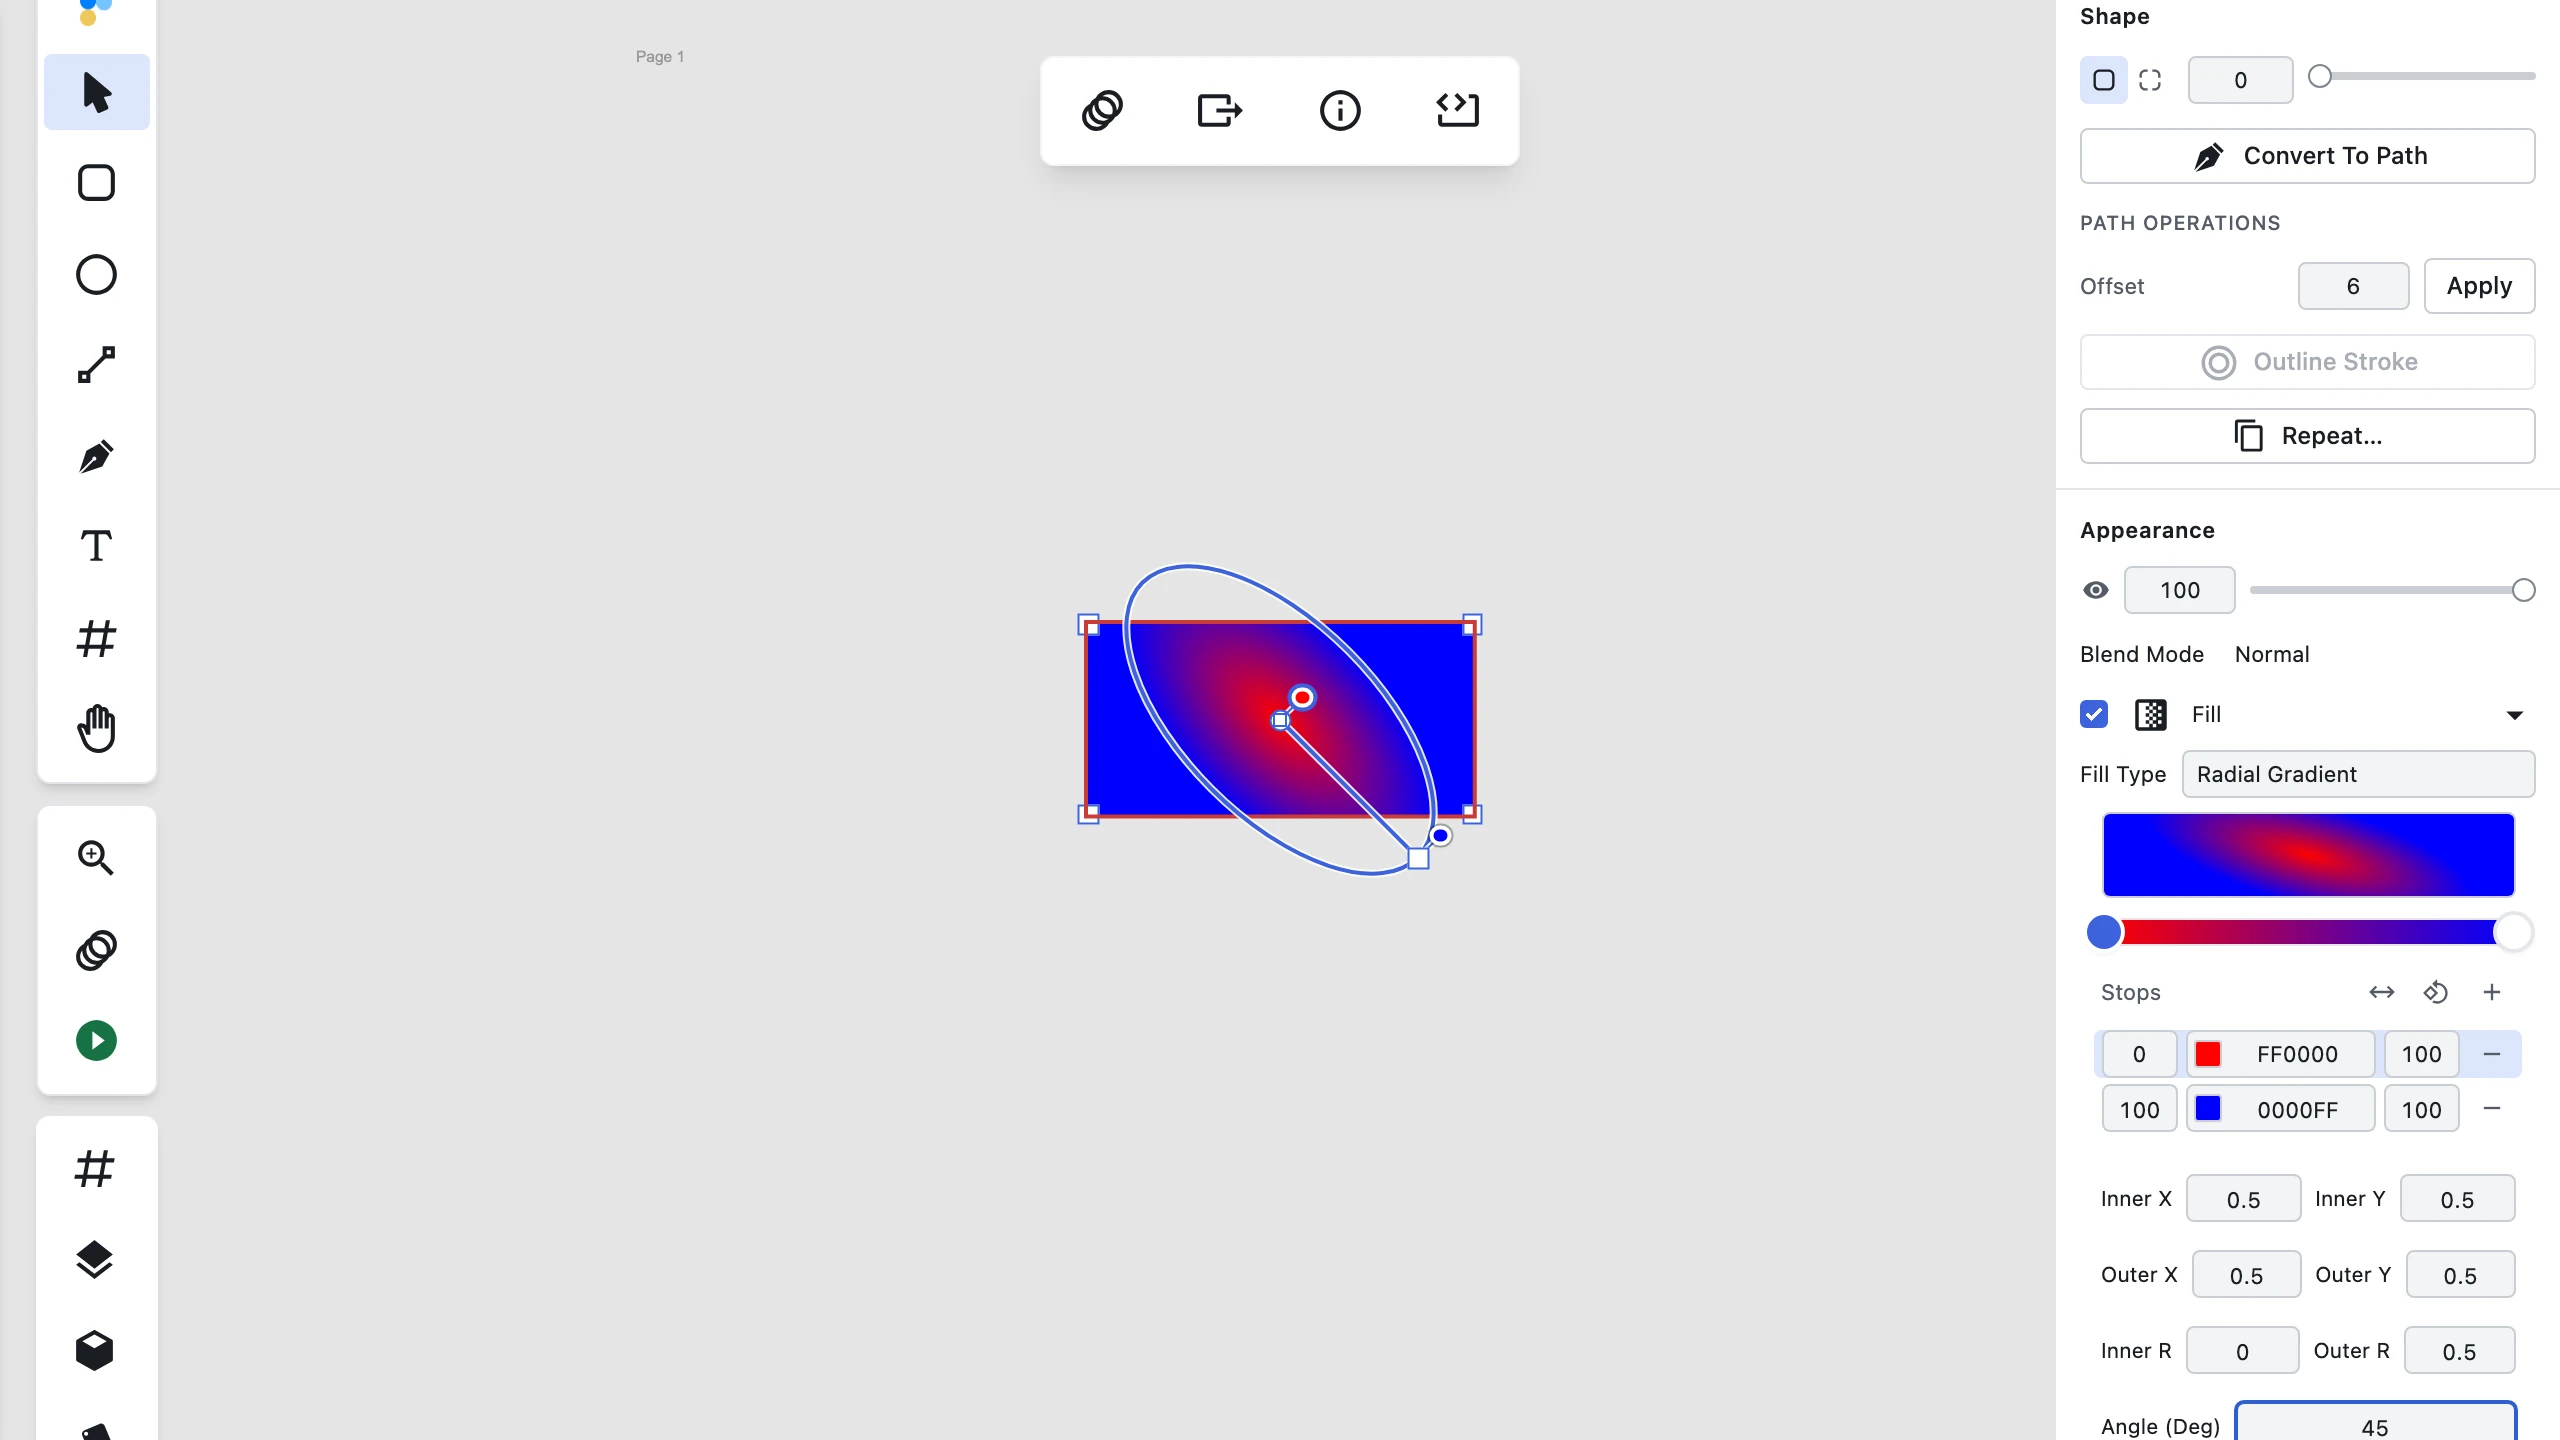
- Center anchor — drag this to move the gradient's origin. Both the inner and outer radius handles move concentrically with it, keeping the gradient centered on the new point.
- Outer-radius anchor — drag this free-direction around the center to rotate the gradient ellipse while adjusting its outer radius. The overlay axis line and hairline rotate to show the gradient's exact angle.
- Inner-radius anchor — drag this free-direction around the center to adjust the inner falloff and rotation.
- Angle (Deg) — type an exact rotation angle in degrees in the right-hand panel's Radial fields.
Conic (angular) gradients
Conic gradients sweep around a center point, with colors rotating through an angle. They're sometimes called "angular" gradients.
To adjust a conic gradient:
- Center anchor — drag to move the gradient's origin.
- Angle anchor (on the ring around the center) — drag this handle to rotate the starting direction of the color sweep.
Color stops
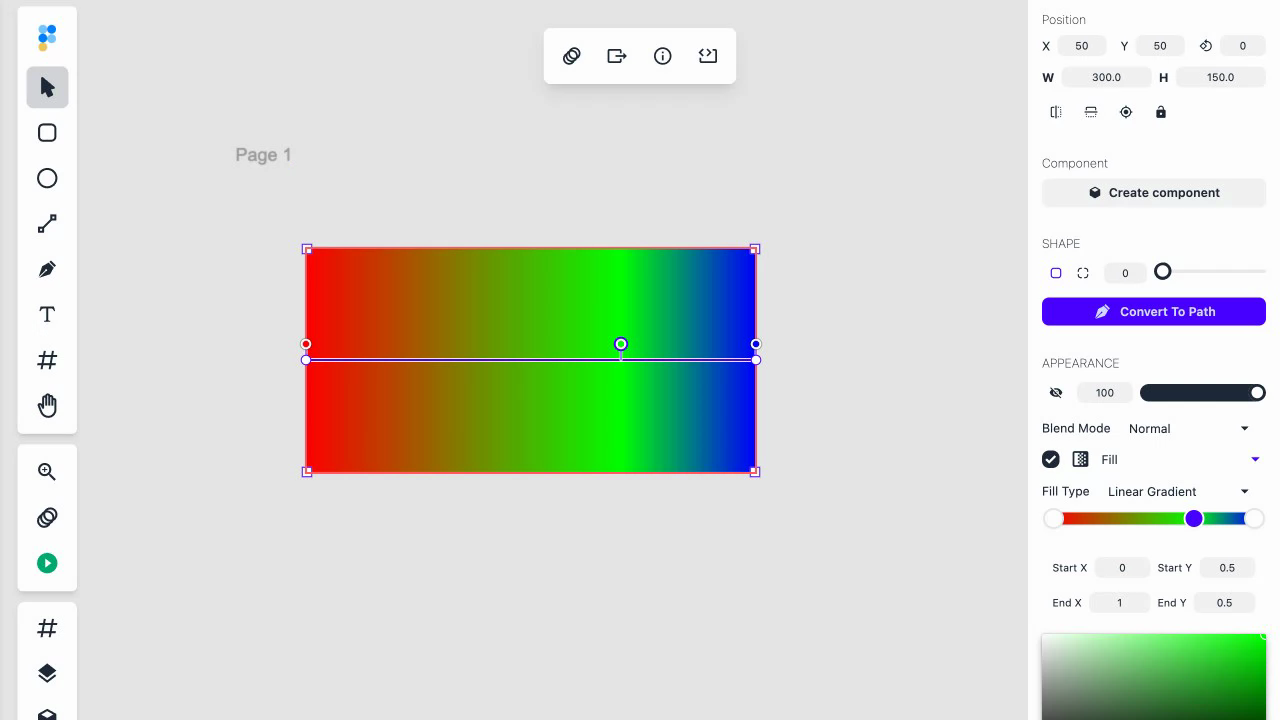
Stop handles sit on the gradient line (linear), on a rail beside the center-to-outer-radius ray (radial), or on the angle ring (conic). Each stop marks a position along the gradient.
To adjust stops:
- Drag a stop handle to change its position along the line or ring. A stop can't cross its neighbors — it clamps to the positions between them.
- Click a stop to select it, then set its color in the right-hand panel's color picker. Colors are edited in the panel, not on the canvas.
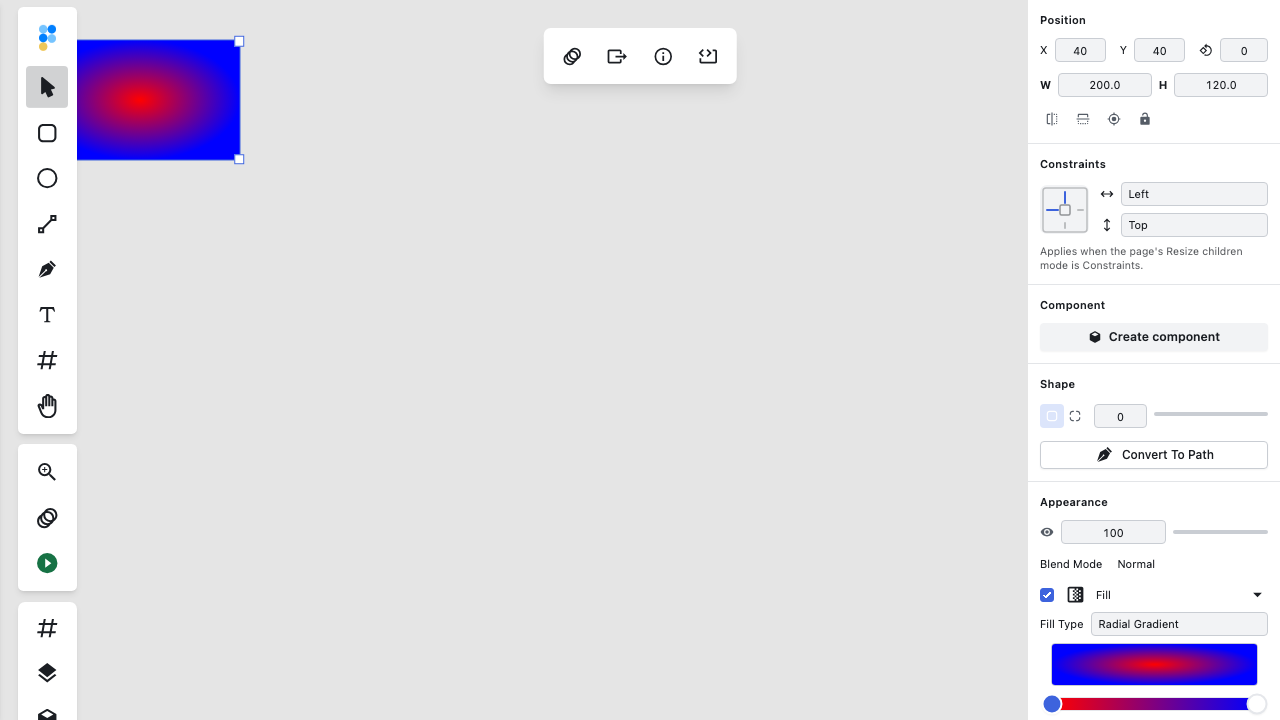
The Stops list in the right-hand panel shows one row per stop, in offset order, with the currently selected stop highlighted. Each row displays the stop's position as a percentage, its hex color, and its opacity as a percentage, plus a − button to remove that stop (greyed out once only one stop remains). Position and opacity can be typed directly — they commit on Enter or when you click away from the field. Use the single + button above the list to add a new stop. The ramp preview above the list shows the gradient's real shape: radial gradients display as radial, conic gradients sweep at their actual angle, and rotated linear gradients render at their actual angle.
Reversing and rotating a gradient
Reverse flips the order of every color stop's position along the gradient. The first color becomes the last, the last becomes the first. The colors are kept unchanged — only their positions reverse. After reversing, the gradient flows in the opposite direction.
Rotate 90° turns the gradient a quarter turn clockwise. On linear gradients, both endpoints rotate 90 degrees around the layer's center. On conic gradients and radial gradients, the starting angle or ellipse rotation advances by a quarter turn (90° clockwise).
Gradient strokes
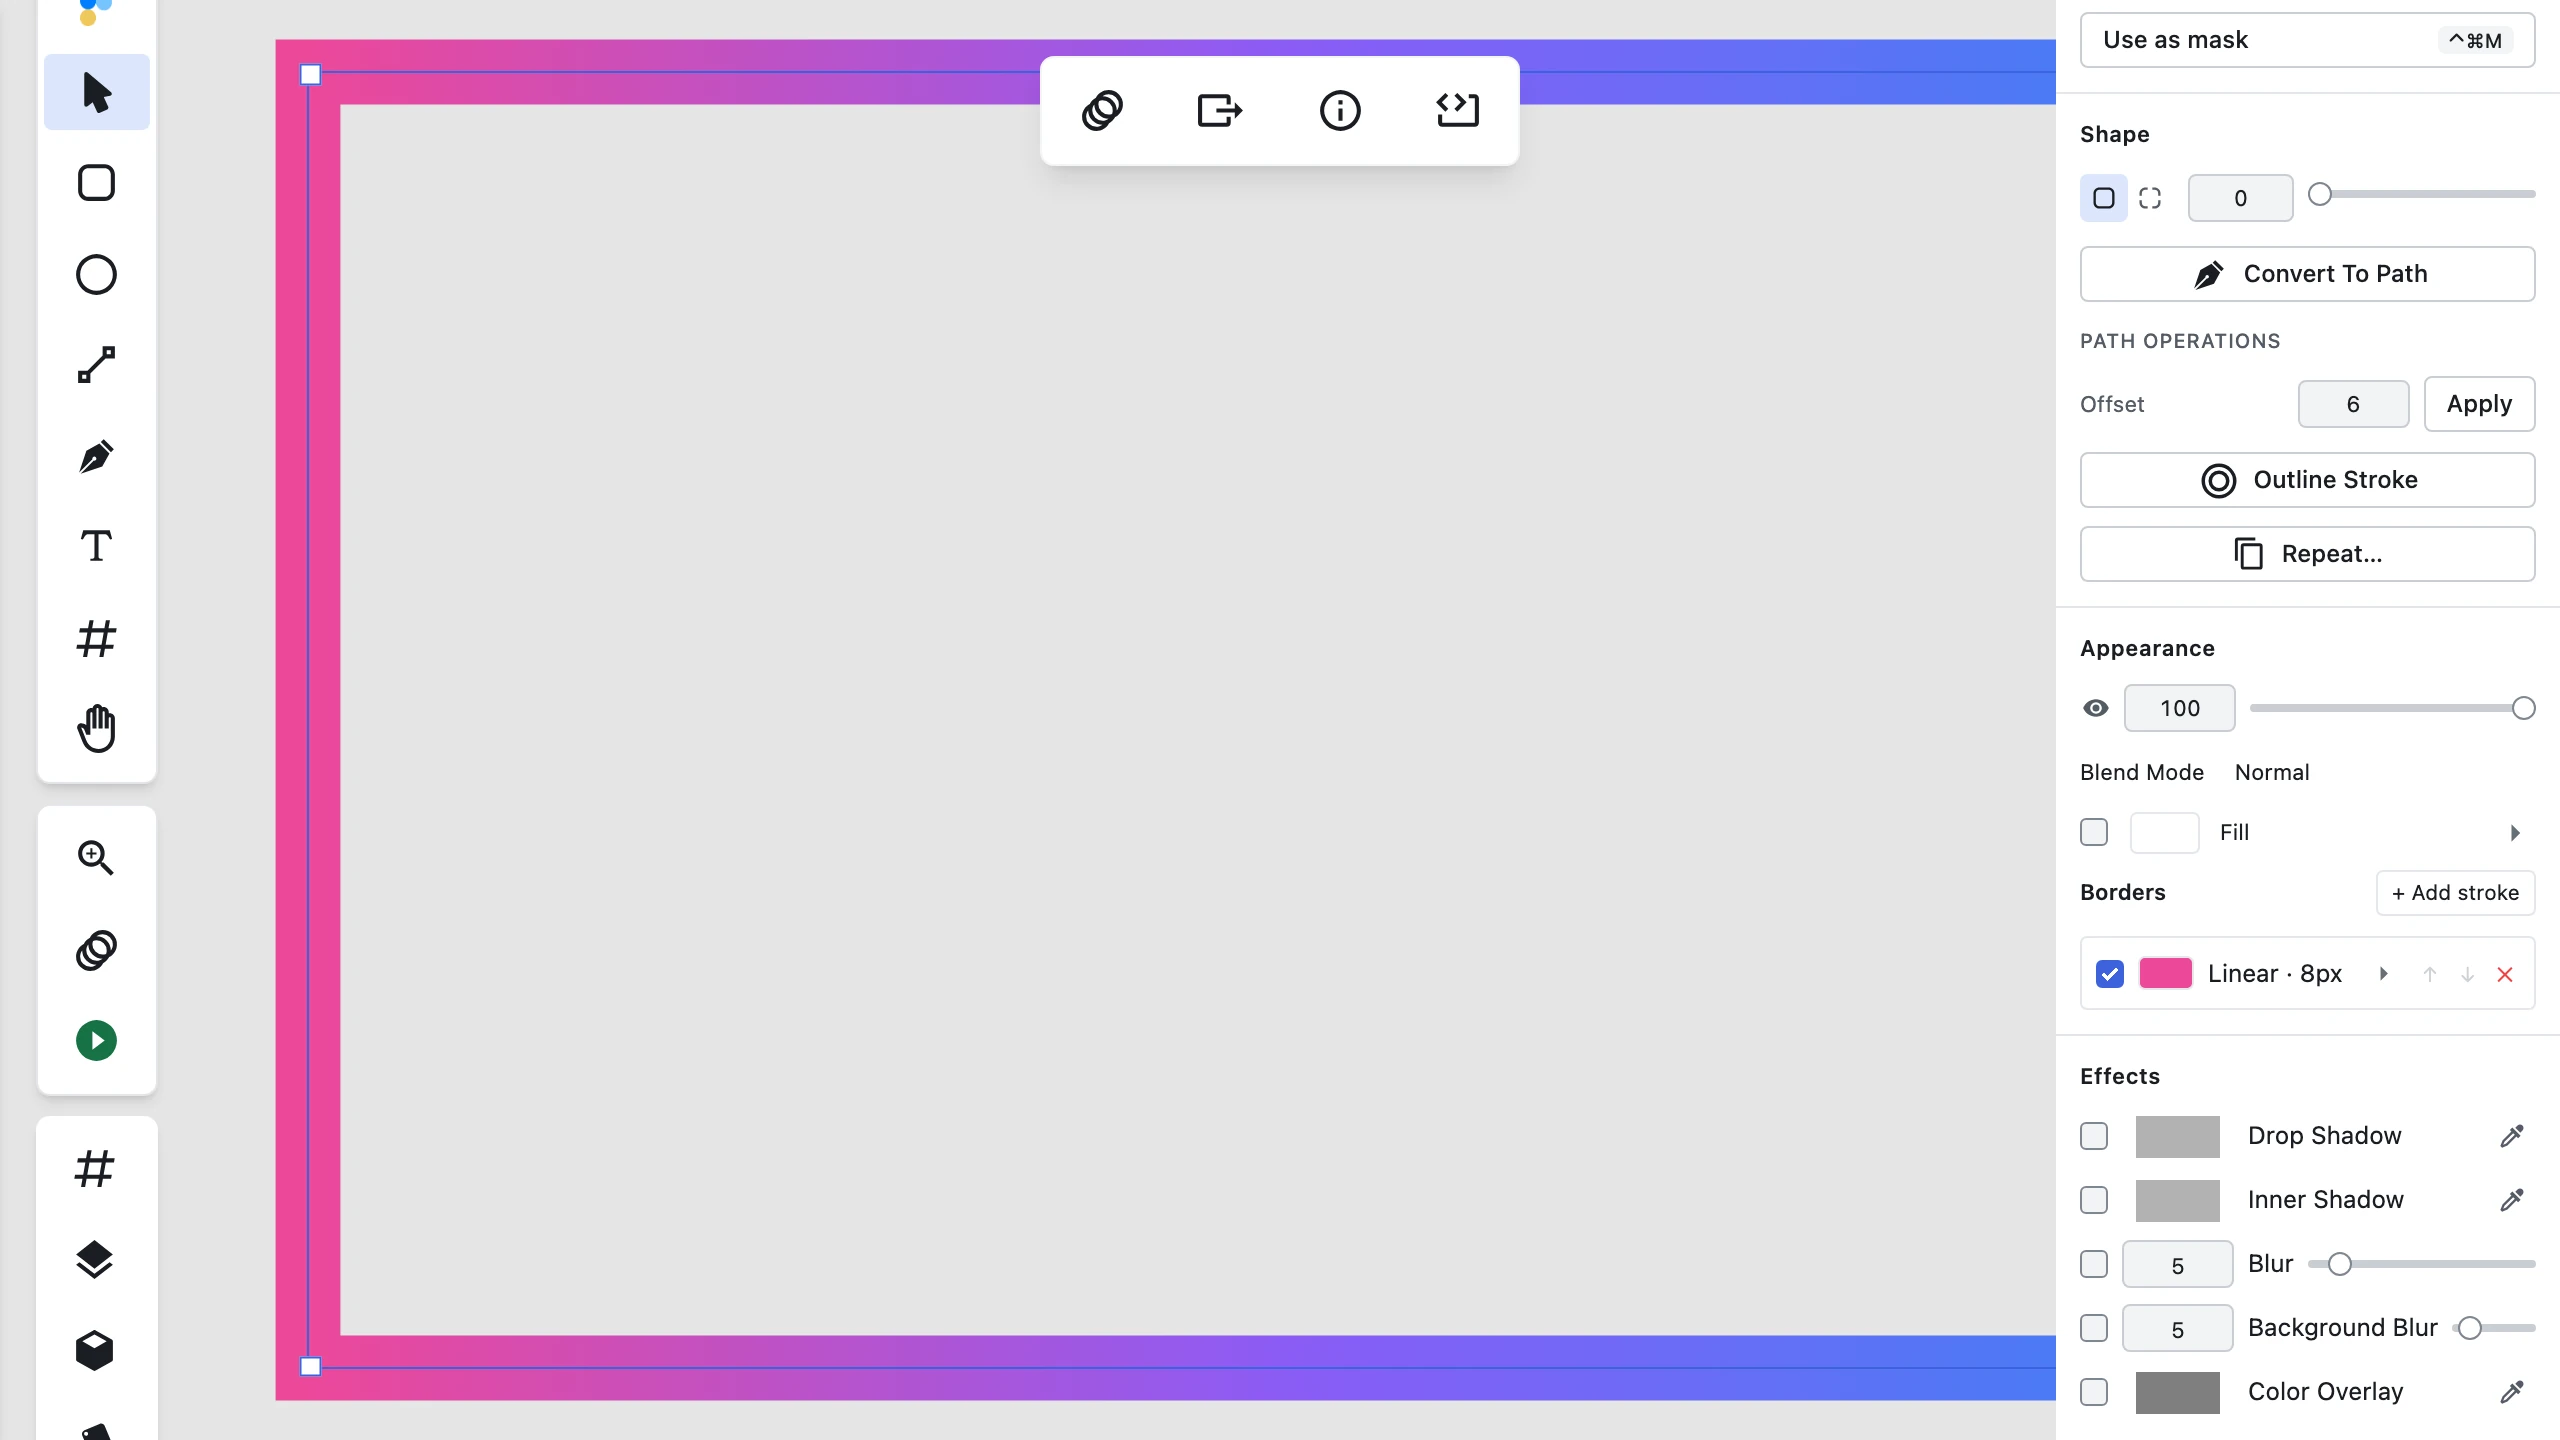
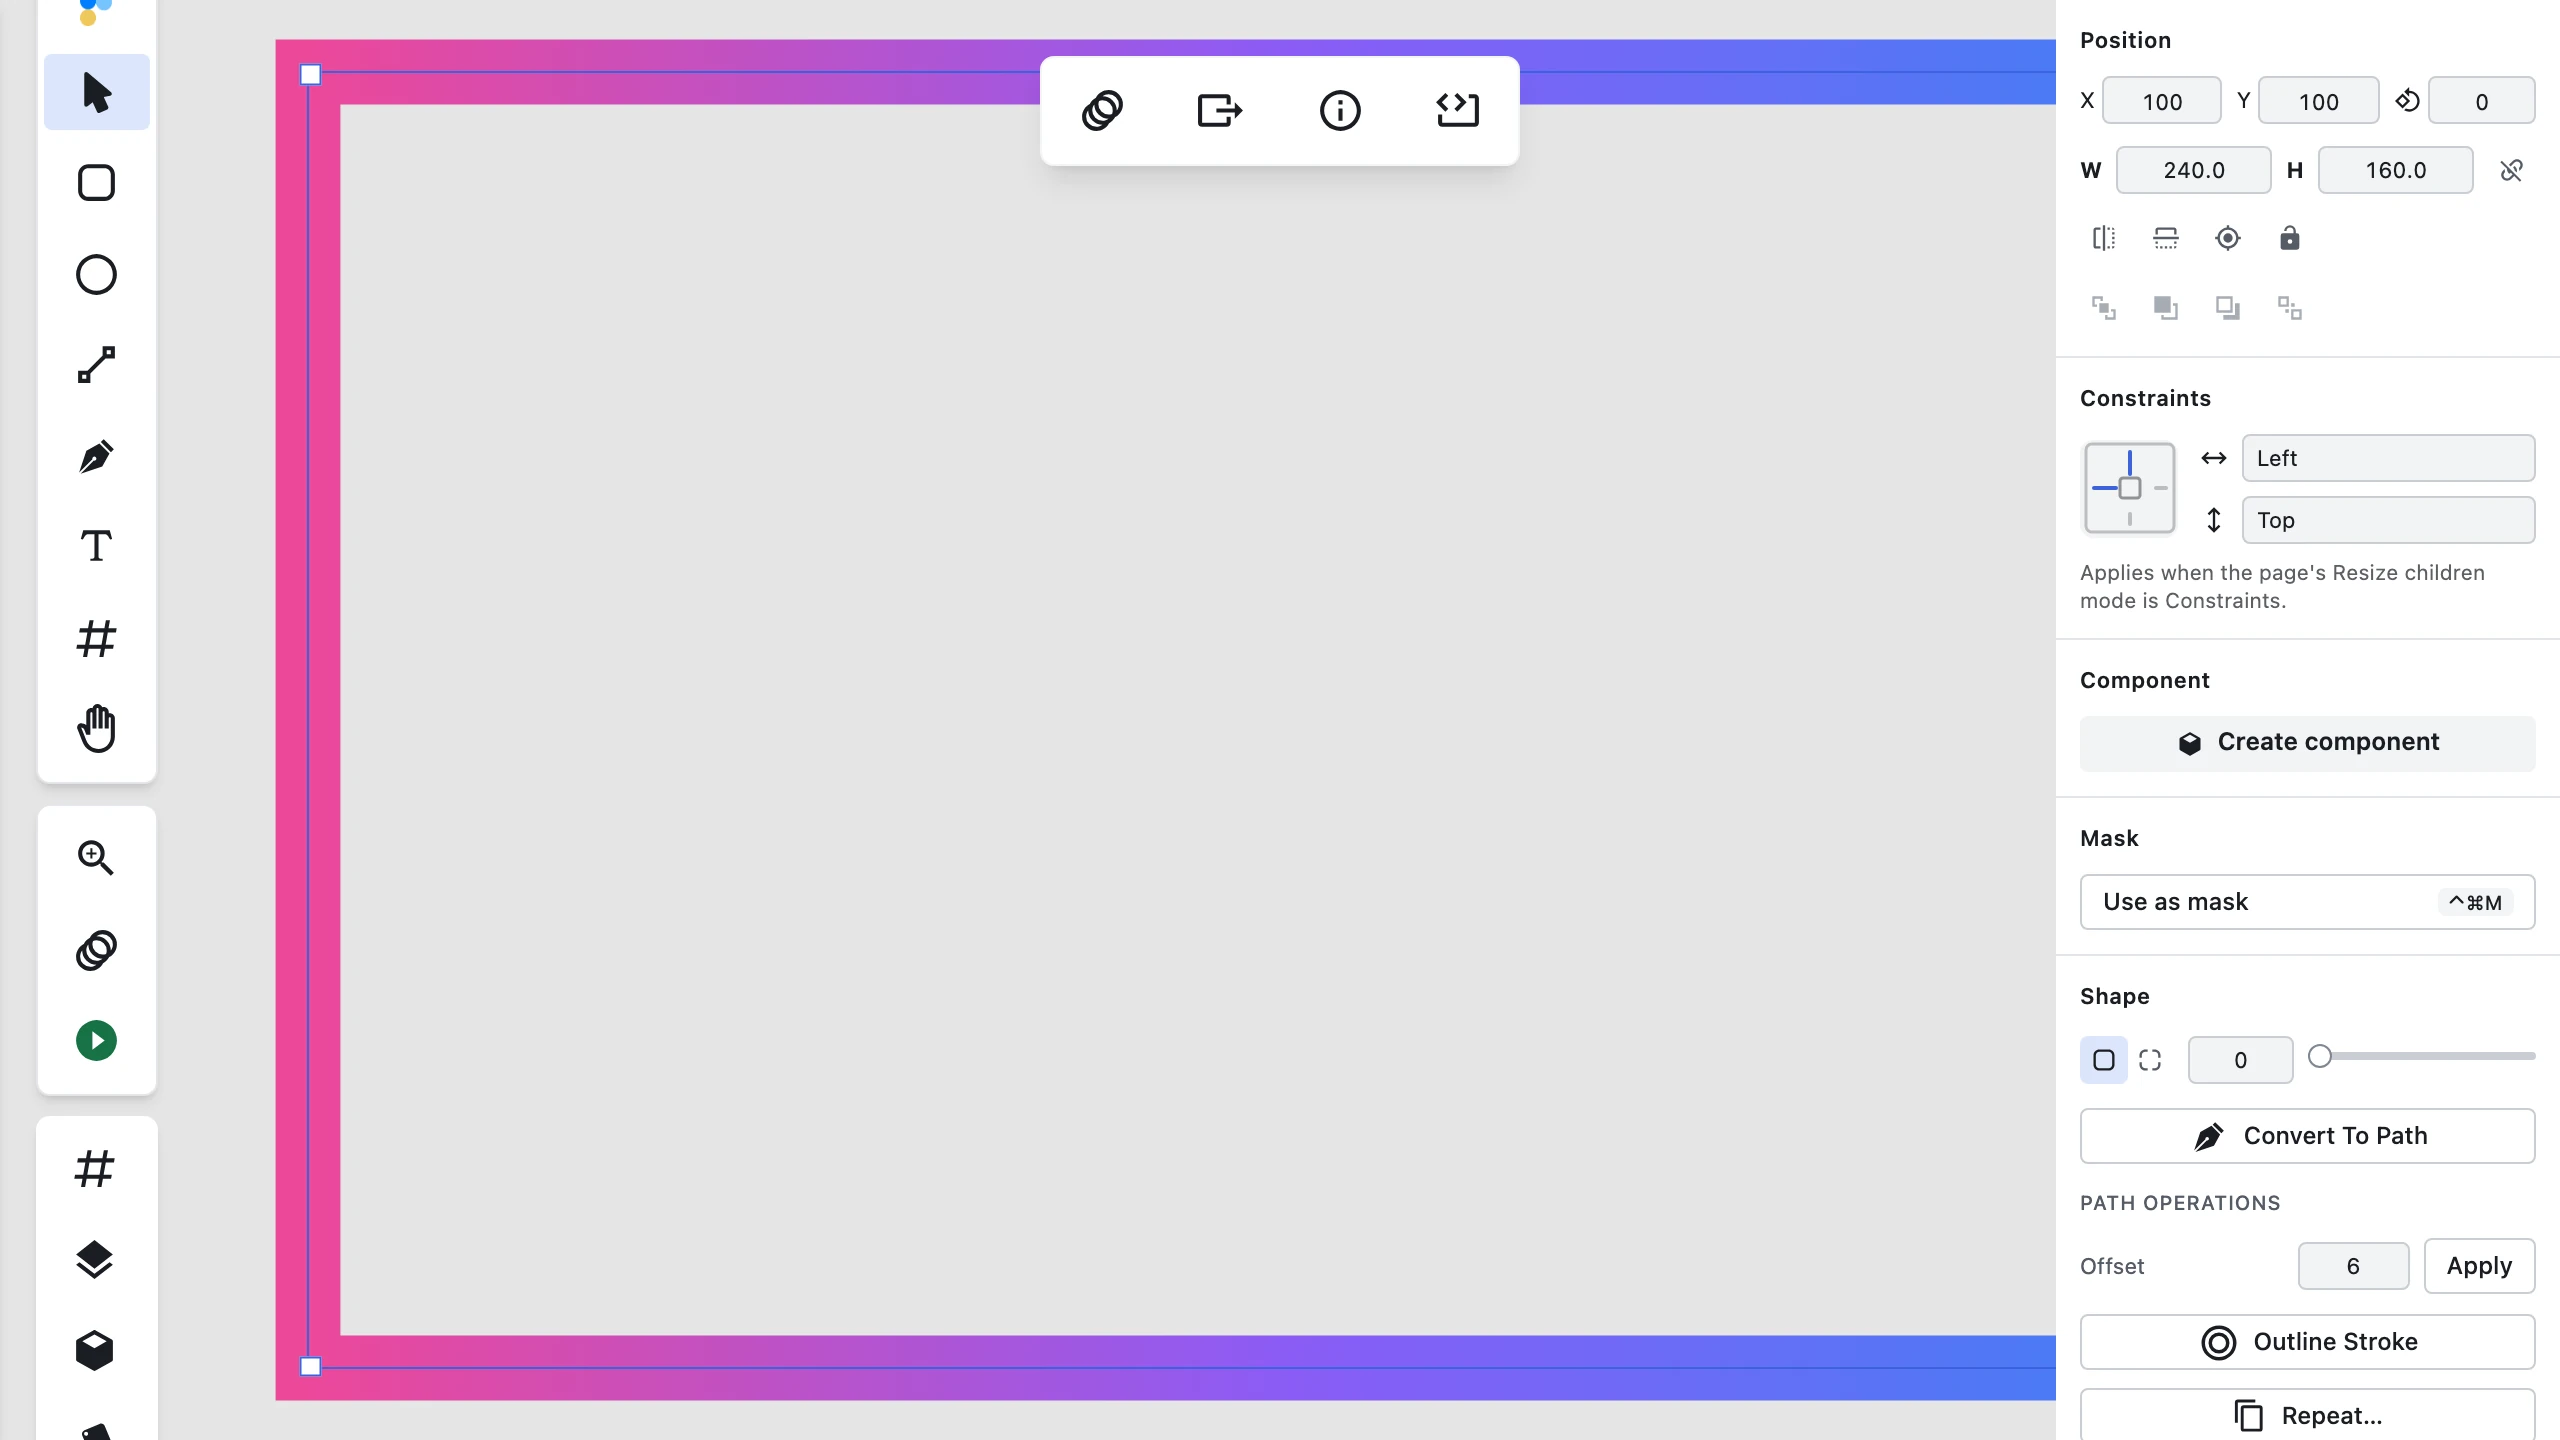
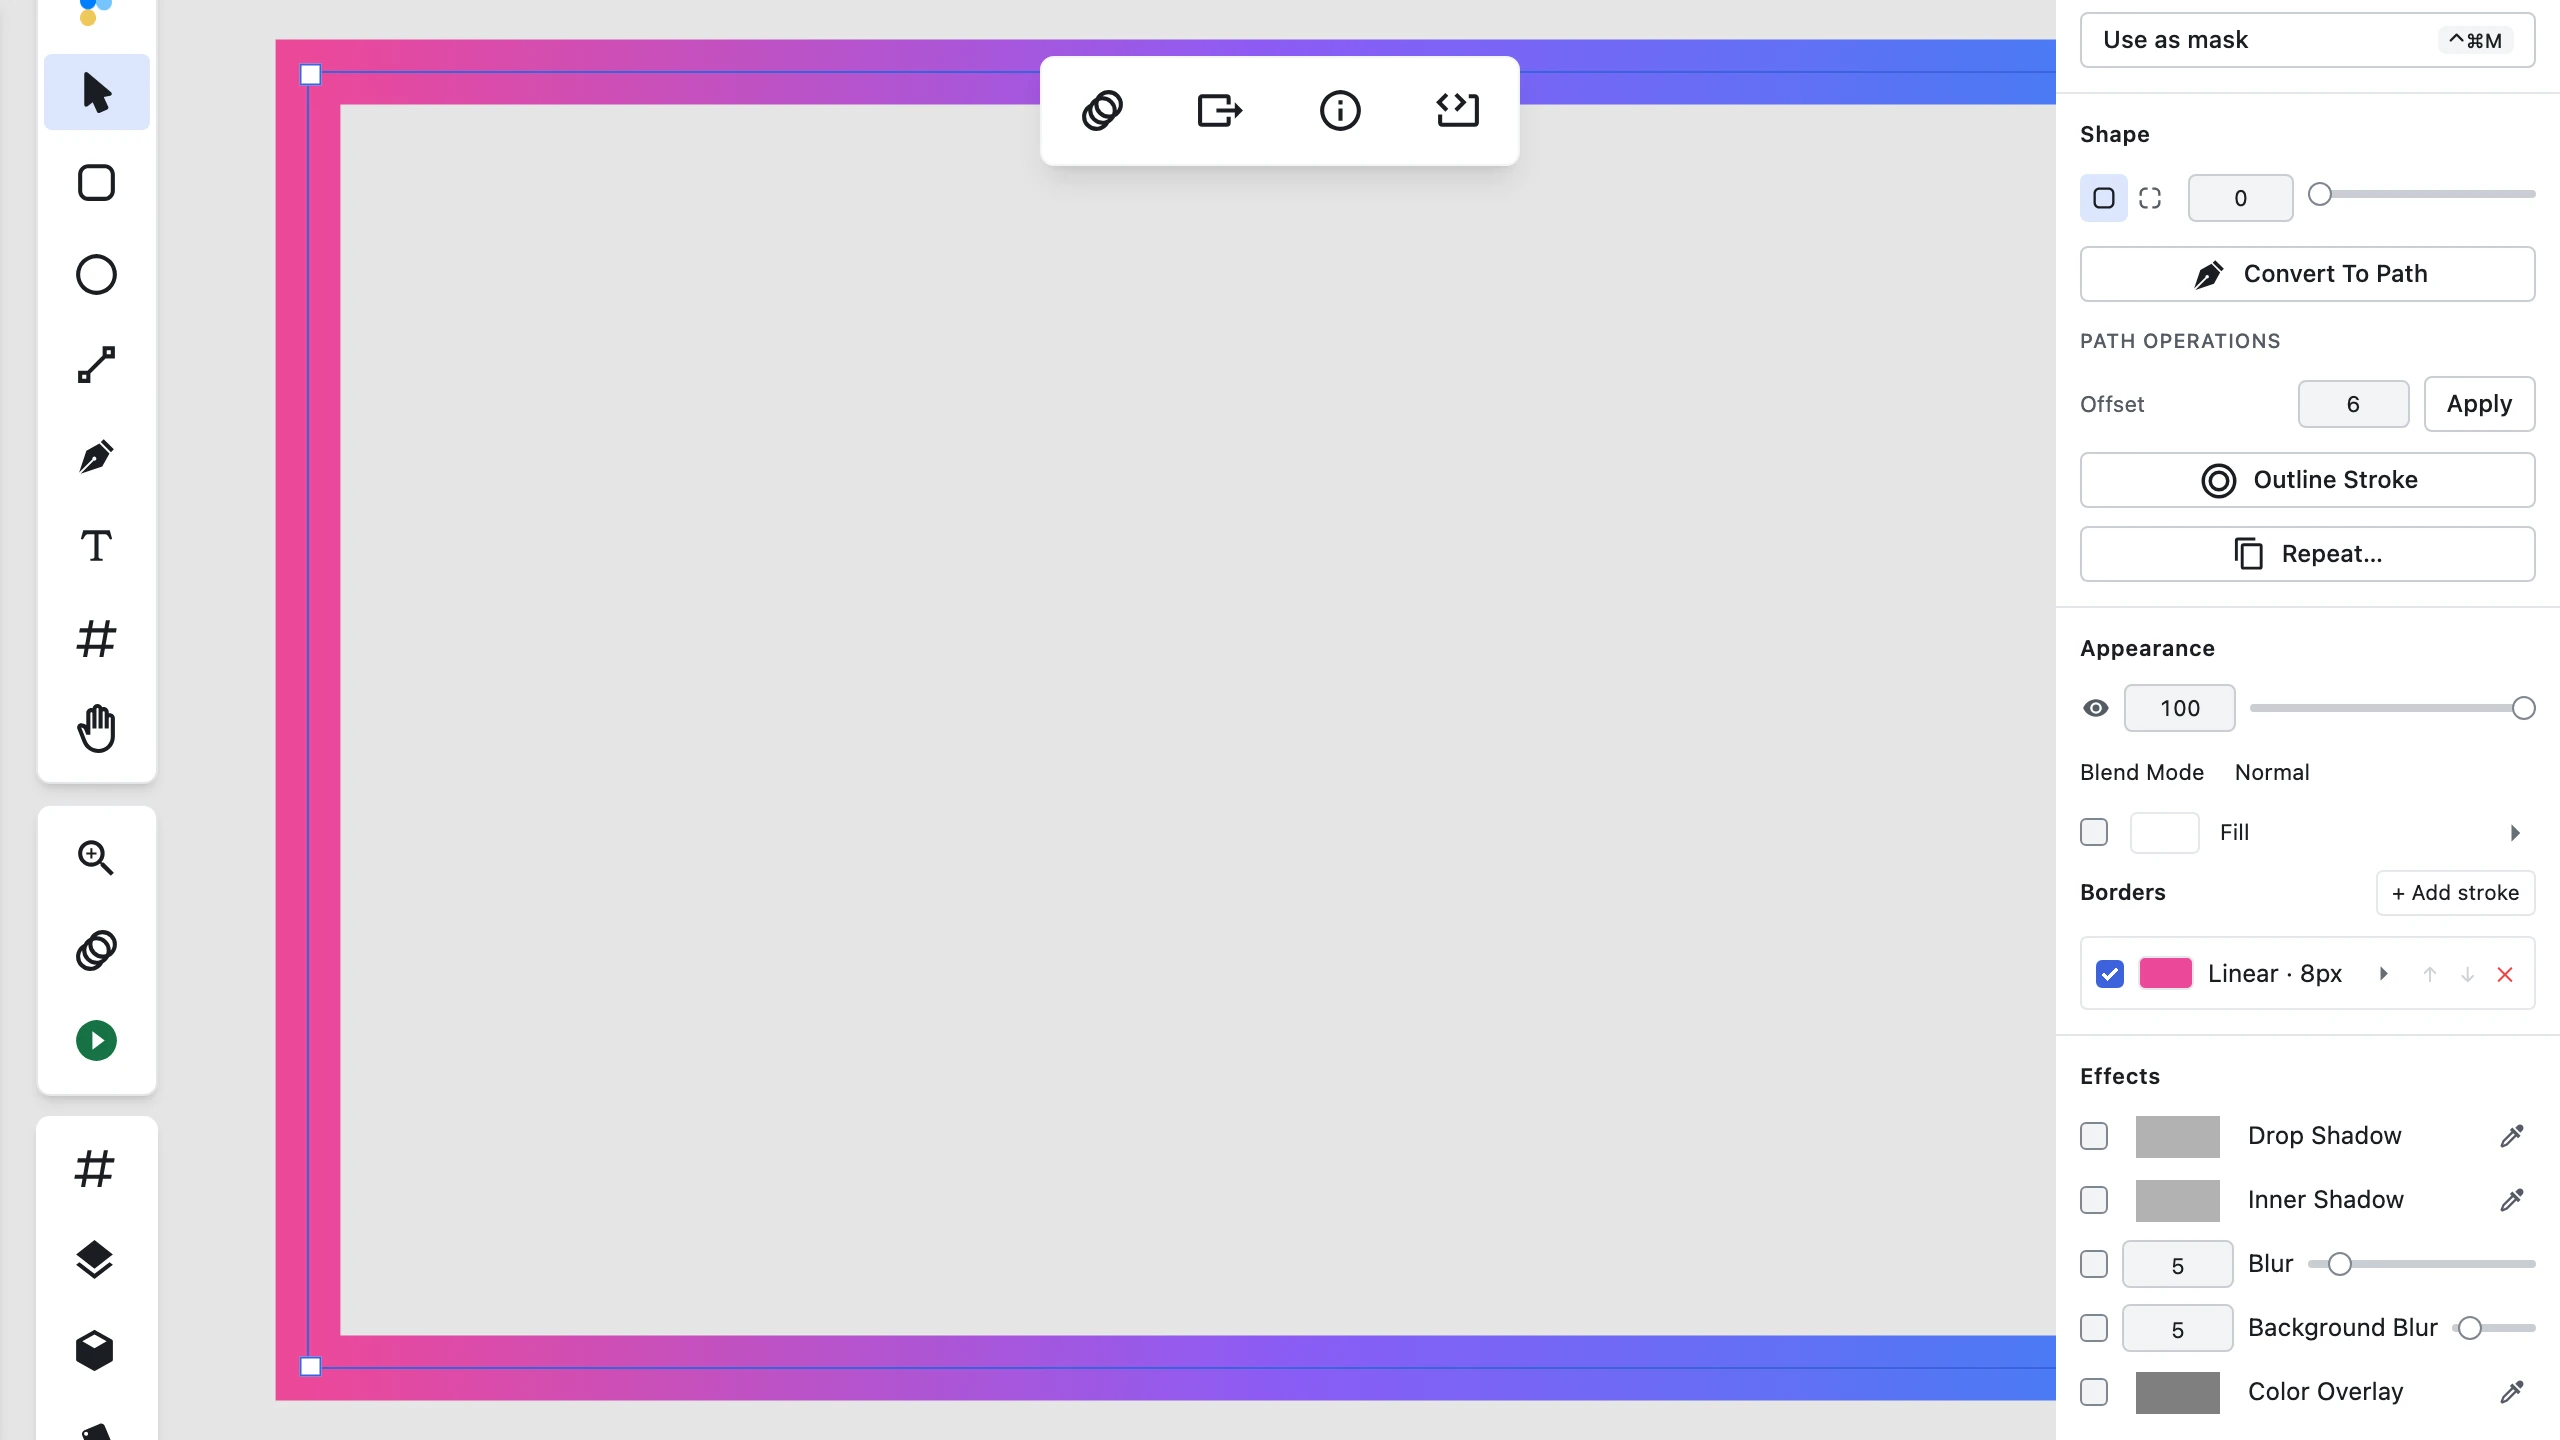
Figpea supports rich strokes including multiple stacked borders and non-solid gradient paints (linear, radial, and conic). When opening .fig files containing gradient borders or chart trend lines, Figpea renders true multi-color gradients instead of flat fallbacks. You can add, reorder, and style gradient strokes directly in the Border inspector panel or via the Agent API.
Typing exact values
For precision control, you can type numeric values directly in the right-hand panel. The stop position and opacity are typed as plain percentages — a stop at 50% of the gradient, or an opacity of 75%. Geometry fields (gradient direction, center, and radius) continue to use normalized coordinates for technical precision — the exceptions are conic and radial gradients' Angle (Deg) fields, which are entered in degrees — while the stop fields use percentages for clarity.
Type a value and press Enter, or click elsewhere to commit your change. Dragging the handles remains the faster way to shape a gradient for most edits.
Frequently asked questions
Can I edit gradients in a PSD or XD file online? Yes; open the file, select the layer, expand Fill, drag the handles. Free, no account, nothing uploaded.
How do I change the direction of a gradient? Drag either endpoint of the gradient line, or rotate radial gradients by dragging their radius handles or using the angle field.
Can I rotate a radial gradient? Yes — drag either radius handle around the center point on the canvas, type an exact angle in degrees in the right-hand panel's Radial fields, or click the Rotate 90° button.
Can I move, add, or recolor color stops?
Yes — drag a stop handle to move it, or use the Stops list in the right-hand panel. Use the + button to add a new stop or the − button on each stop's row to manage it. You can type exact position and opacity percentages directly. For color, select the stop and use the panel's color picker.
How do I delete a color stop?
Click the − button on that stop's row in the Stops list. A gradient always keeps at least one stop, so the − button is disabled when only one stop remains.
Can I make one color stop semi-transparent? Yes — set that stop's opacity percentage in the Stops list. Each stop's opacity is its color's transparency, shown as a percentage you can type or adjust.
Does editing a gradient change my original PSD or XD file?
No. Figpea never writes back to .psd, .xd, or .fig — your original file on disk is untouched. You export the result (PNG, SVG, and other formats) from Figpea.
Do I need Pro to edit gradients? No. Opening, inspecting, and editing are free on every tier.
Can I slant or spread a gradient's color band? Yes — drag the side handle on a linear gradient. It leans the bands; the start and end points don't move.
Related docs
- Basic Layer Operations — layer properties and selection
- Path Edit Widget — the other on-canvas editing surface for paths
- Exporting — how to export your edited result